Buttons & Beads
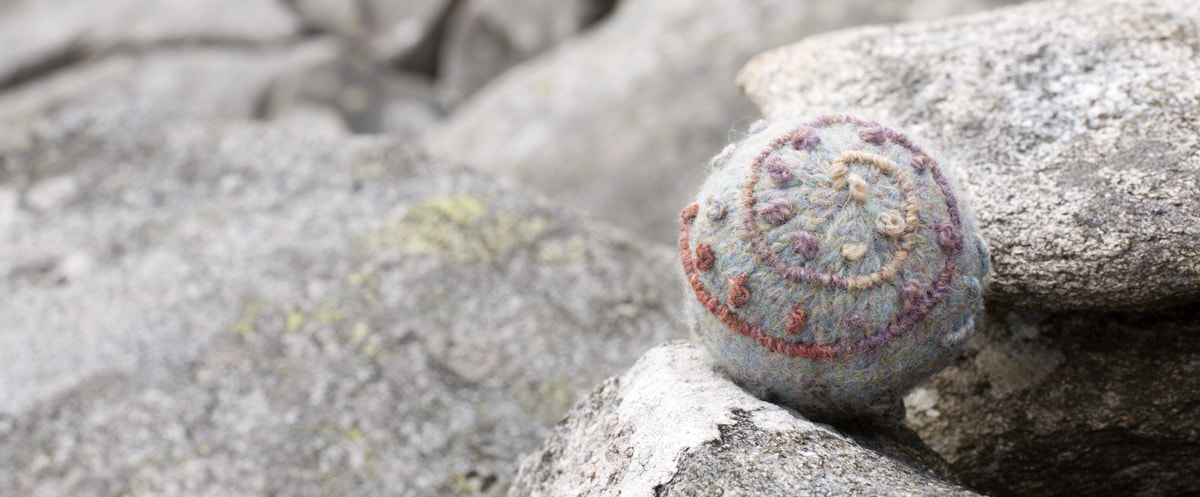
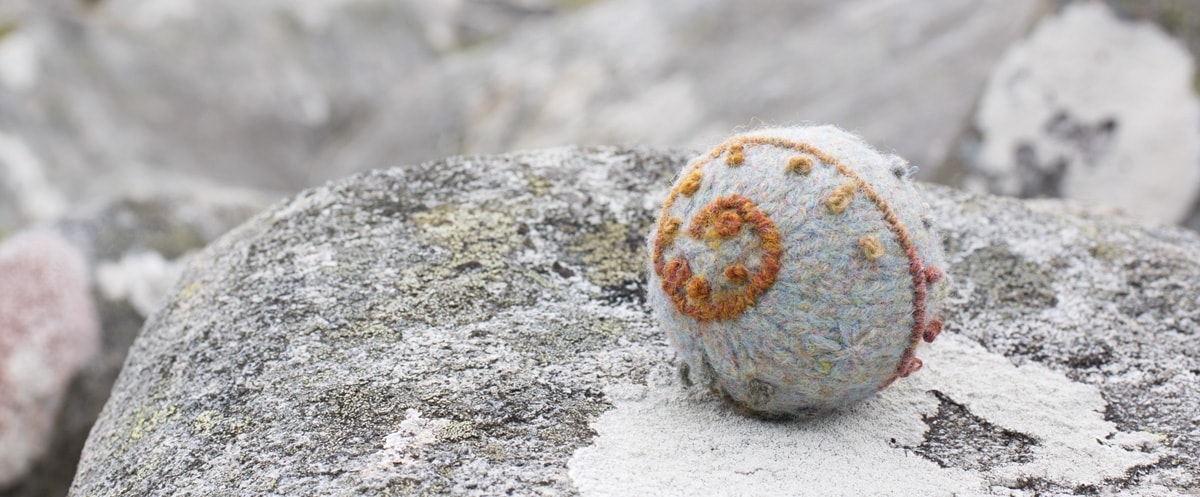
You will find full instructions for making three different sizes of buttons/beads in Glamourie’s design section. The largest is the decorative bead used on the top of the Mountain Hare Hat design. The instructions are the blueprint for the decorative orbs and buttons on the costume jacket. As you see from the photographs, I used the main and the contrast colours, both to knit and to embroider the orbs, so there is lots of variety in the colour combinations. Likewise, I enbroidered with stars and French Knots and I varied the size and placement of these stitches. This adds lots of interest to each individual orb whilst the whole remains harmonious since all the colours and stitches are used in the main embroidery of the costume. Note that the larger size allows more space for varying the embroidery. You can also knit the initial shape in two or more colours. If you do, then there is no need to darn in ends when changing colours as you can just tuck them inside the “pouch” when you sew up the little seam.
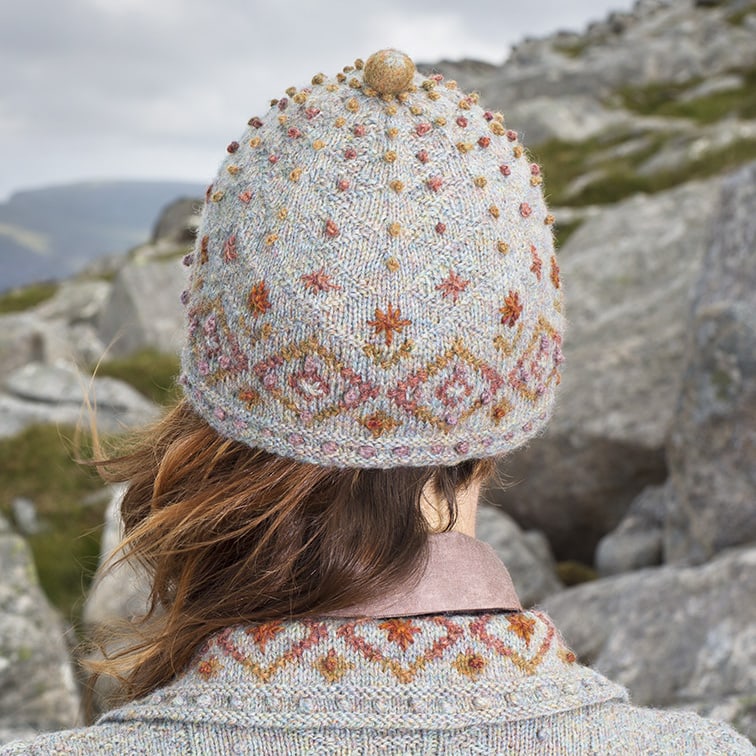
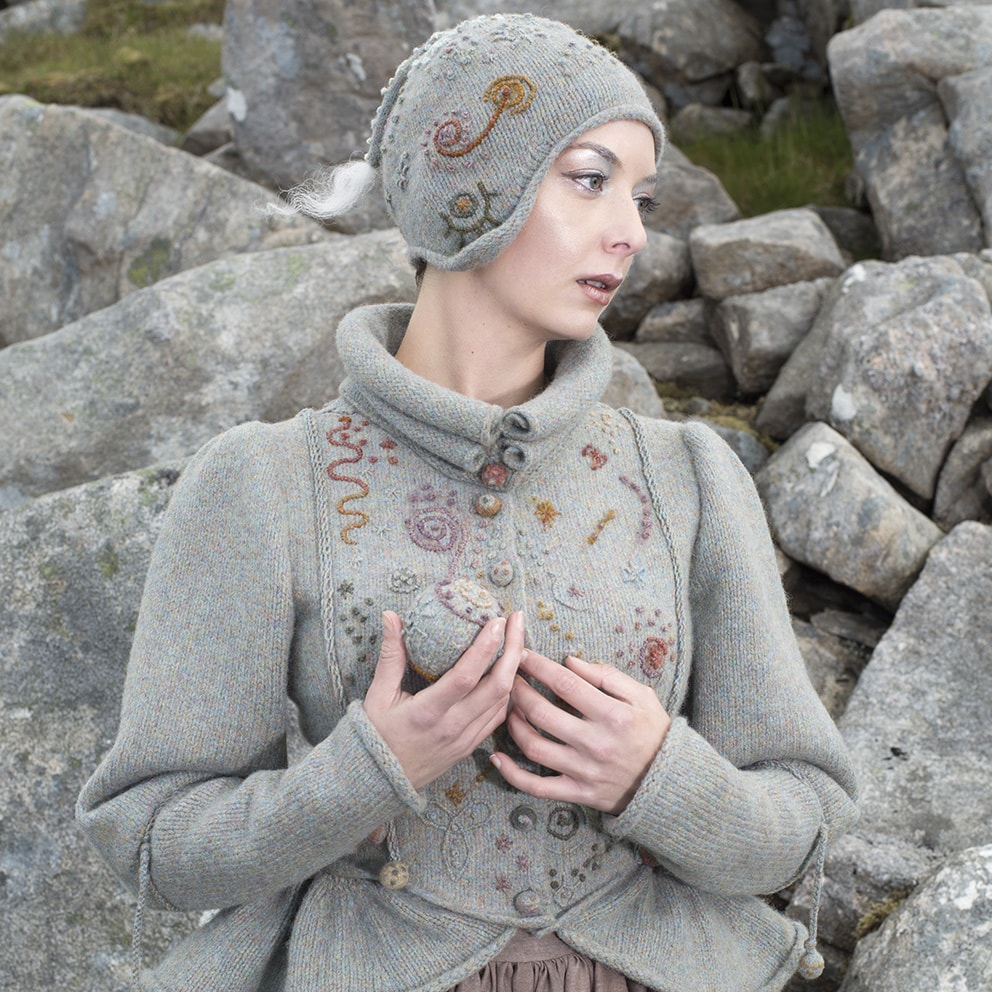
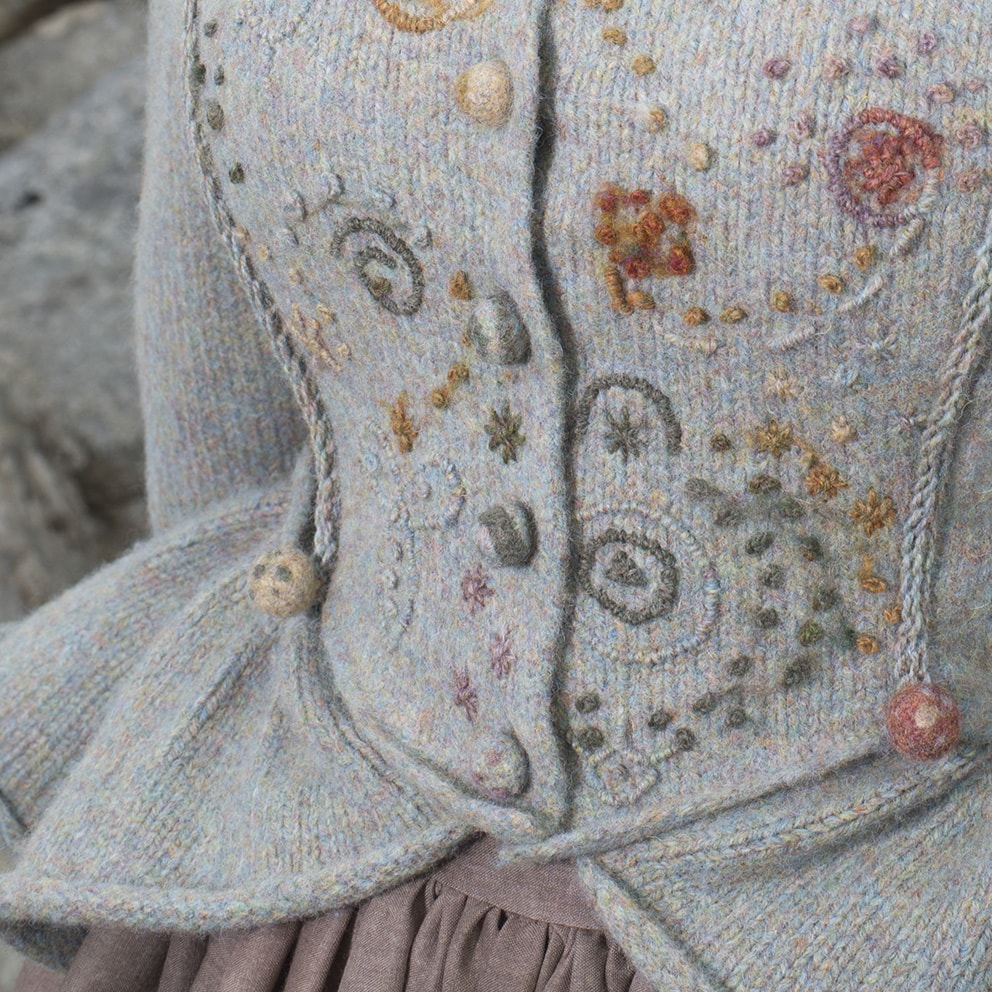
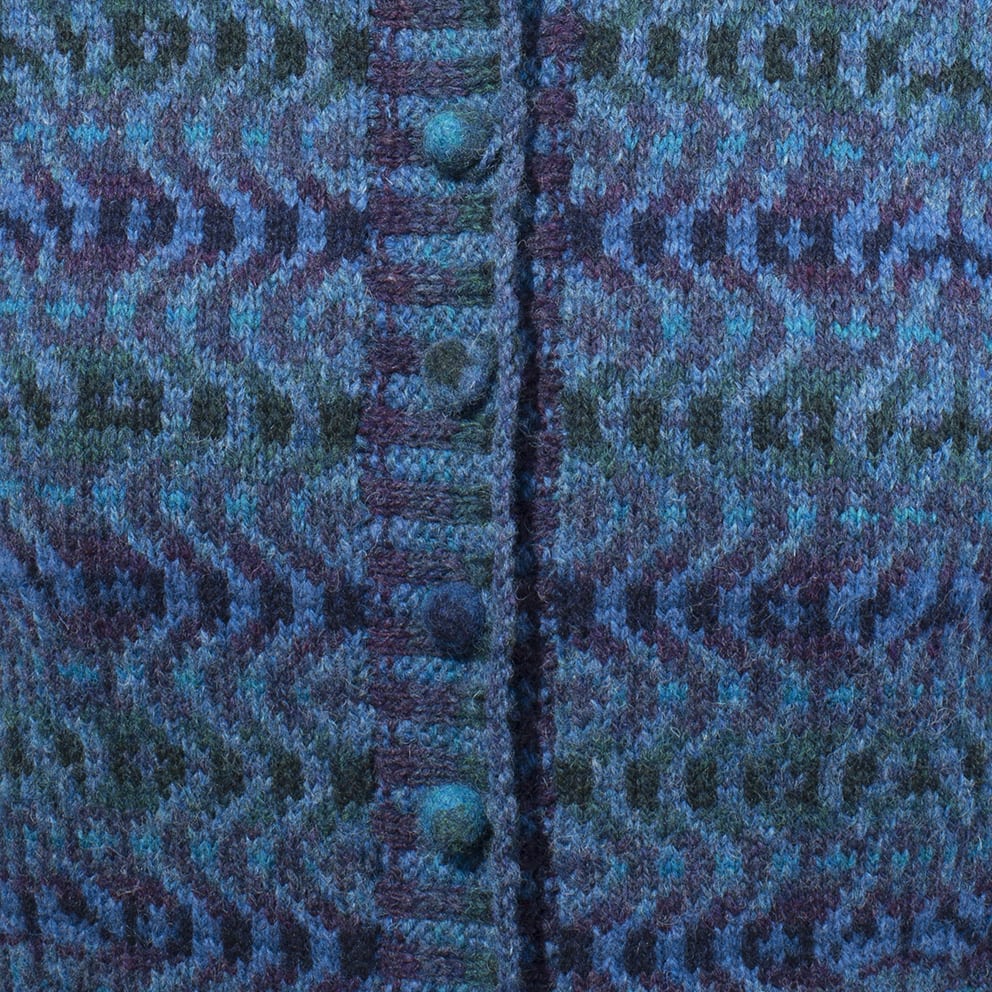
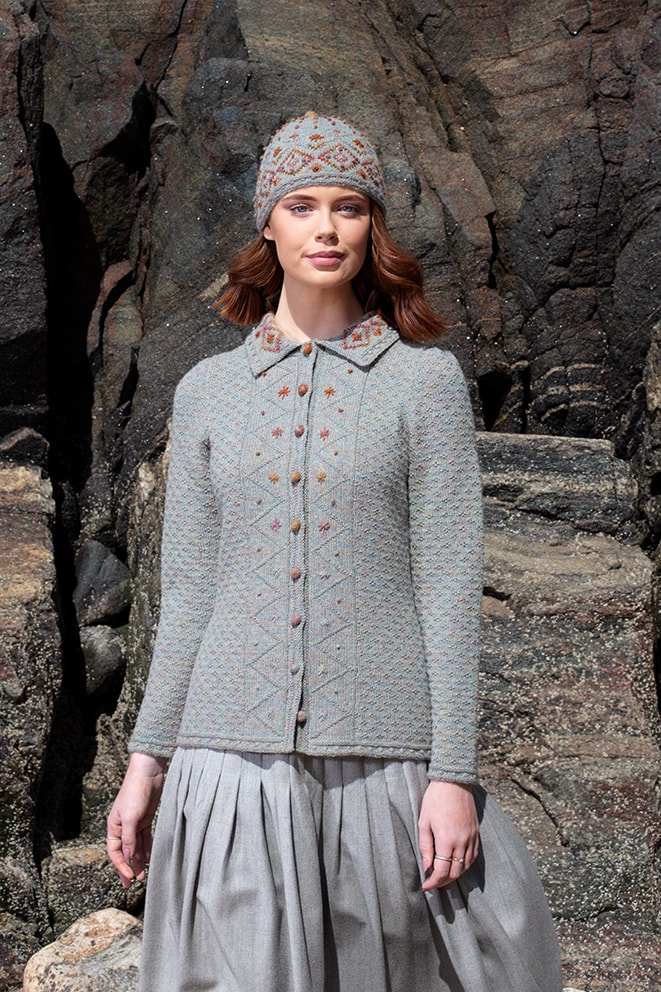
The Mountain Hare jacket design is a finer knit than the costume and so the directions are for a button size that I would term as standard for a typical 2 Ply garment, either textured like the Mountain Hare, or stranded as you can see in the Selkie cardigan. If you are looking to make buttons for garments of this type then this size is ideal.
For stranded-colour designs worked in the round, save all your steek trimmings as this is ideal material for stuffing, being composed of all the colours you have used in the knitting. You can have a lot of fun varying the buttons by randomly using the colours in the garment as I did with both the Hare and the Selkie designs.
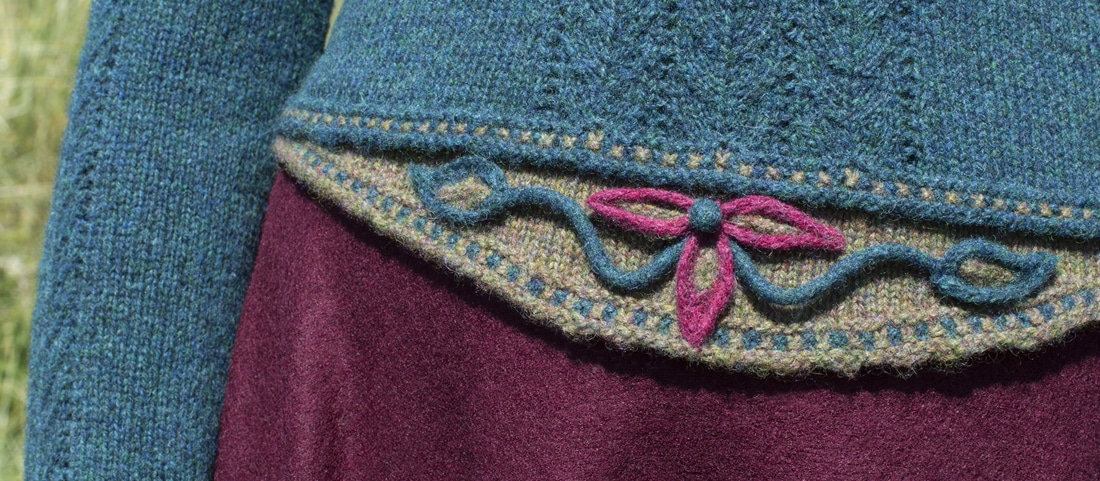
For tiny wee beads or buttons see the directions for the centre ball in the Lapwing design applique. This is made and stuffed in a solid colour so the focus is on the round, smooth, tactile sphere. I have used it here purely as a decorative feature but this size can also be used for fastenings for fine delicate knitting. They are so little that I use a small bowl for felting, as it is all too easy to drop them in the suds where finding them can be fiendishly difficult.
It will take hardly any time at all to make one each of the three different sizes in the instructions. By the time you have completed them it will be clear to you that making these little spheres is very easy. Then you can add or subtract stitches and rows to make them any size you like. For example, the buttons I made for the back of the Sea Anemone costume and the front of the Cailleach’s costume are worked with two less total stitches and two less rows than those used for the Hare and Selkie designs.
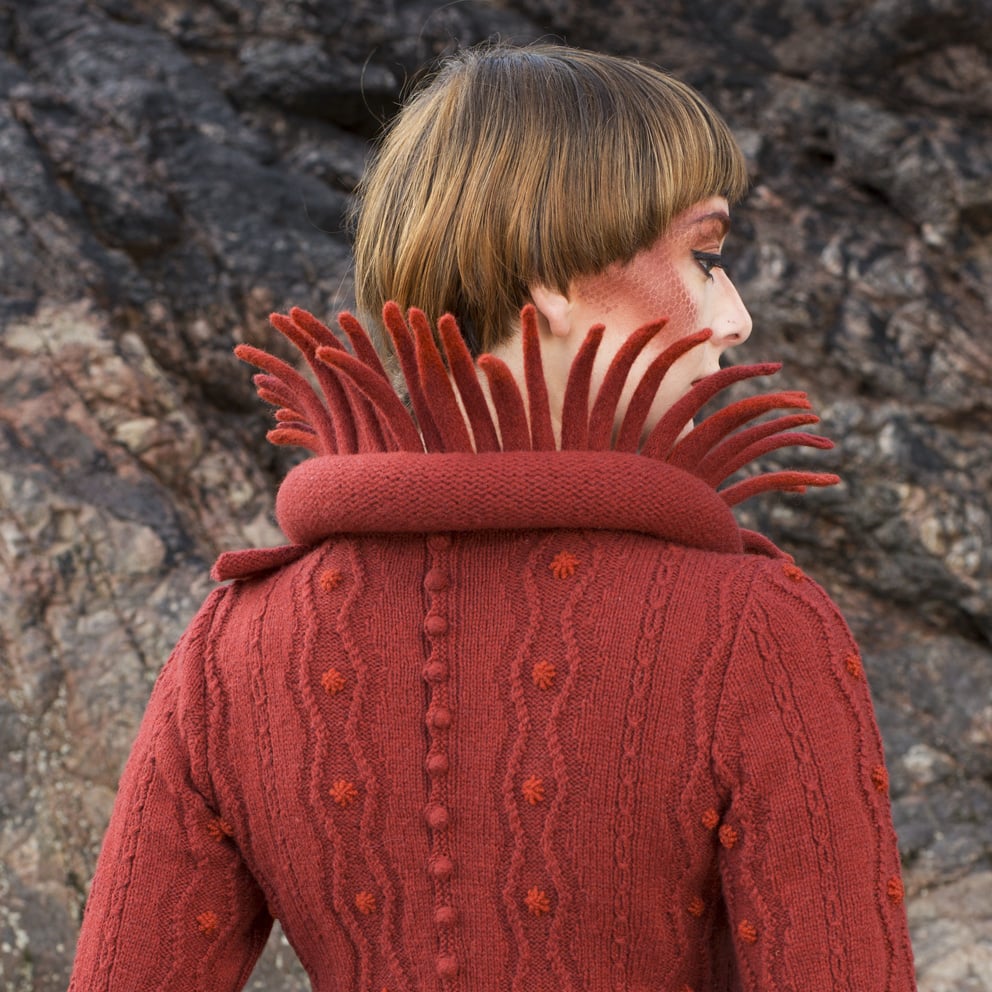
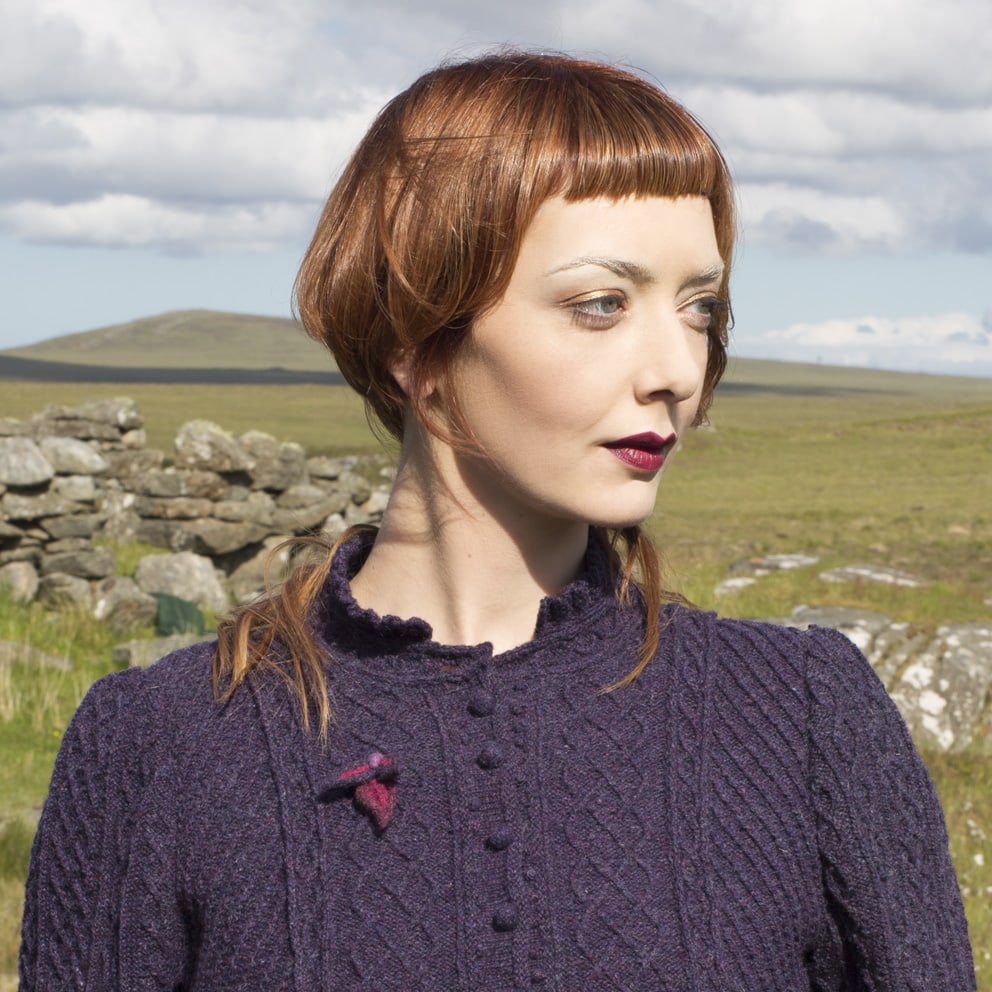
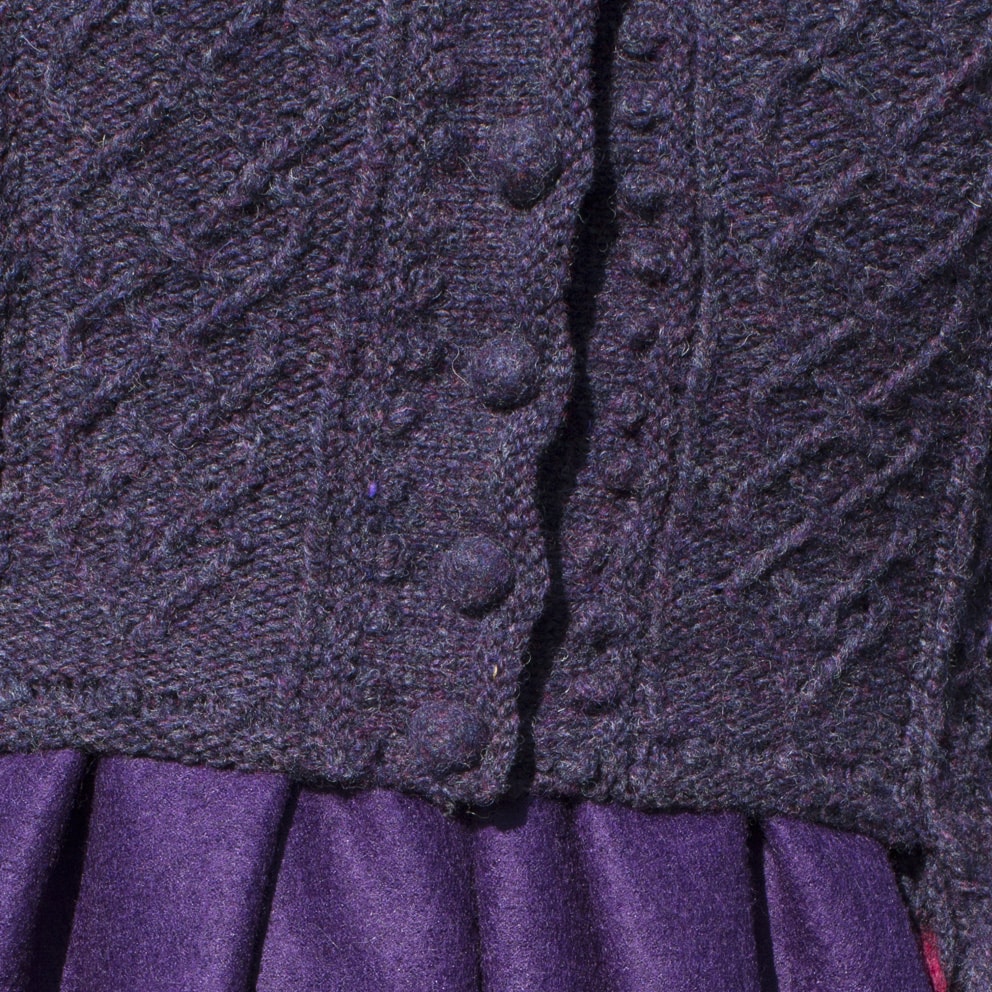
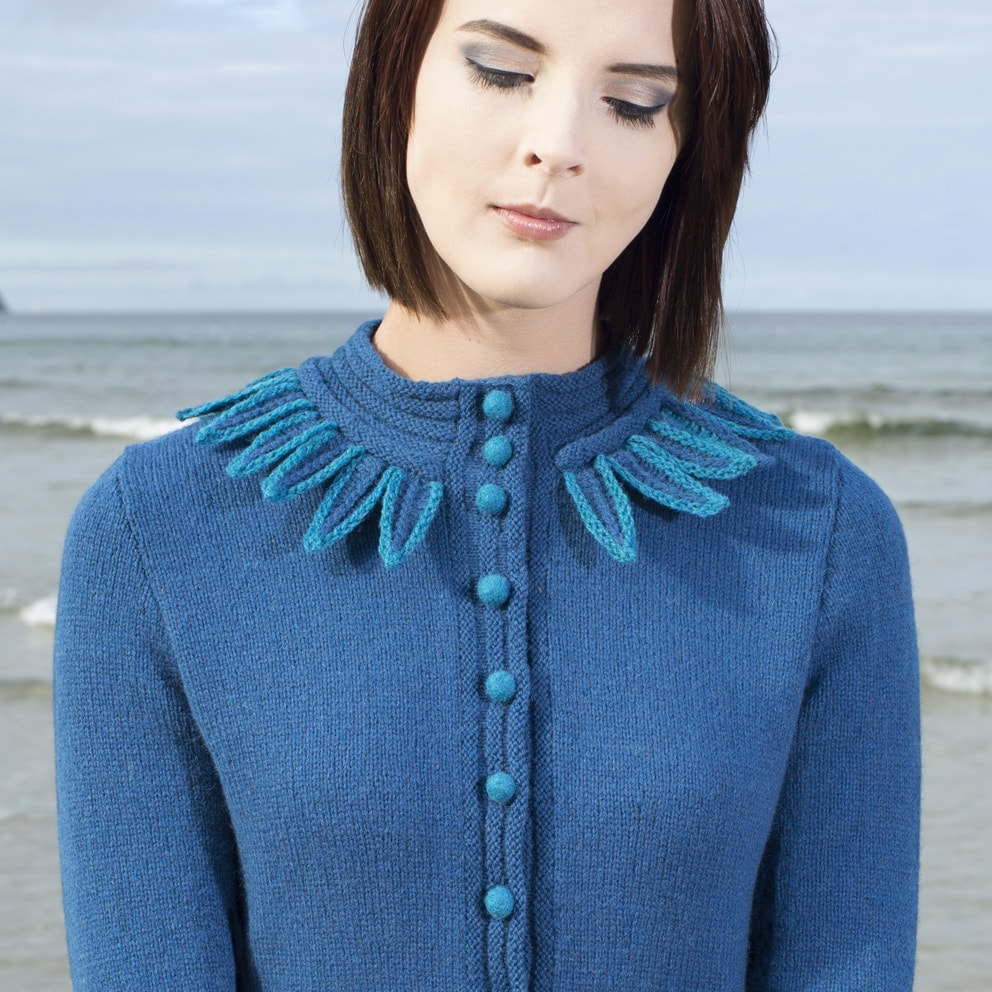
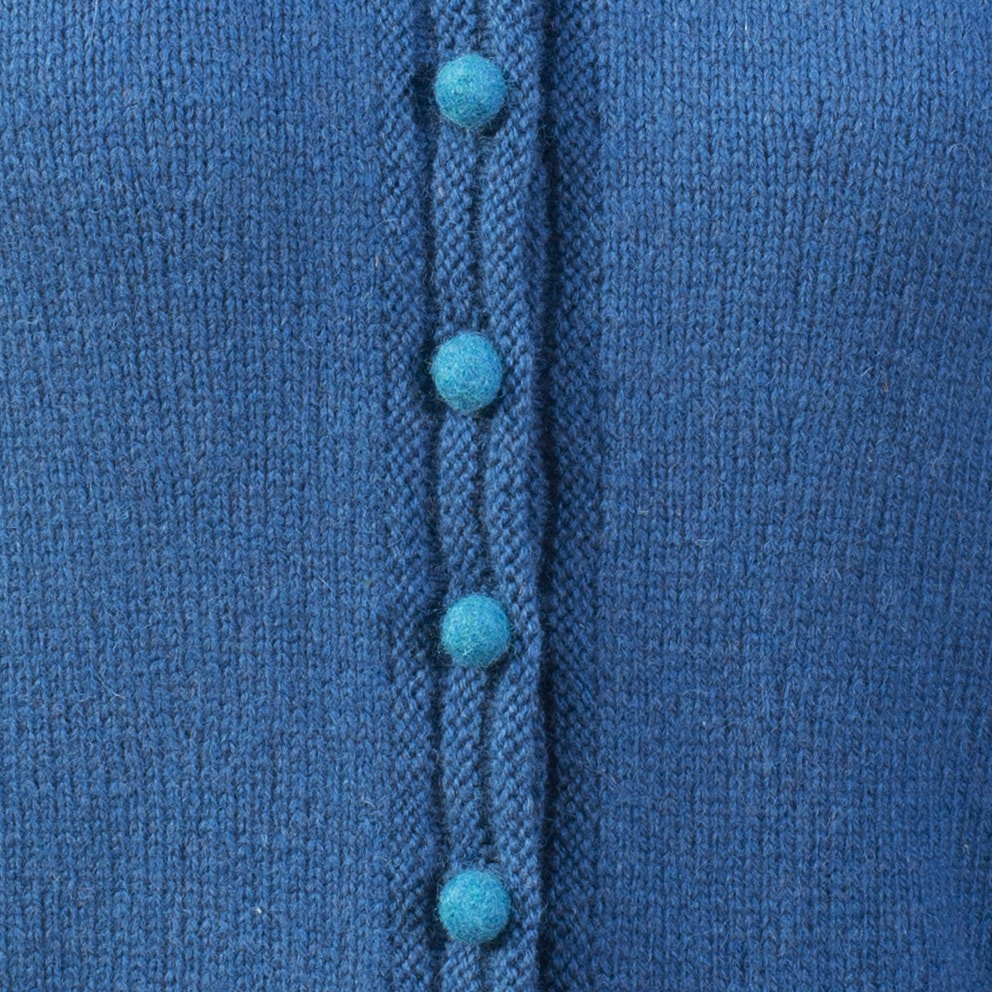
Sometimes plain and simple really works. I wanted the buttons of the Mara Raven cardigan to stand out boldly in size and colour so I made them in the solid contrasting Strabhann colour and added one more stitch and one more row to the standard size before decreasing.
The Selkie costume buttons are made to the standard directions but using my Hebridean 3 Ply on 4mm needles, which makes them big, bold and chunky. I embroidered them in Mara 2 Ply before felting for a subtle contrast on the Selkie-coloured background.
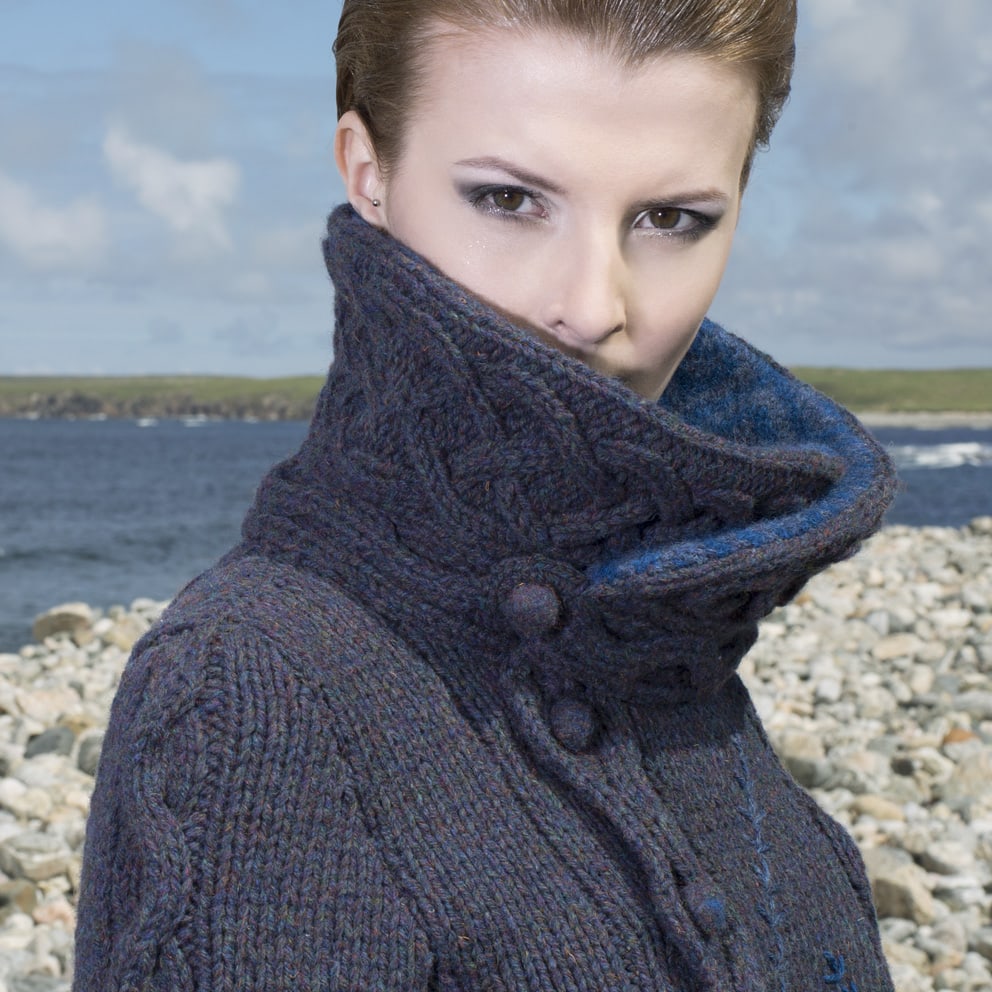
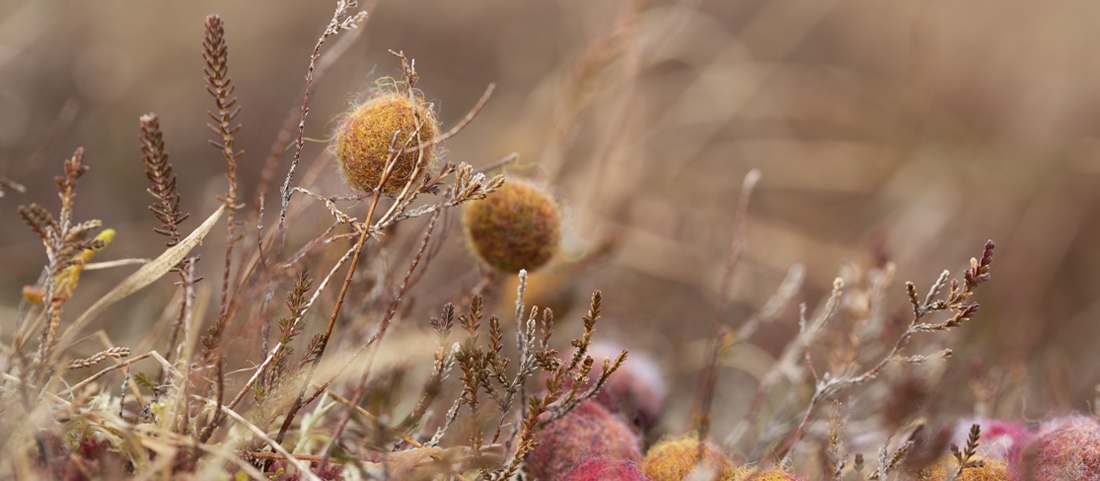
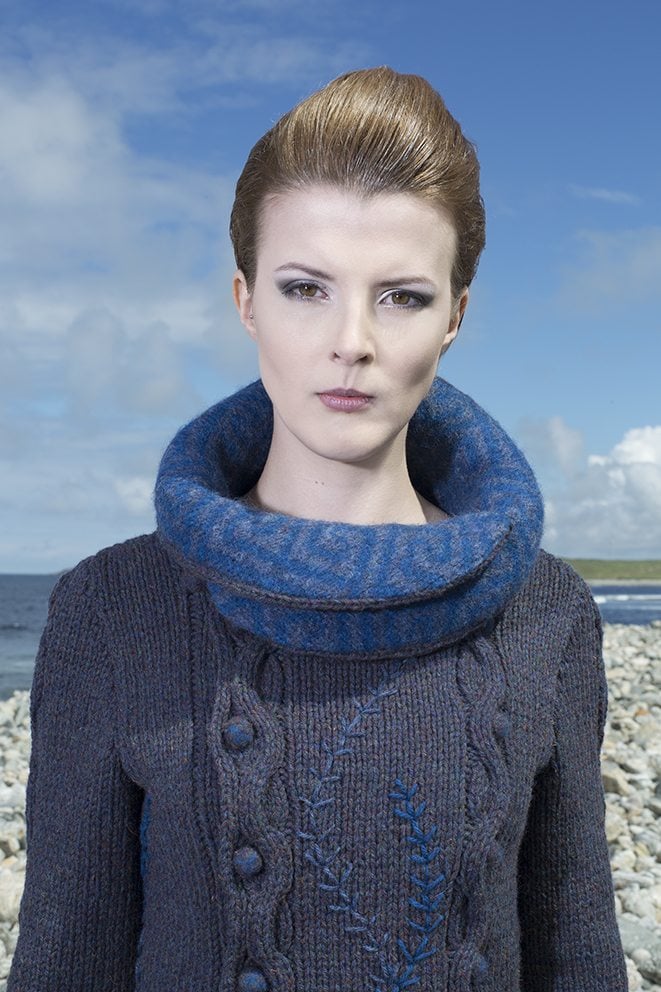
Buttons are also a great way to experiment with colour combinations. The mosses and lichens of the Lewis moor were my inspiration for making these collections. Jade and I took them out on a winter walk and had a lot of fun photographing them. They sat so perfectly in the moss and hung so delicately in the heather that I was tempted to leave them there for sharp-eyed walkers to find, but that idea passed very quickly and so I took them home again and you may well spy them on some future work.
Tips on Shapes, Sizes & More
As you will see from the directions, the buttons and beads are felted until they shrink and become solid. They will shrink by approximately one third of the size they were before felting when they are firmly stuffed. For example, the standard buttons will have a diameter of about 15mm before felting and about 10mm when felted. If you stuff them lightly then they will shrink down smaller and so you can also experiment with this to achieve a variety of sizes.
The buttons and beads in Glamourie are spherical in shape. Don’t worry too much about how the shape looks before felting: as long as you keep to a circular, rolling motion (imagine making a pastry ball) that will do the trick. Once you try this out you will realise how easy it is to alter the shape. For example, rolling like a sausage will make an oblong; alternating between circular and sausage will make it in-between. The degree to which the shape will change will depend on how much you work it in any direction.
I have also found that my maximum endurance for felting beads and buttons is twelve at a time. More than that and the palms of my hand hurt somewhat – not at the time but next day – so take it easy and don’t get too carried away. Also note that the larger you make the object the longer you will have to work it, and there will be a limit to the size that you can comfortably roll around in your hands.
I am anticipating in advance that you may wonder why I embroidered the objects before felting rather than afterwards. You certainly can embroider afterwards but to do this successfully you will need to stop felting before the object becomes so solid that a needle will not go through it.
I also like the subtle, blurred finish of the felted embroidery. This is also more practical for buttons as the threads are melded-in and will not wear or tear with use. The exception I made was for the large orb that the Mountain Hare is holding in her hand. I medium-felted this so that I could embroider it afterwards.
Attach buttons and beads to garments or other objects by taking the threaded needle through an end as for a conventional spherical button.
