Stems, Leaves & Flowers
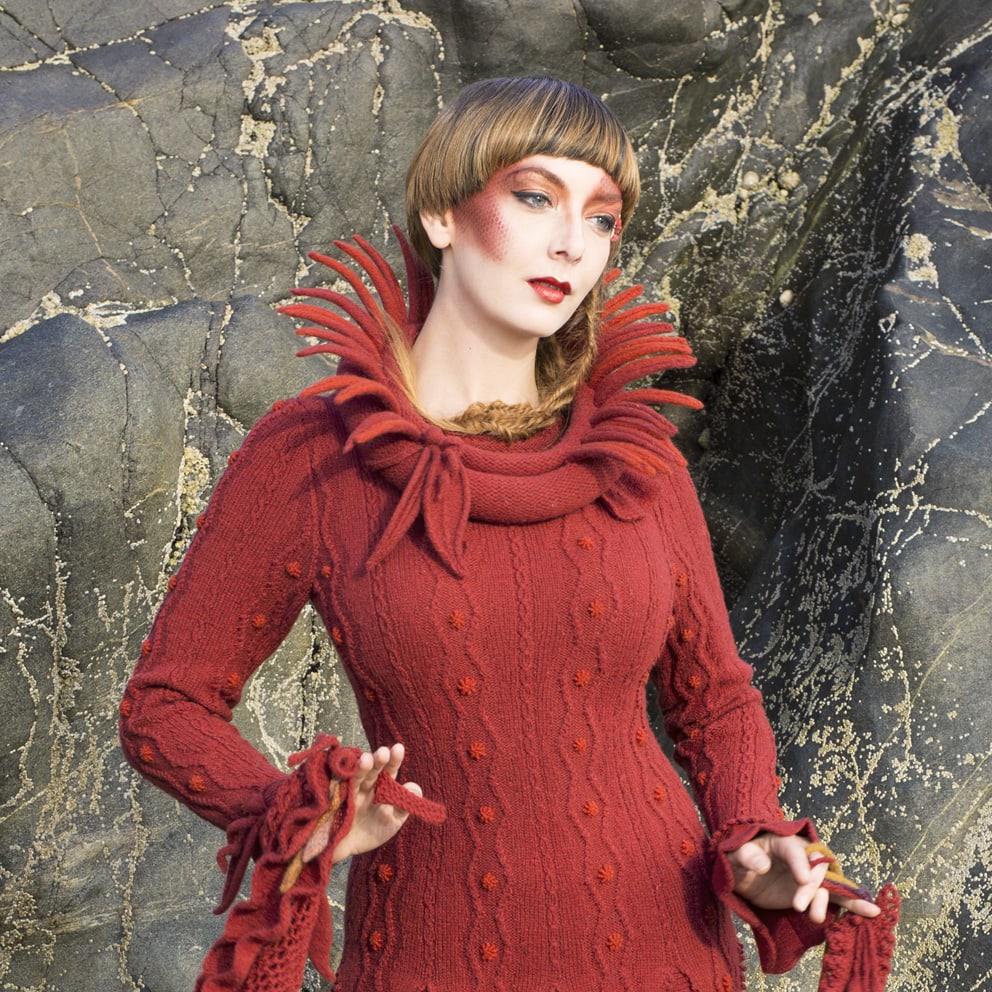
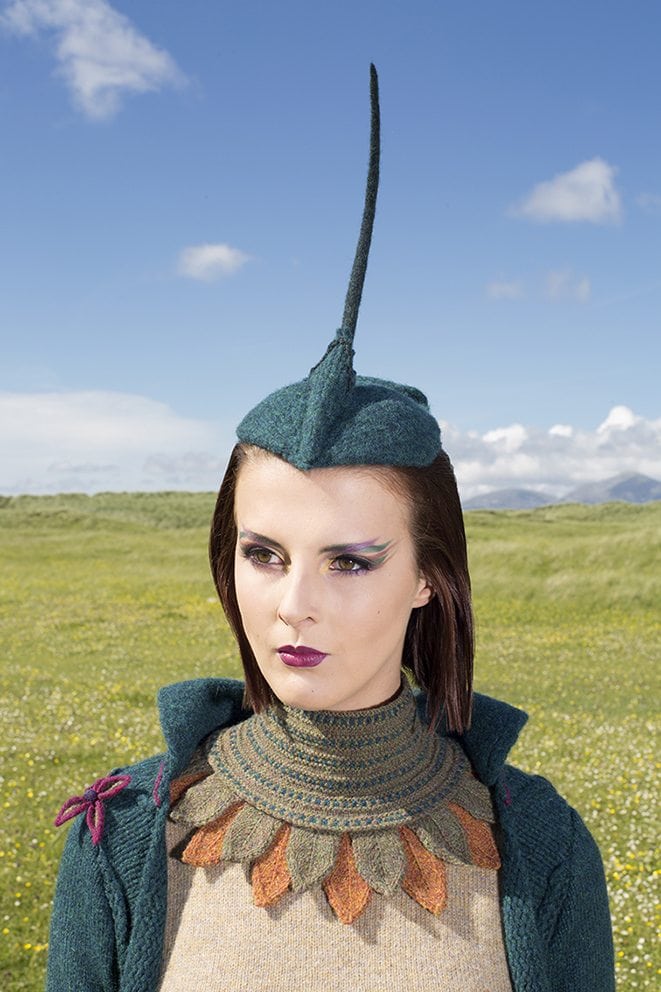
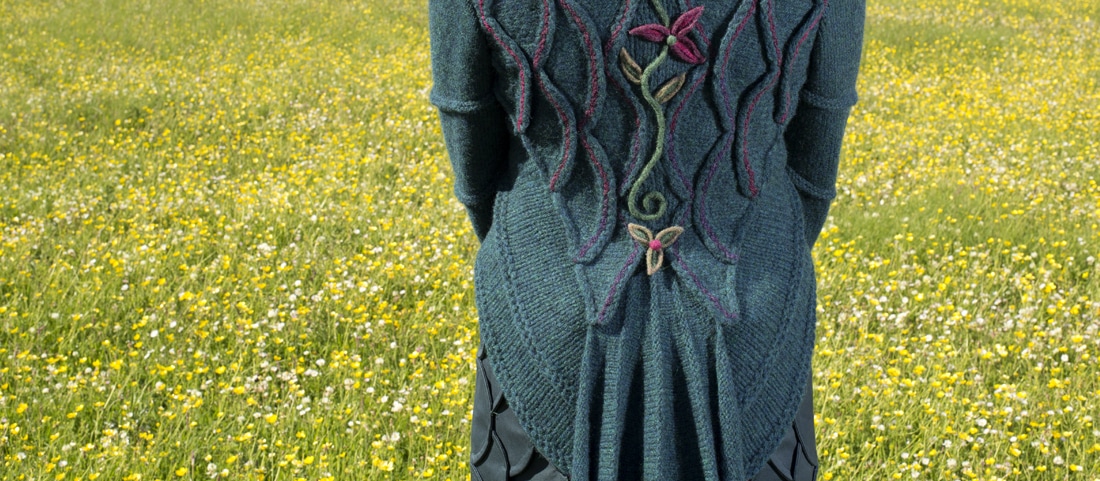
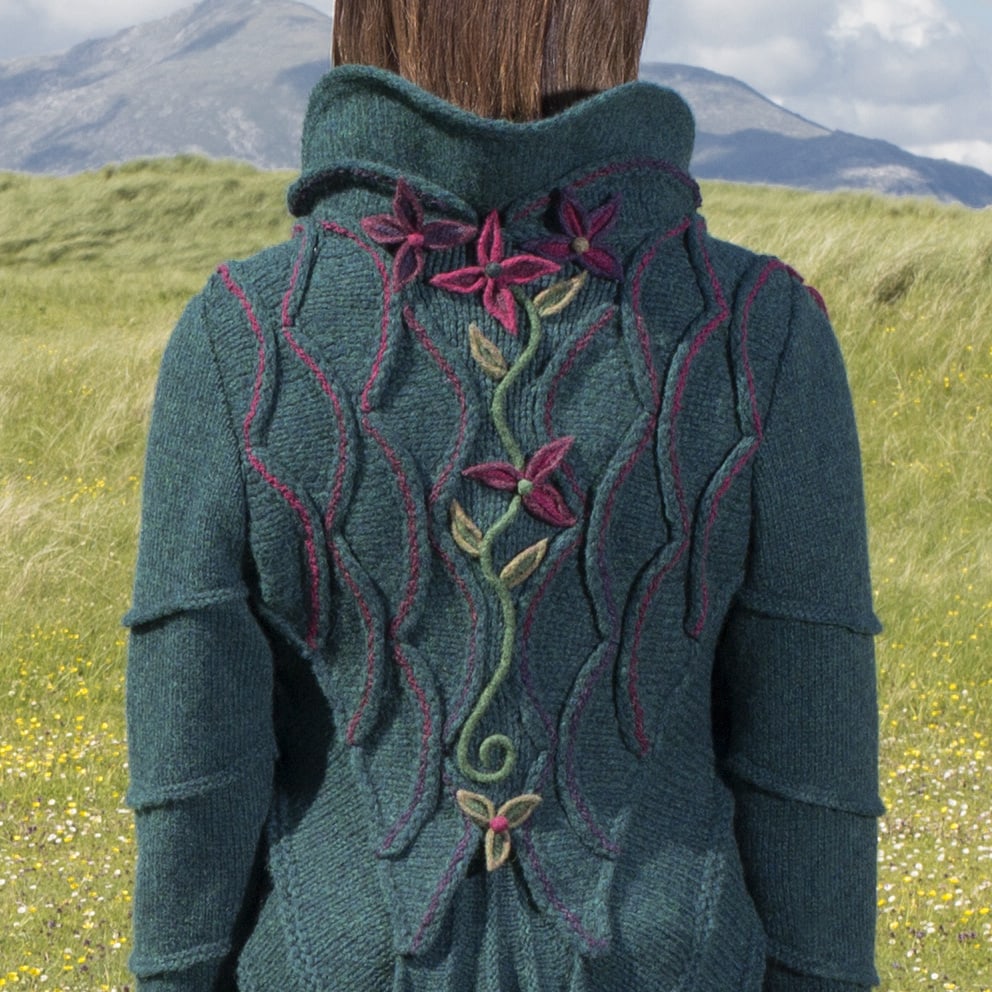
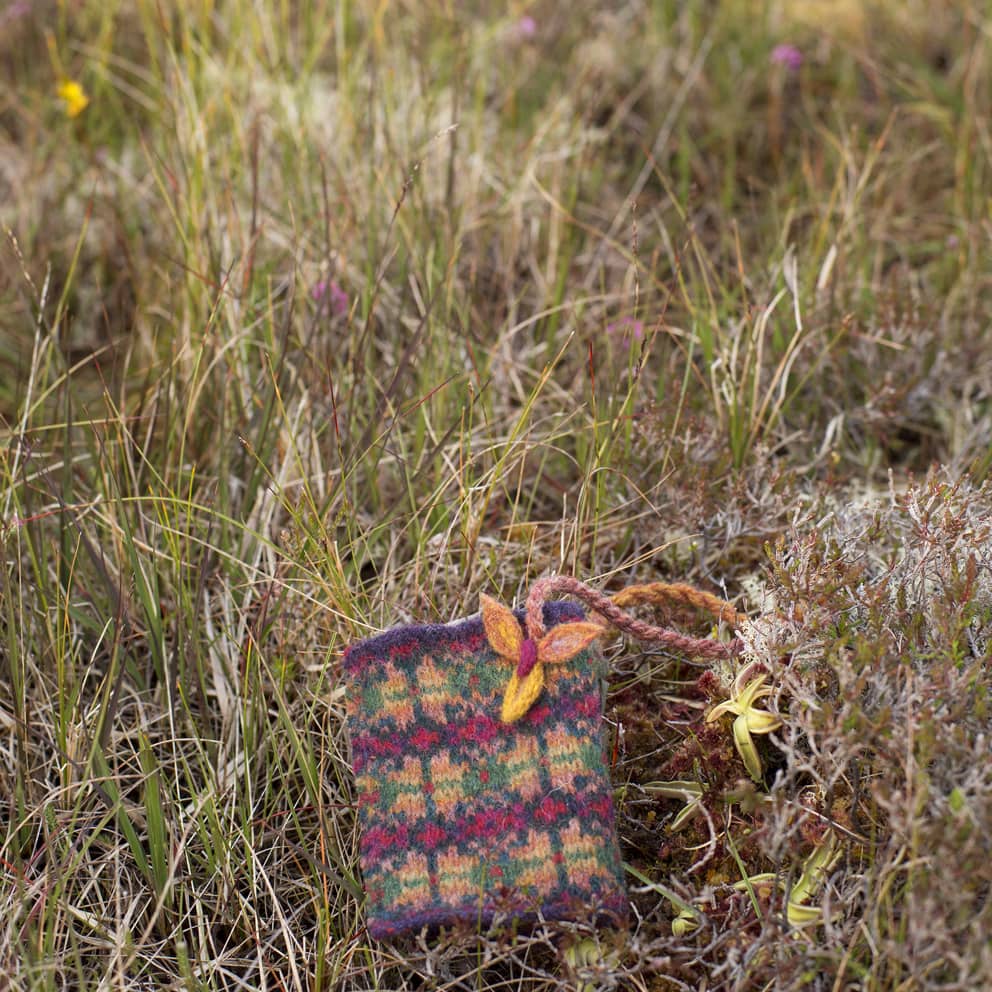
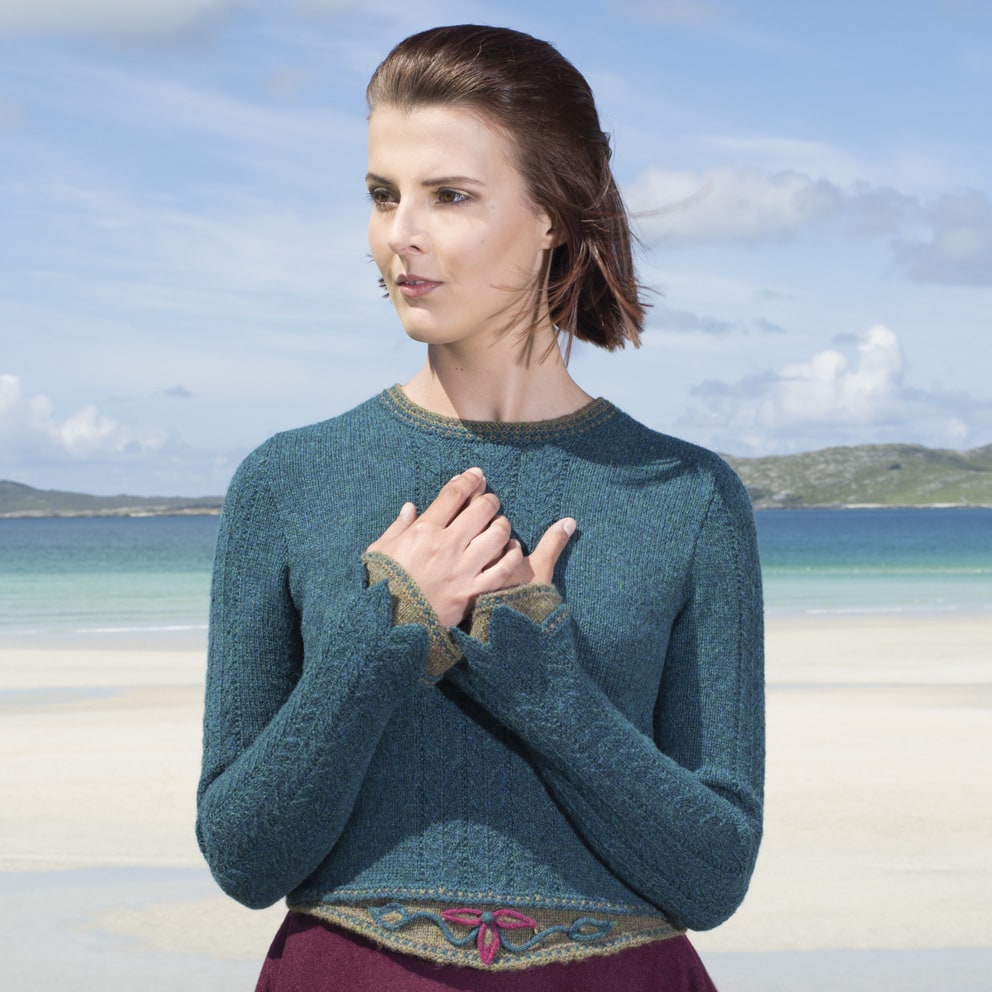
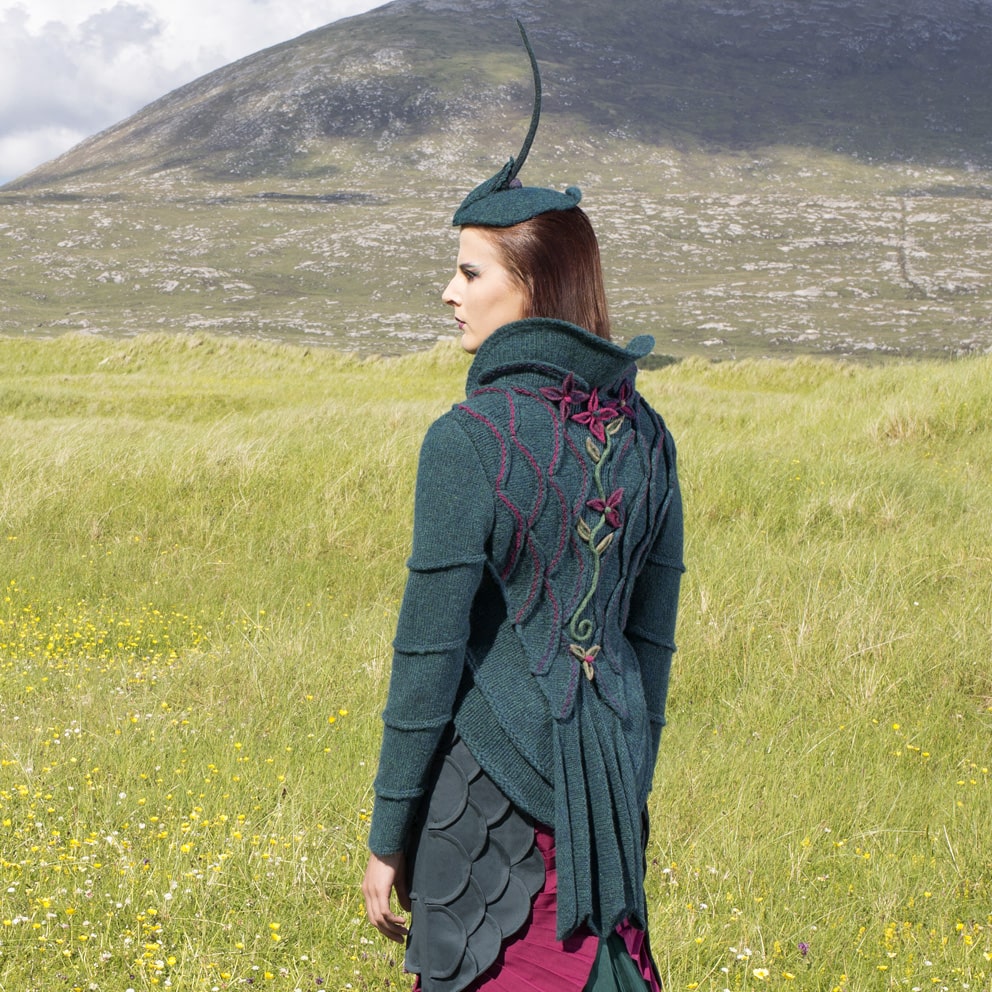
If you are sharp-eyed then you will have noted that directions for the components of the stems, leaves and flowers featured on the Lapwing costume, and the floral decorations on the Cailleach’s costume and accoutrements, are all given in the instructions for the Lapwing pullover design. You can easily see from the photos how you can configure the components in many different ways and colours. For example, some of the flowers on the Lapwing costume have four petals instead of three. You can vary the size of the petals, leaves and stems by simply adding more or less stitches. Work more short rows for the leaves and petals and see how you can change the shapes. Once you have made one set you will see how you can develop and change them, both in the knitting and by manipulating the shapes during felting process as I have described in the instructions.
At this point I should explain that felting can be done to varying degrees depending on the finish required. For the Glamourie pieces, I employed what I will call “three degrees of felting”. In other words, the knitting is hand-felted until you achieve the finish that will work best for your intended purpose. This means constantly checking as you work, for the longer you continue to felt, the more rock solid the piece will become. Here are the examples of the three degrees I implemented.
Light Felting
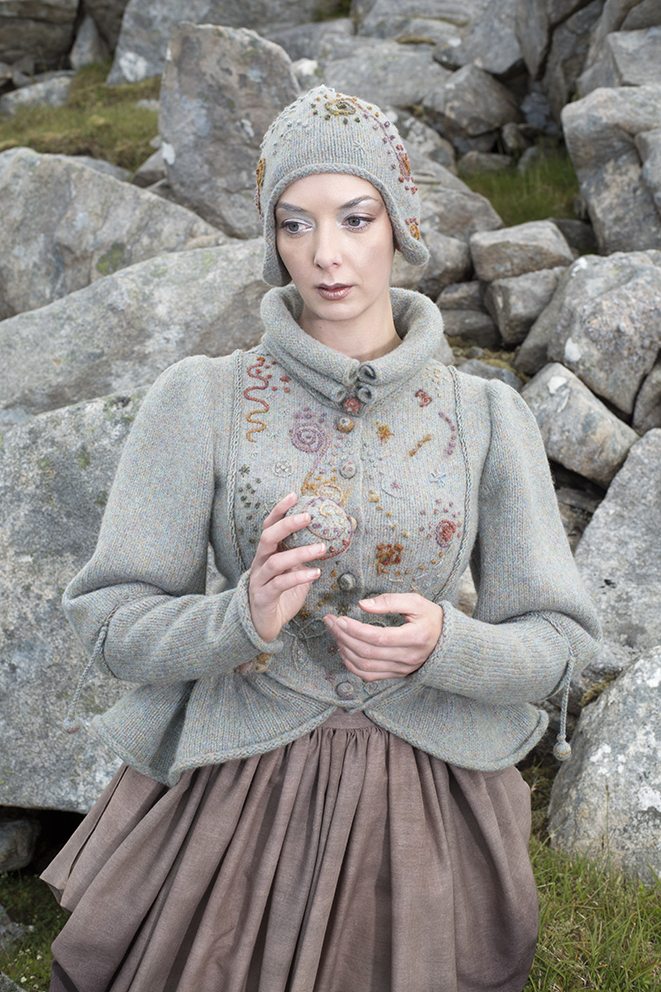
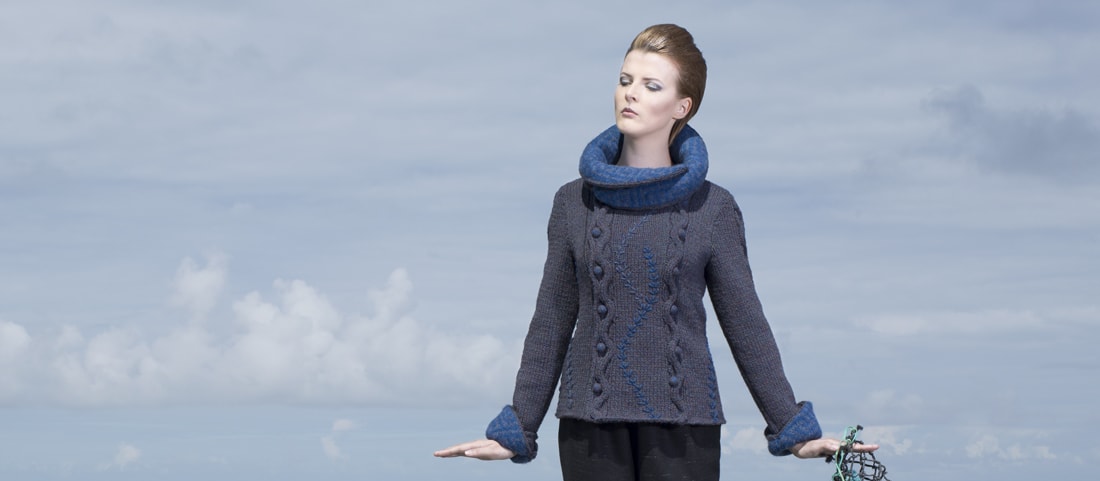
The Mountain Hare costume jacket and hat and the Lapwing costume’s pleated tail are lightly felted to produce a soft and very flexible finish. The finished size and shapes were crucial and so I had to be extremely careful to ensure that as well as felting to the desired finish, each piece would shrink to the exact size and shape I needed. In the case of the Mountain Hare costume this included the tapered body, armholes, neck and sleeve cap shaping, all of which had to be millimetre-perfect. It required the highest degree of judgement in the knitting and throughout the entire felting process.
Medium Felting
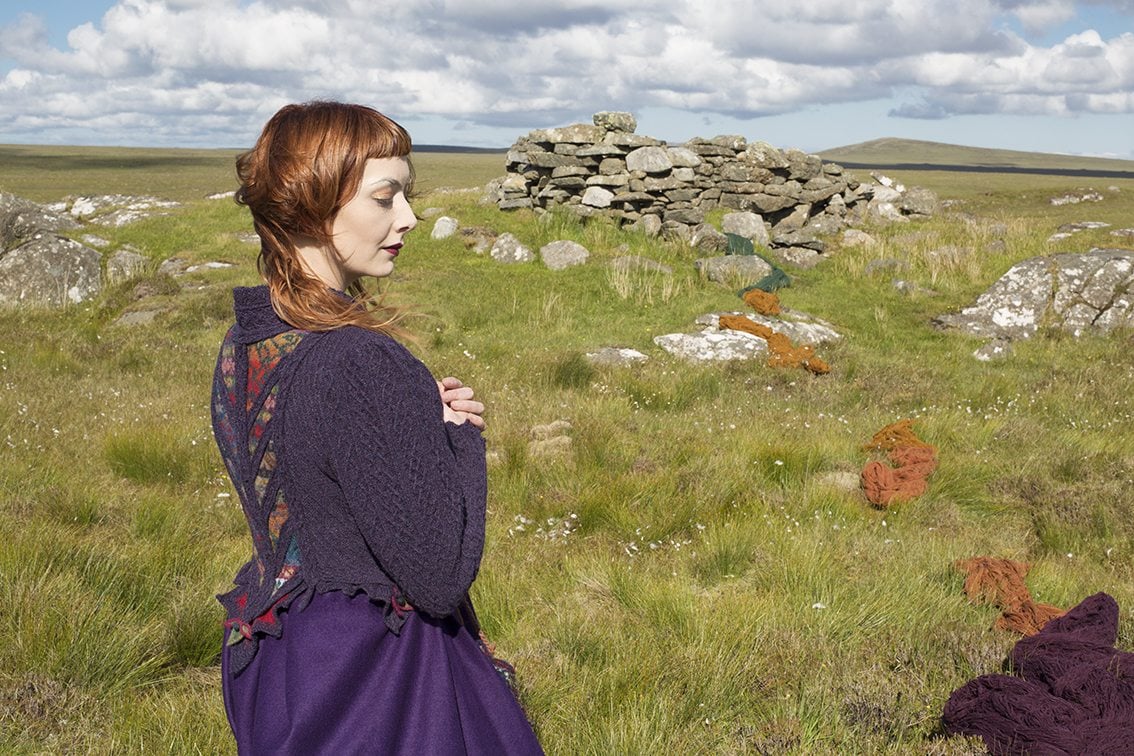
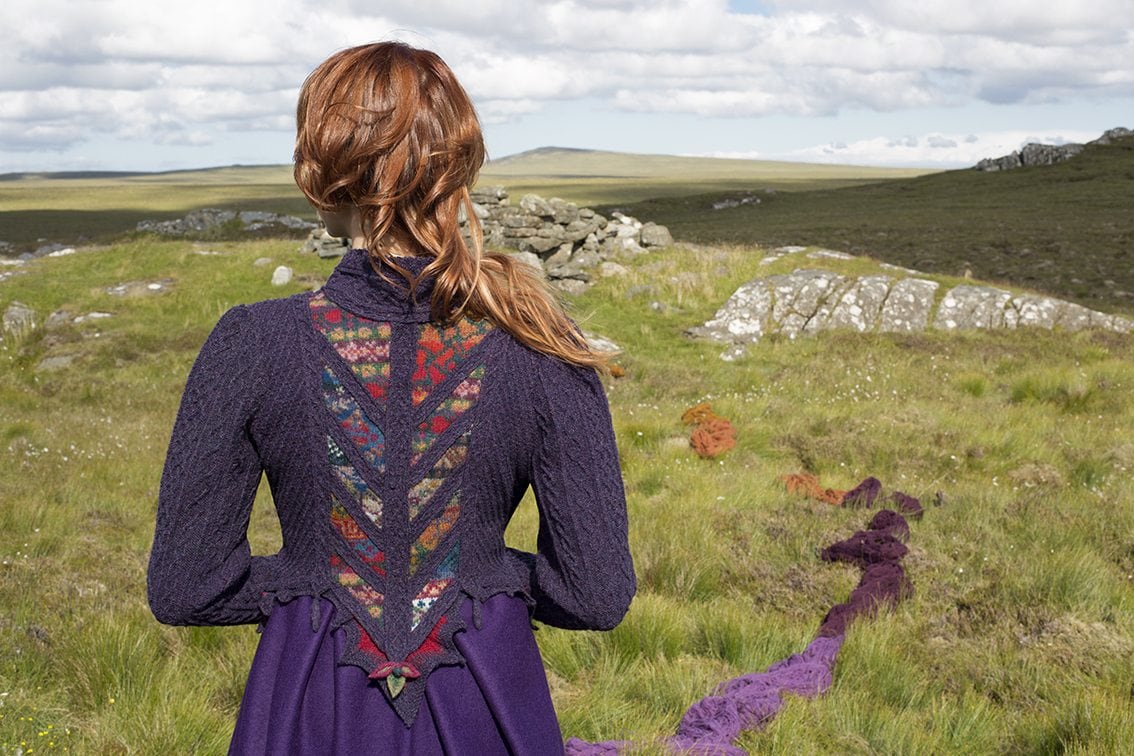
I felted the stranded-colour facings of the Selkie costume and the swatches inlaid in the back of the Cailleach’s costume to a very exact degree; this gave the resulting fabrics the desired amount of firmness for the finish I wanted to achieve. At the same time I needed to felt to a level that allowed the fabric to be cut into the final shapes so that the edges could be firmly hand-sewn to other knitted pieces without any fraying. That also required constant checking throughout the felting process, but since I intended to cut the fabric into the final pieces rather than knit and felt all the shapes to size, it was easier to achieve than the absolute precision required for the Mountain Hare costume.
Firm Felting
Physically this is the hardest work simply because it takes longer. It is also by far the easiest in terms of achieving the right result as you just keep going until the piece is as firm and solid as you want it to be. The buttons and decorations in the costume and design sections are all examples of firm felting. The Lapwing’s crest was the ultimate test for firm felting my Hebridean yarn. Not only did it live up to my expectations in terms of height but it also performed magnificently in a mercifully light breeze. Further examples in the costume section are the Sea Anemone’s tentacles and decorative elements, and the Cailleach’s needlecase.
