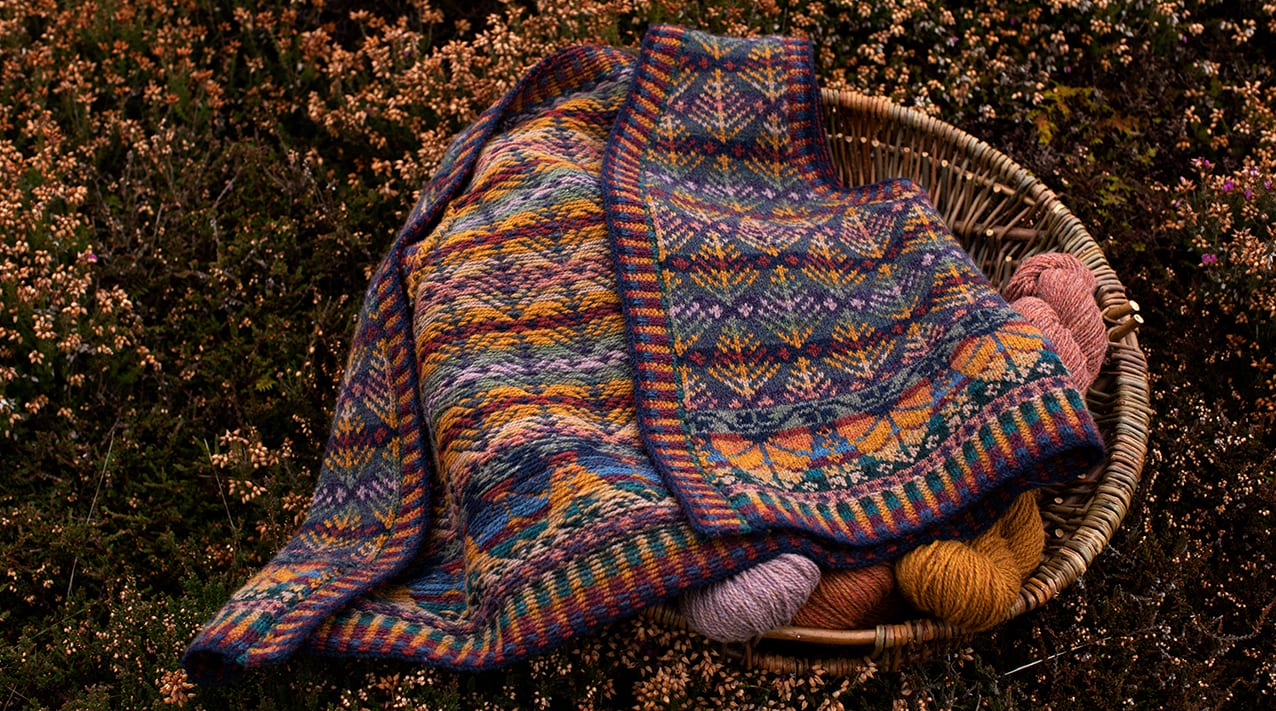
Stranded Knitting in the Round with Steeks Tutorial
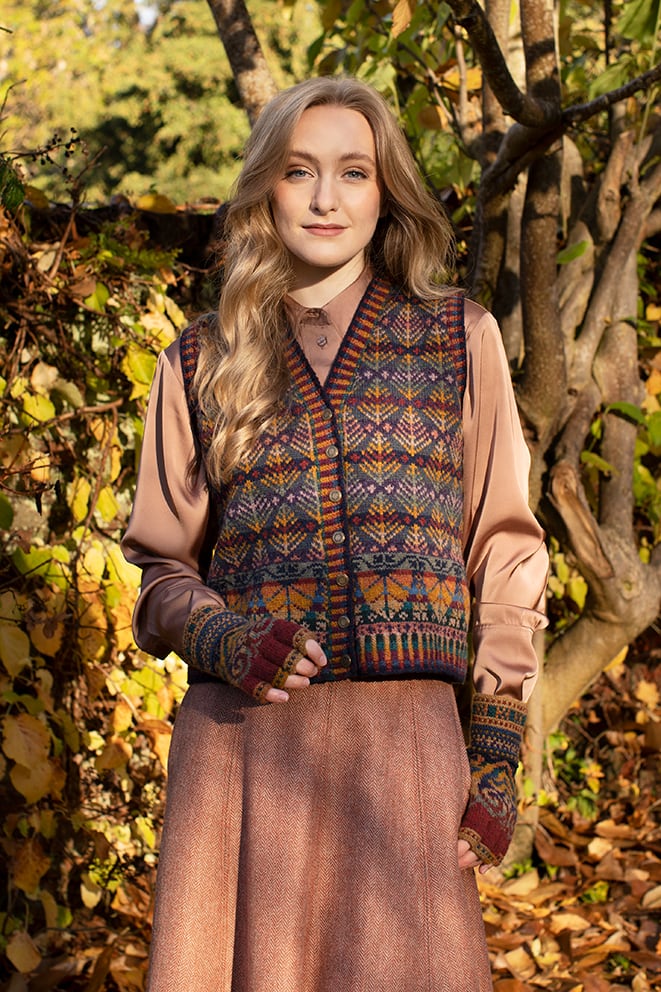
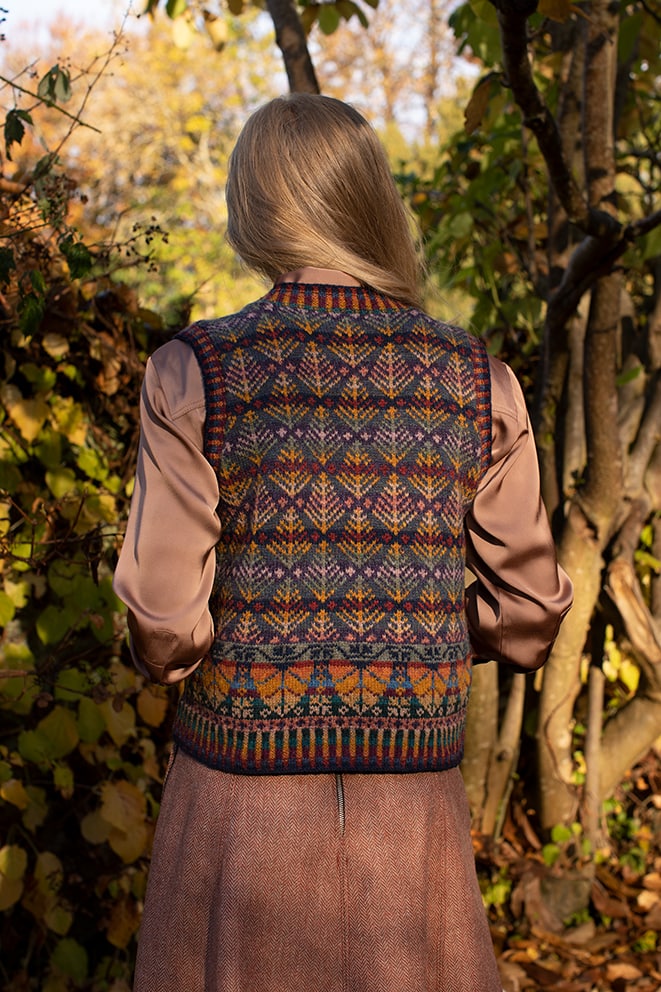
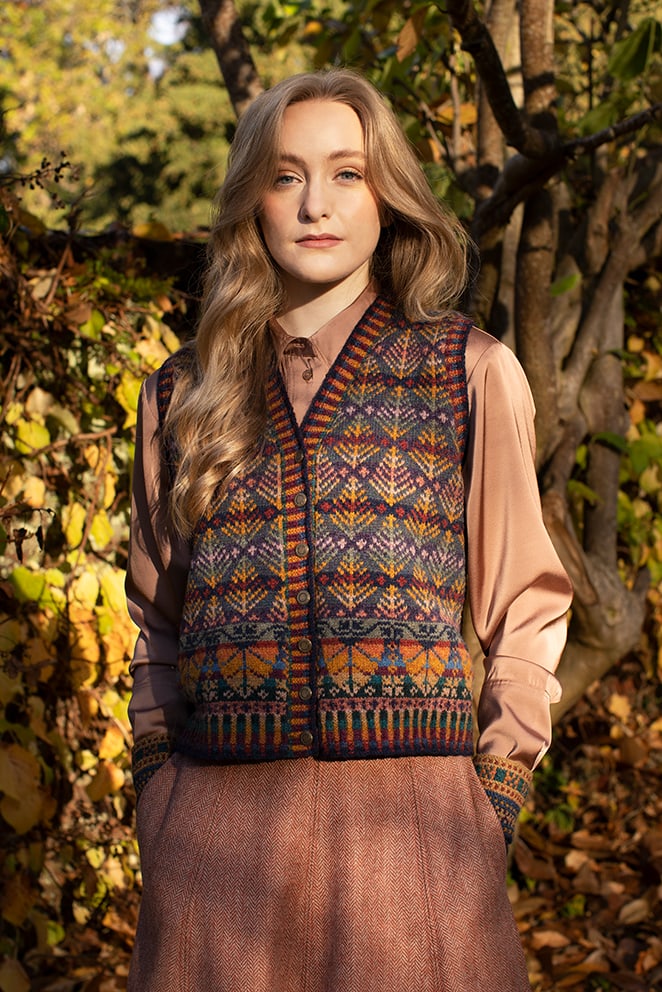
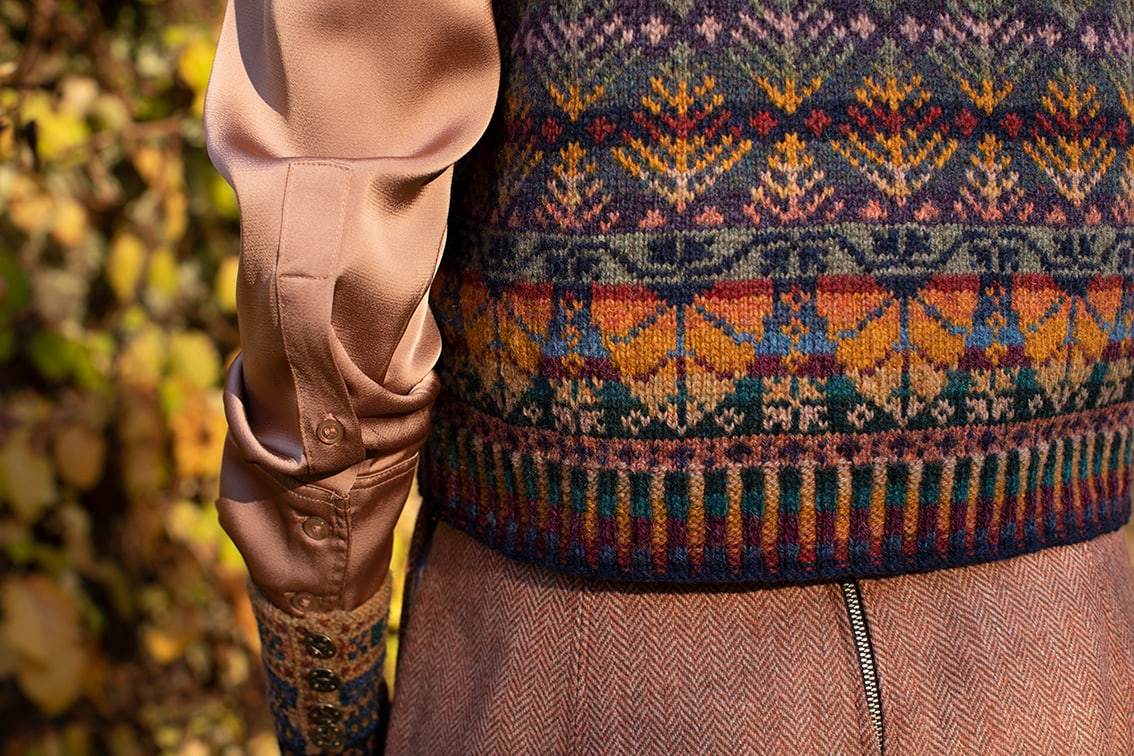
These stranded-colour technique videos give a step-by-step tutorial of the all processes involved in knitting and finishing a stranded garment made in the round with steeks at all openings. I have used the Oregon Autumn waistcoat as a demonstration piece. You will find overviews of the construction of this particular garment, but these tutorials also cover all the techniques involved in making any of our stranded-colour designs in the round with steeks. The techniques covered are:
- Knitting in the round and changing colours at the centre front steek.
- Casting on armhole steeks and shaping with ssk and k2tog decreases.
- Shaping the front neck with ssk and k2tog decreases.
- Placing stitches on a holder and casting on the back neck steek.
- Grafting the shoulders together.
- Cutting the front, front neck and back neck steeks.
- Knitting up stitches and working the front band in two colours on right and wrong side rows.
- Trimming and cross stitching the front steeks.
- Cutting the armhole steek.
Click here for the Oregon Autumn Vest if you would like to knit along!
An Introduction to Stranded Knitting in the Round with Steeks
Here is a short introduction to the stranded knitting with steeks technique.
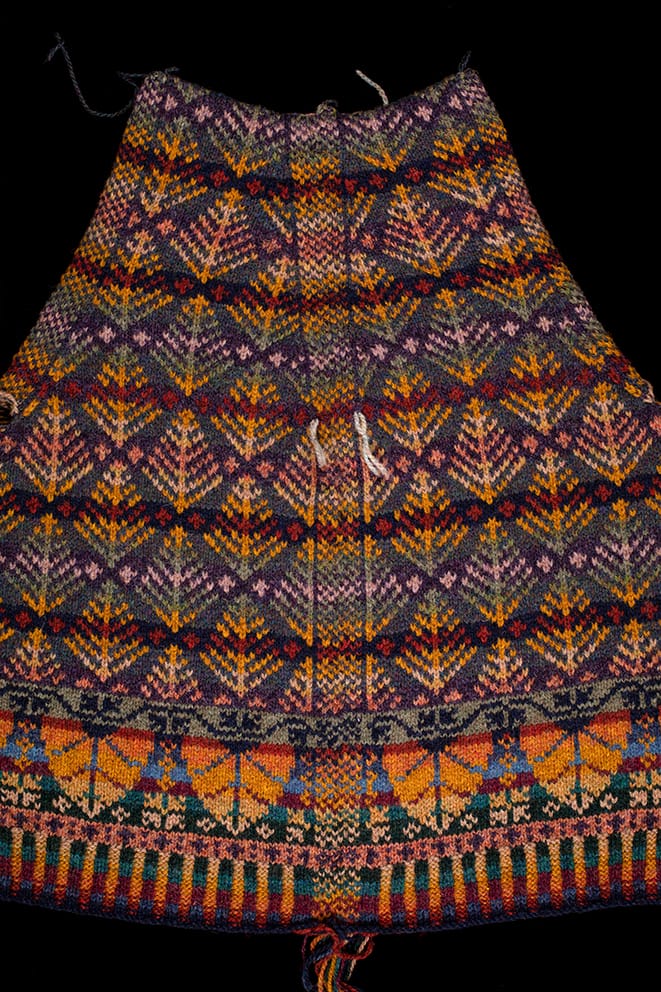
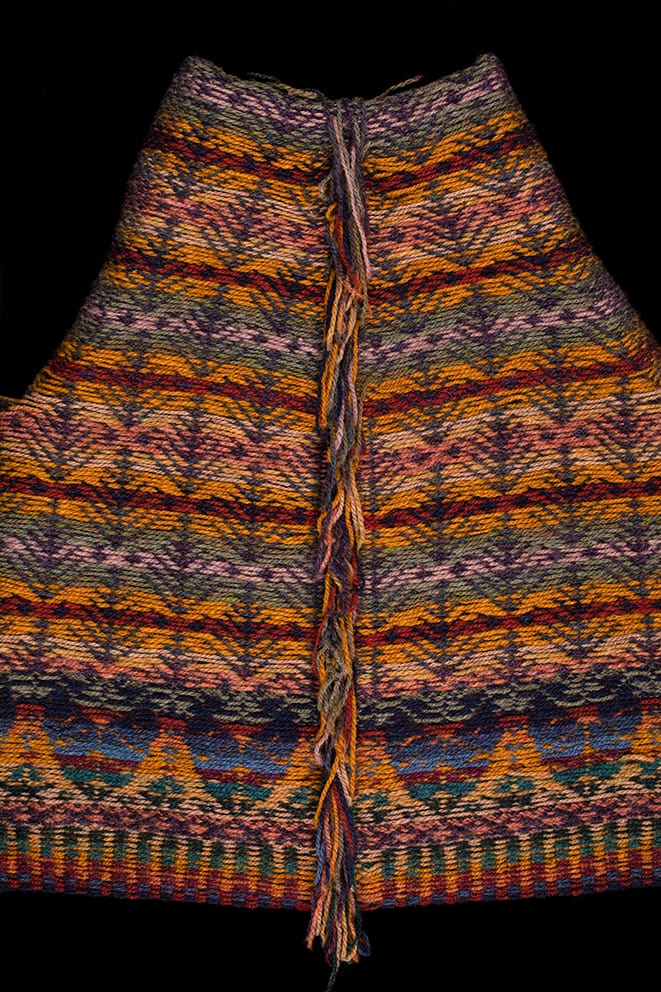
An Overview of Finished Steeks
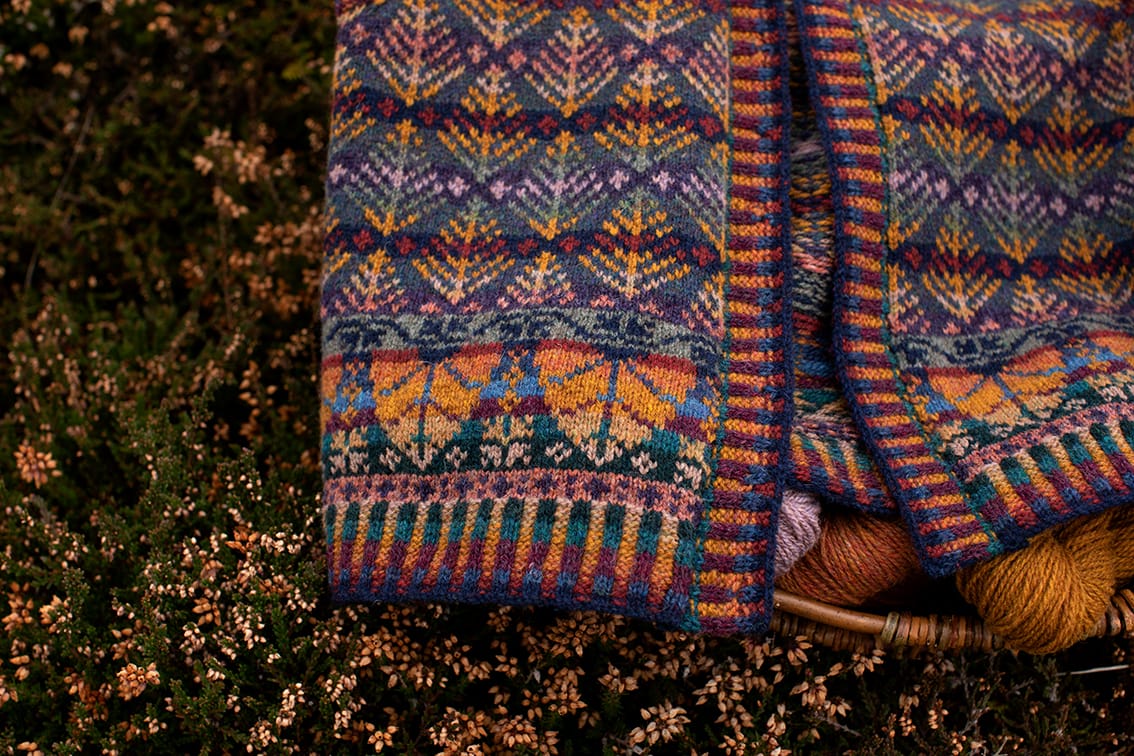
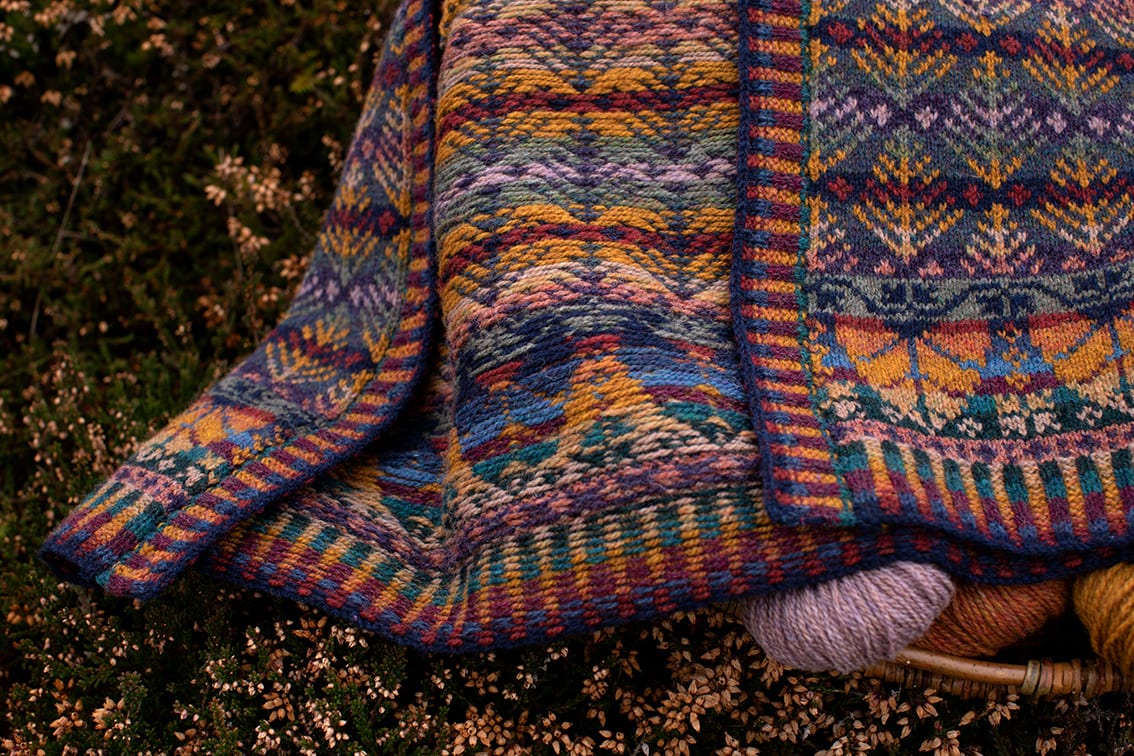
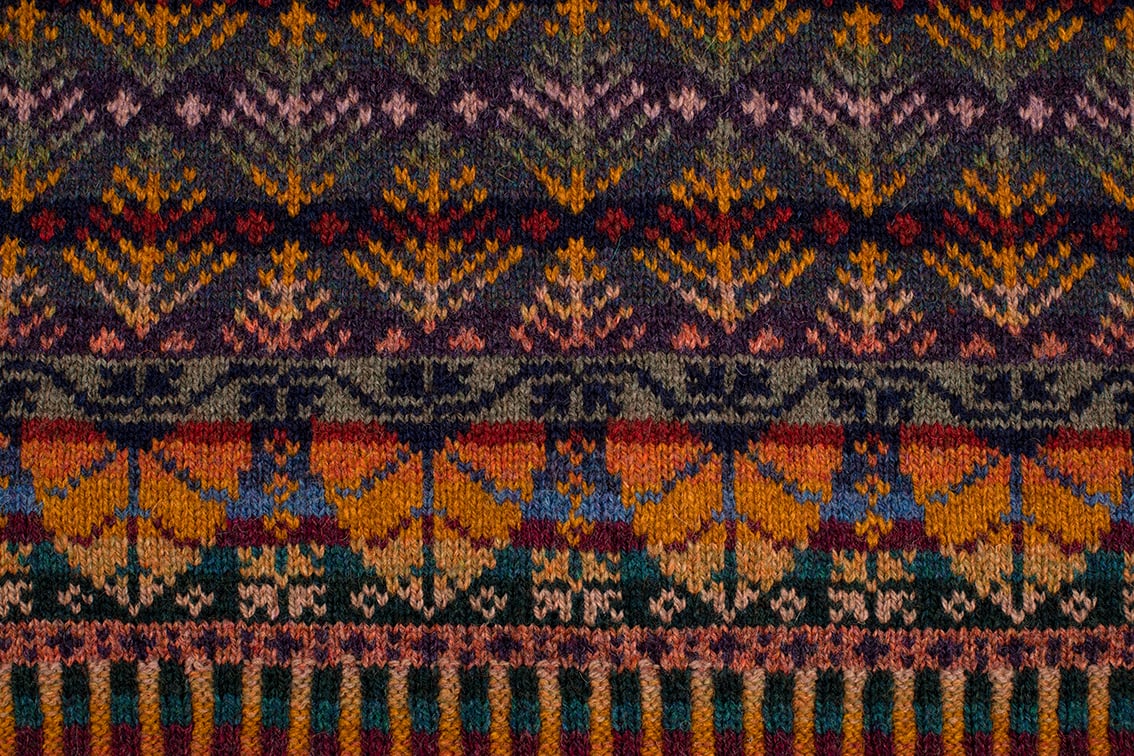
Right and wrong side of the Oregon Autumn waistcoat body with its knitted steeks are shown in the photographs above. The wrong side photograph shows the yarn ends at the centre of the front steek where all the colour changes take place.
Knitting in the Round
This section talks you through knitting in the round, why we use steeks and edge stitches, and what they should look like.
Increasing Between the Border Rib and Chart Pattern
Here you will learn how to increase stitches before setting the main chart pattern.
An Overview of the Body Before Beginning the Armhole Steeks
Here we take a look at the body worked up to the point where the armhole steeks begin.
Beginning the Armhole Steeks
Here you can see how to begin the armhole steeks and keep continuity of the chart pattern on the body.
Decreasing to Shape the Armholes
Here I demonstrate how to use ssk and k2tog decreases to shape the armhole and how to weave-in a strand when necessary . You will also see how the continuity of the pattern is kept throughout the shaping.
Beginning the Front Neck Shaping
This section shows you how to shape the V-neck with ssk and k2tog decreases, while continuing to shape at the armholes.
An Overview of the Body Before The Back Neck Shaping
Here you will see how the body should look before you begin the back neck.
Changing to a Shorter Needle and Beginning the Back Neck
Here you will see how to change to a shorter needle so that the garment will not be stretched on the needles as it reduces in circumference. You will also see the how the back neck stitches are placed on a holder and how the back neck steek begins.
Casting Off All Steek Stitches
On the final round all steek stitches are cast off in preparation for grafting the shoulders together.
Grafting the Shoulders Together
Here you will see how to use Kitchener Stitch to graft the shoulders together seamlessly.
Cutting the Front and Back Neck Steeks
Cutting steeks for the first time can seem daunting; this tutorial shows how easy it is.
Picking Up Stitches and How to Strand the Front Band on Wrong Side Rows
Here you will see how to knit up stitches from the edge stitch in order to work the front band. I also demonstrate my own method for make stranding easier when working a two-colour rib on wrong side rows.
Casting Off the Front Band
Casting off is one of the most important aspects of knitting. Here I demonstrate how to cast off evenly and to the correct tension in order to achieve the perfect finish.
Trimming and Finishing the Front Steek
Here I demonstrate how to trim a steek and begin the cross-stitching process by overcasting whilst attaching the steek to the body of the garment.
Trimming and Finishing the Neck Steeks
Here I demonstrate how to finish the overcast at the top of the steek and then cross stitch the steek for a perfect and lasting finish. You will also see me trimming and finishing the little back neck steek.
Cutting the Armhole Steeks
Here you will have a close-up view of cutting one of the armhole steeks.
A Look at the Stability of a Cut Steek
Here I demonstrate the stability of the cut edge of the steek when it is worked in the appropriate yarn and stitch format.
Other Stranded Garments Knitted in the Round
A brief look at how the technique of working stranded colour-knitting in the round with steeks is the same regardless of the shape, pattern and style of the garment.
