Works in Progress
Whatever your skill level it is good to have a visual reference of the construction processes involved in hand knitted garments. We have a wide variety of free tutorials covering a range of knitting techniques which you can watch me demonstrate. This particular page is dedicated to showing some of our works in progress. Jade and I knit most of the sample garments that you see on this website and here you can find images and the occasional video of projects, past and present, during and after construction.
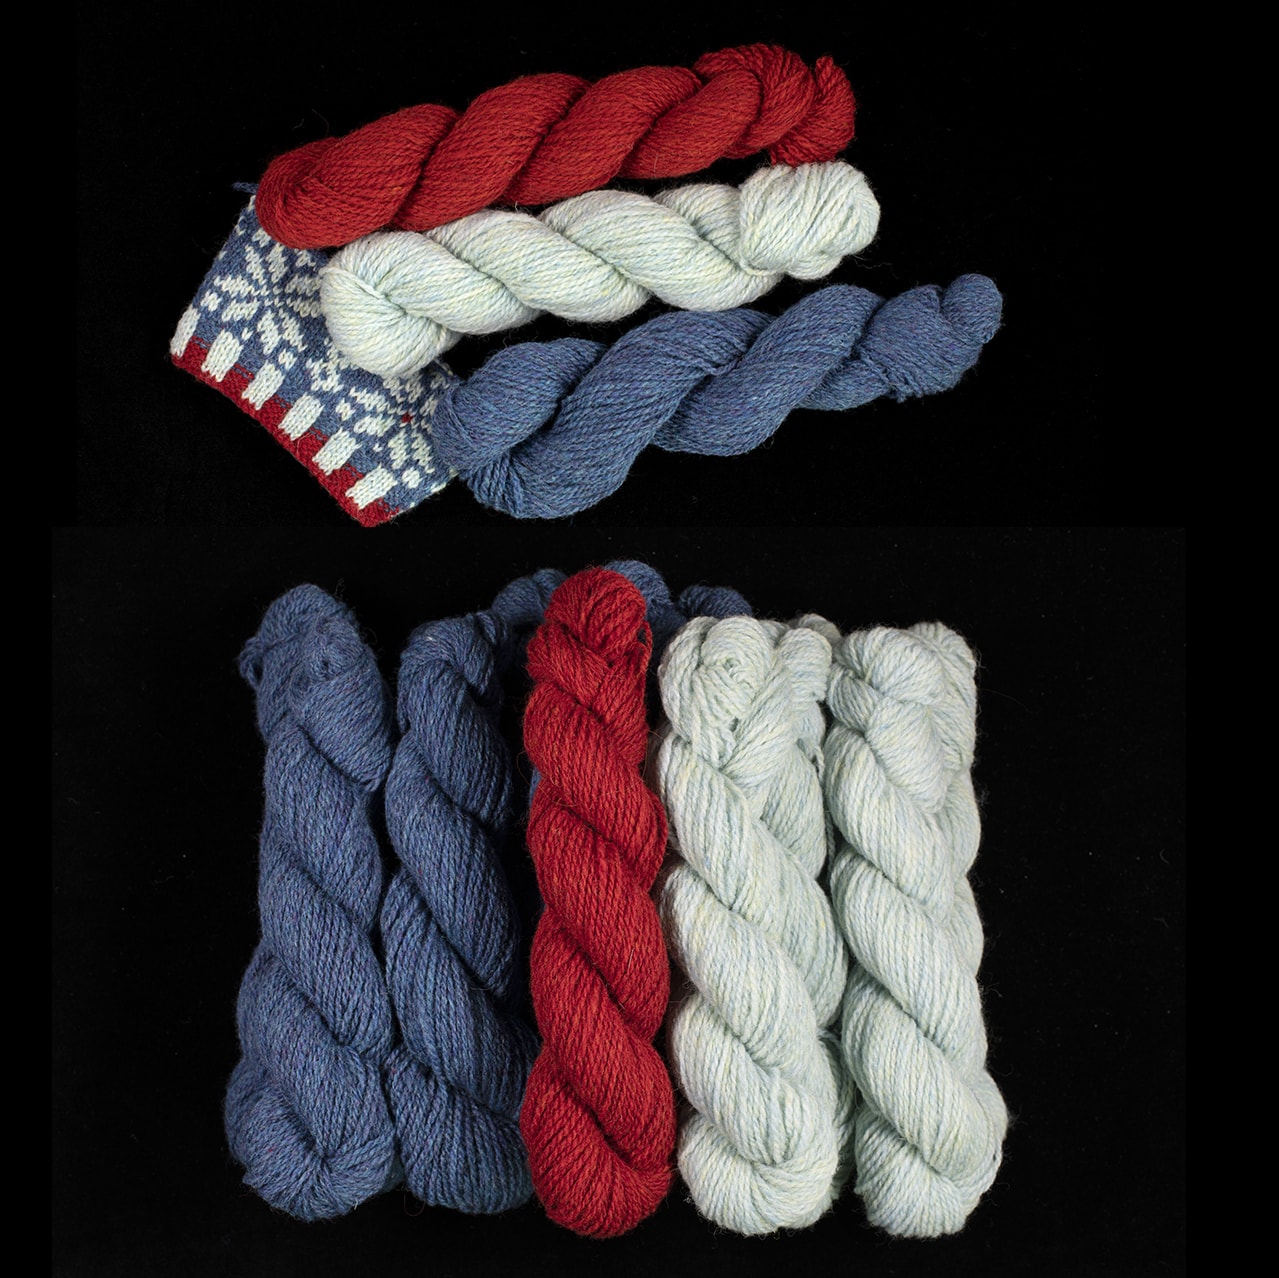
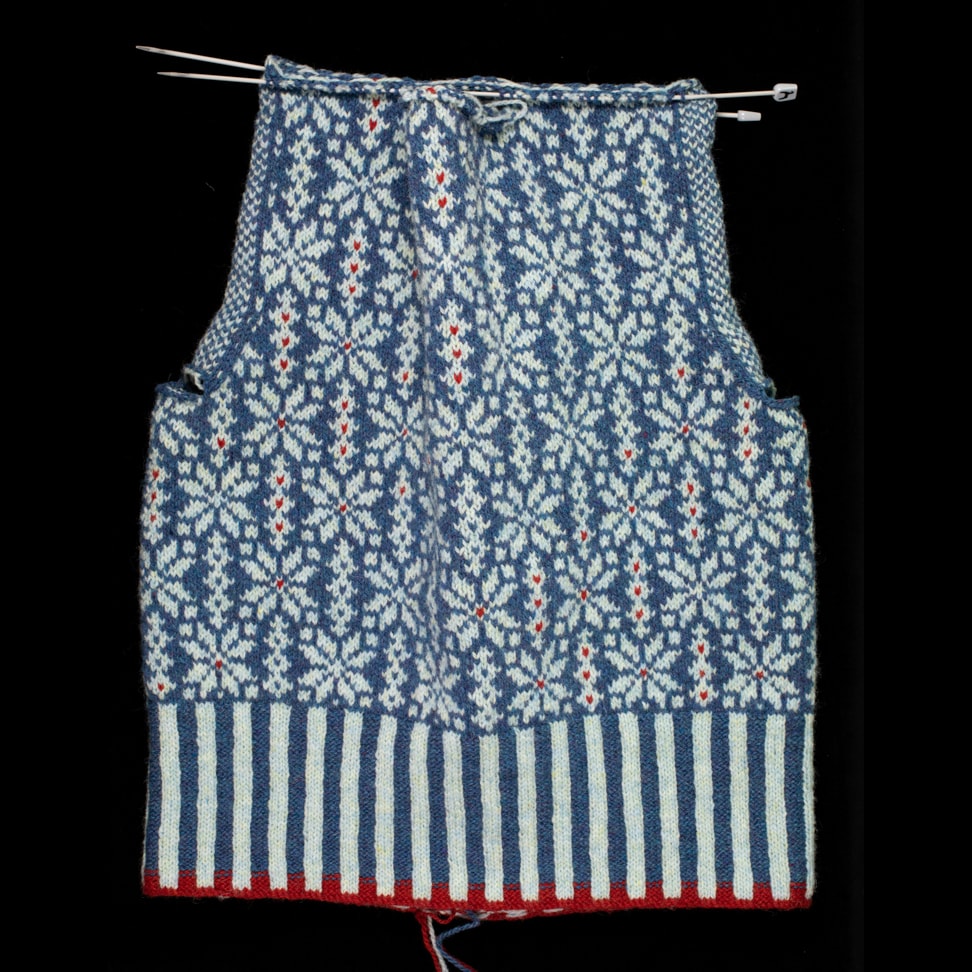
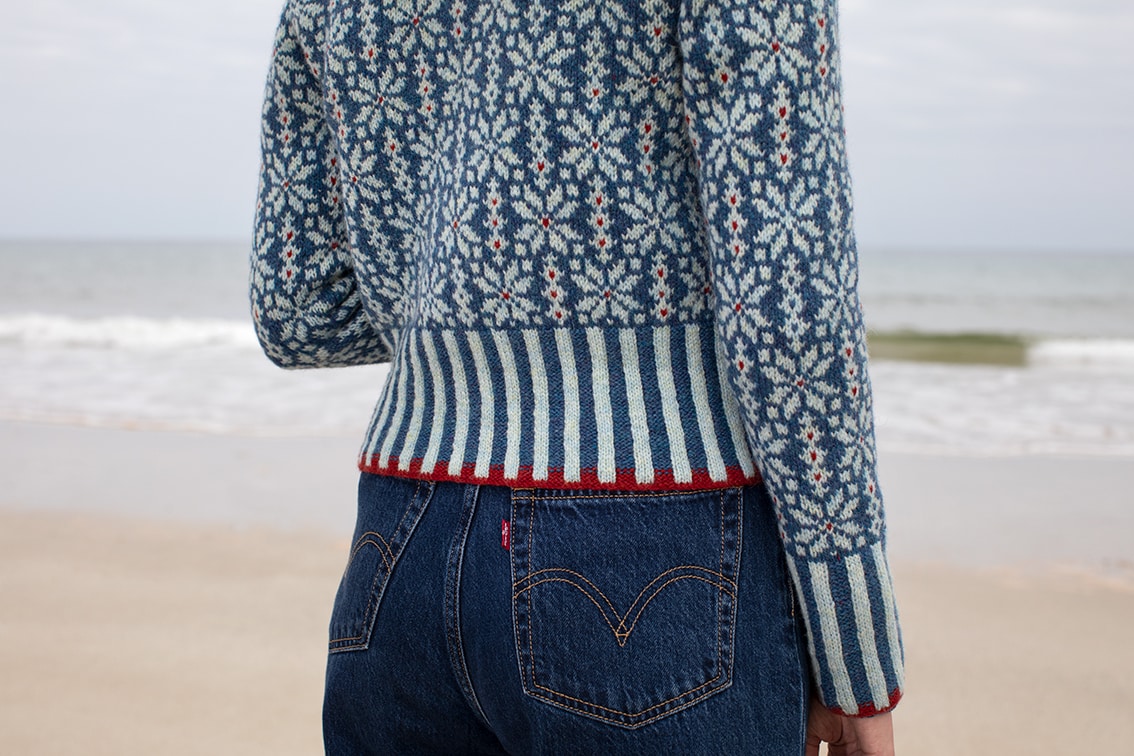
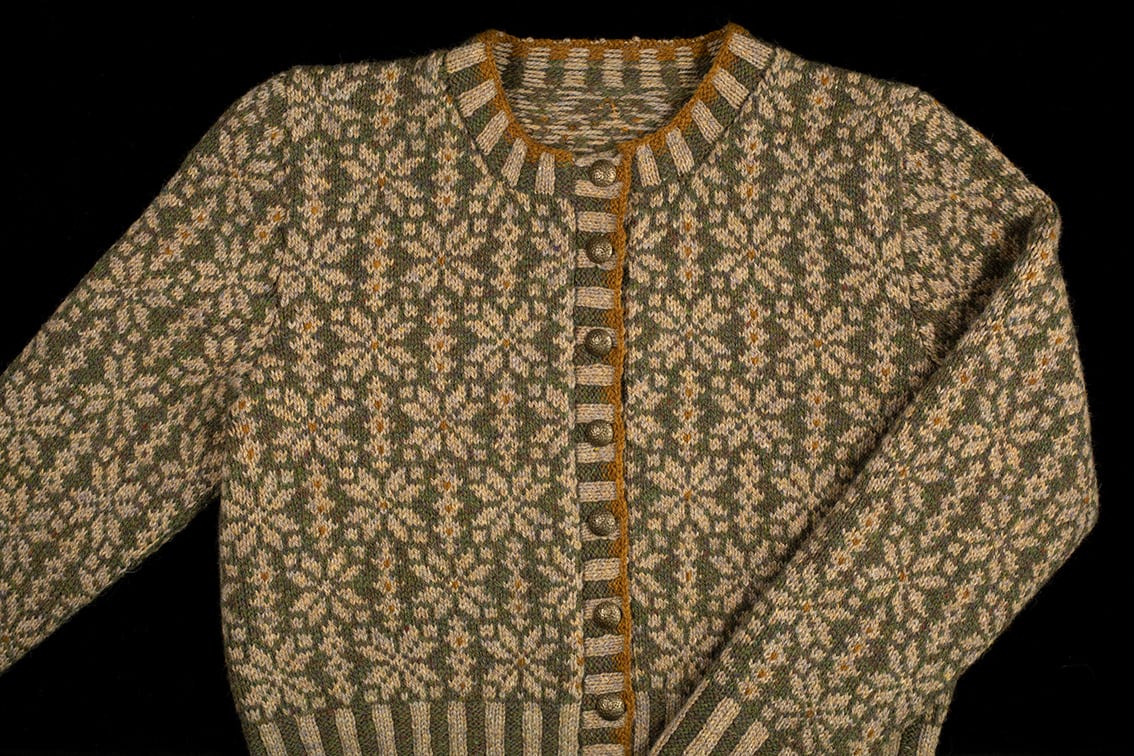
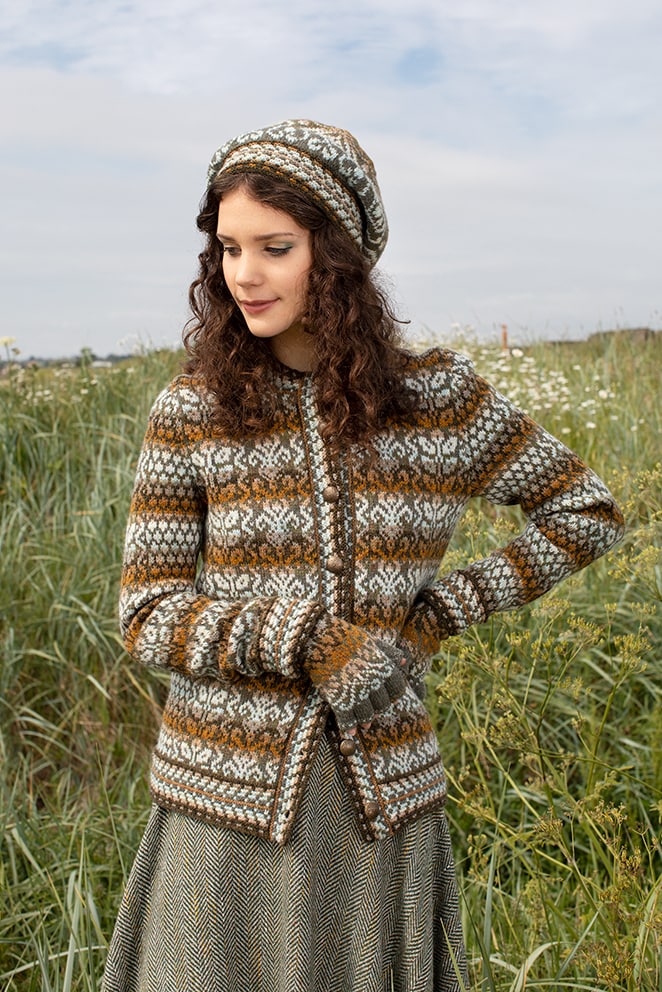
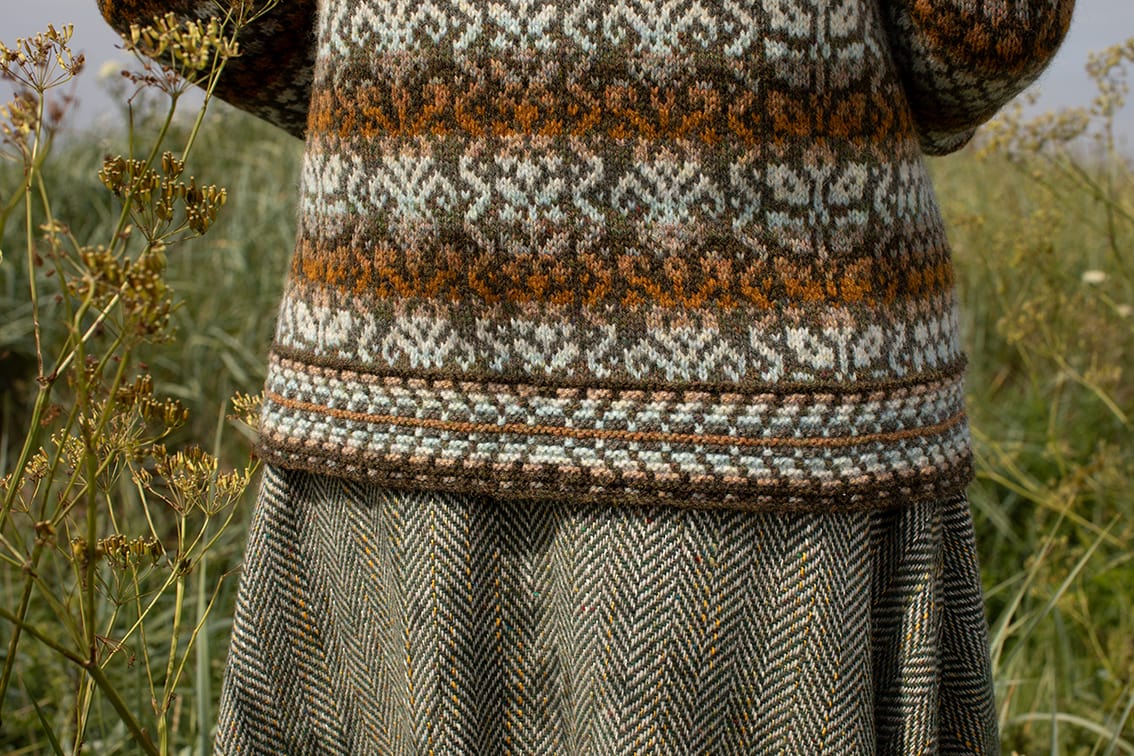
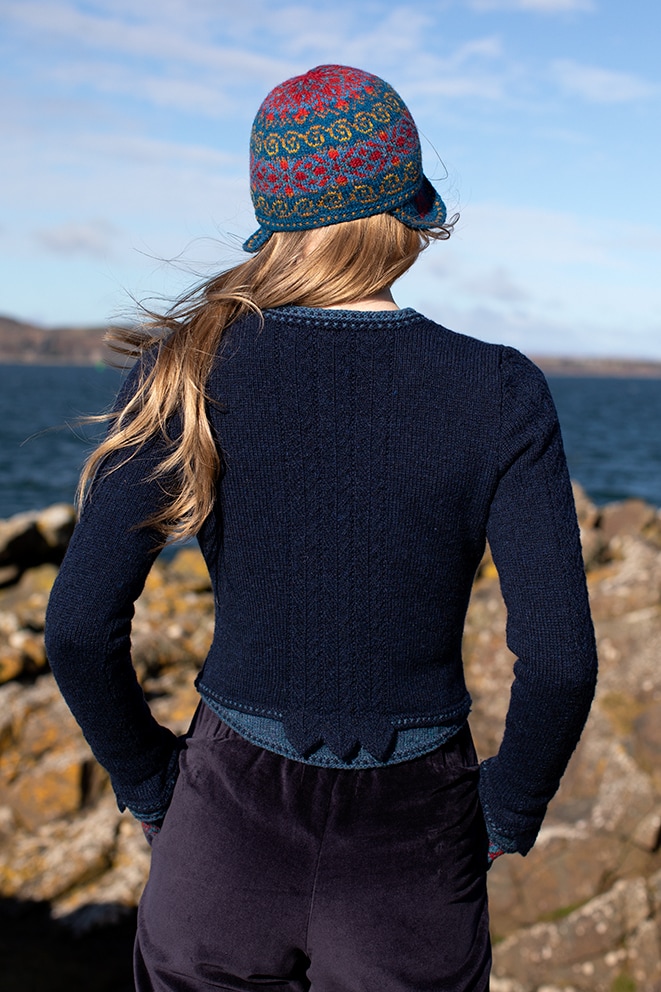
Here you can see the Polaris Cardigan at different stages.
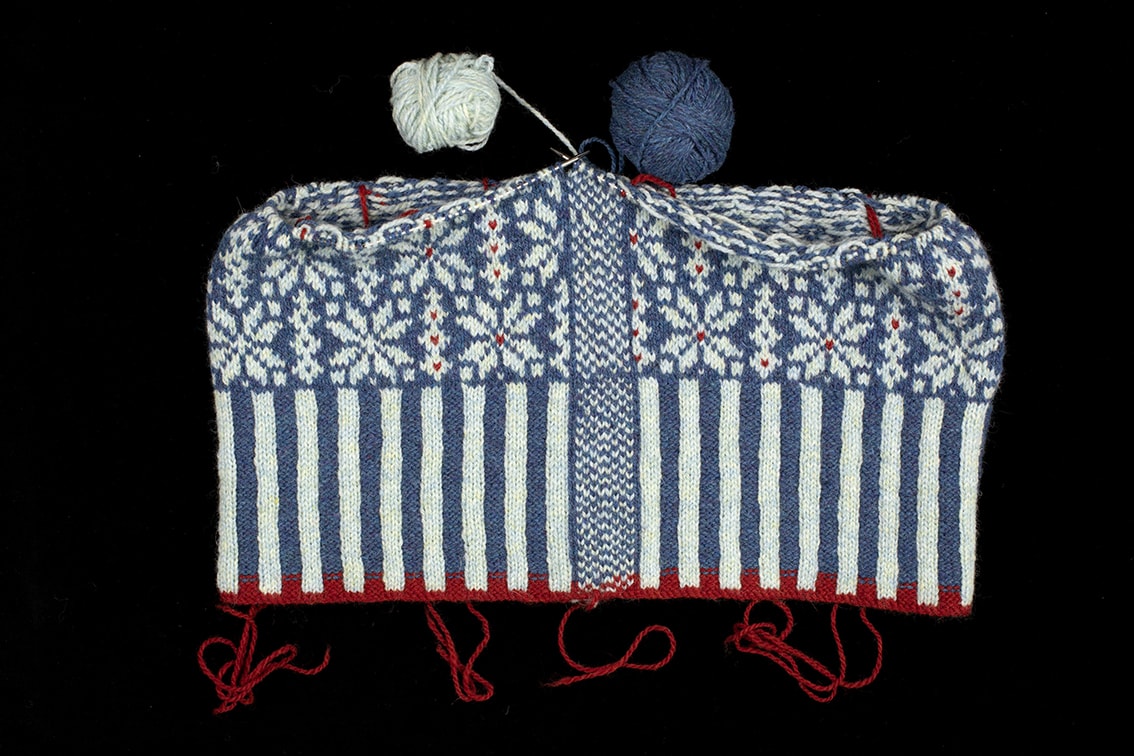
Below you can see the body before and after cutting the steeks. If you are making a stranded garment with steeks for the first time you will probably find that it looks a little odd while you are working the neck. The steek bridges the neck and draws everything together whilst the neckline shaping is worked at each side. You will not be able to see the shape of the garment until the steek has been cut. All of our stranded designs come with full and detailed instructions for working the garments with steeks so you can be sure that when you cut them open the garment will fall into perfect shape.
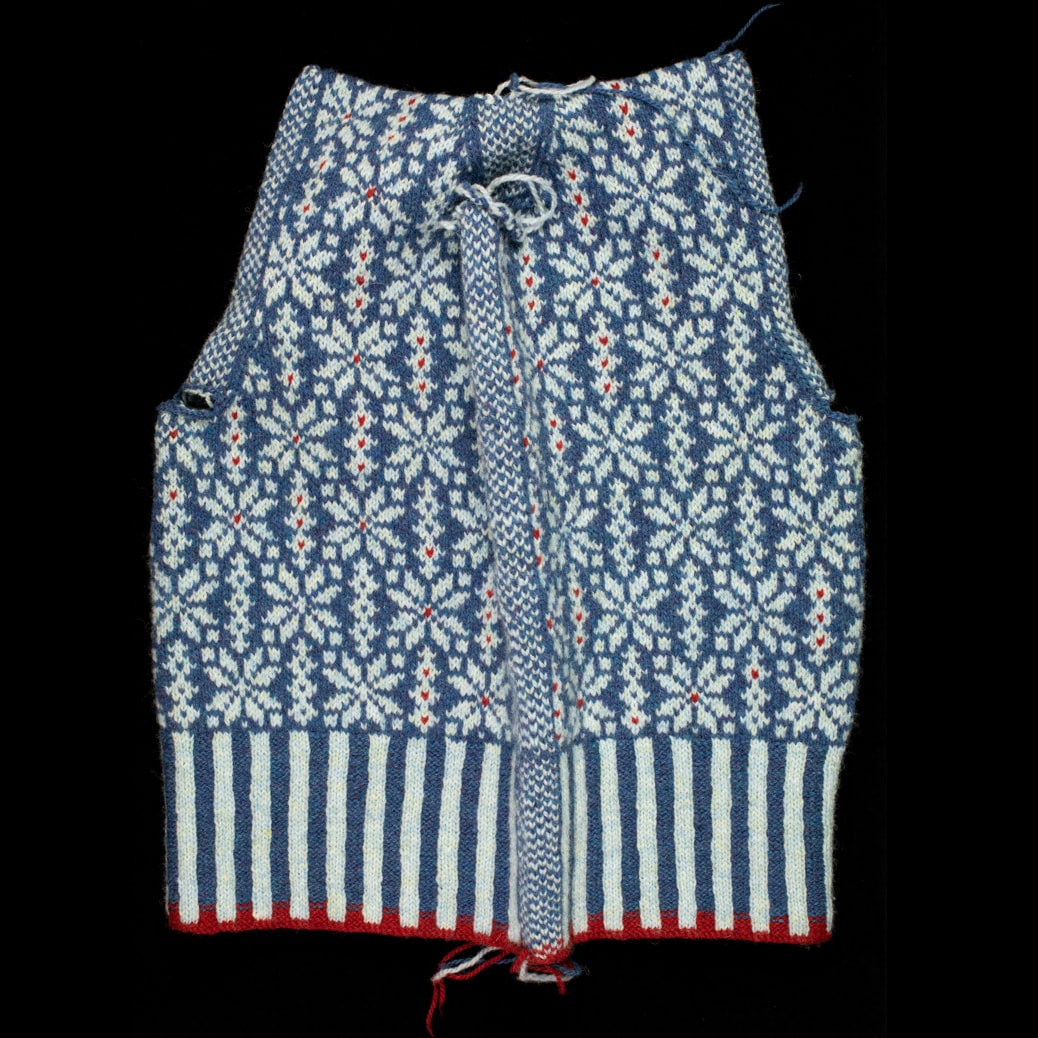
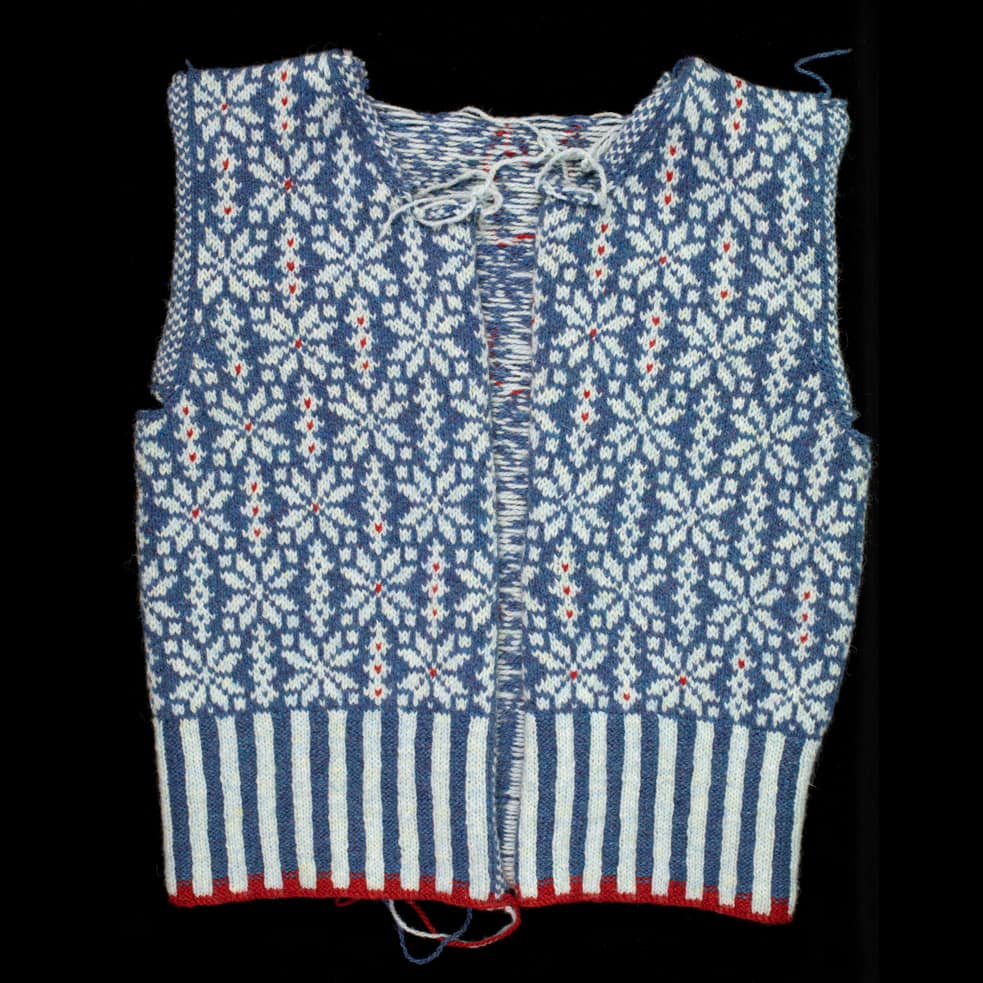
The technique that seems to cause the most anxiety in beginner knitters is using steeks. Cutting steeks is one of the easiest skills you can learn. Just take your time. If you watch the video below you can see Jade cutting the front, front neck and back neck steek of the Polaris.
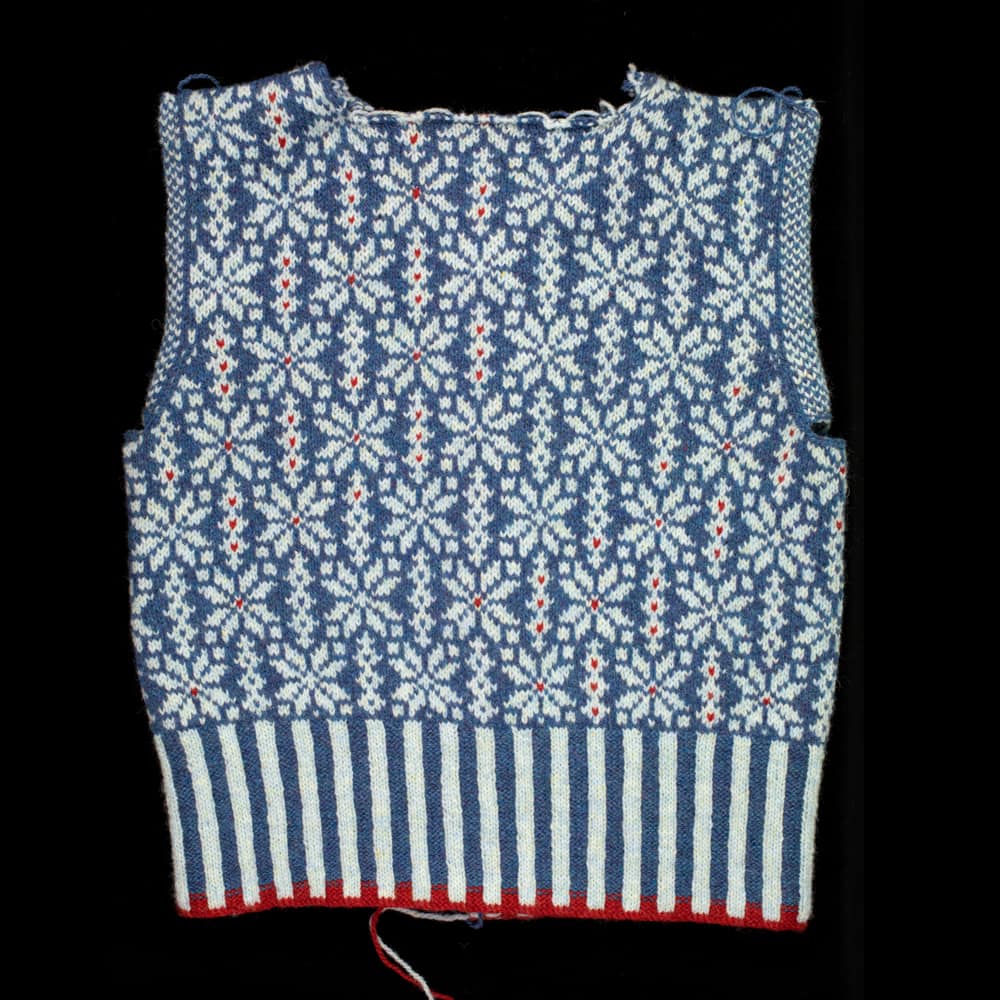
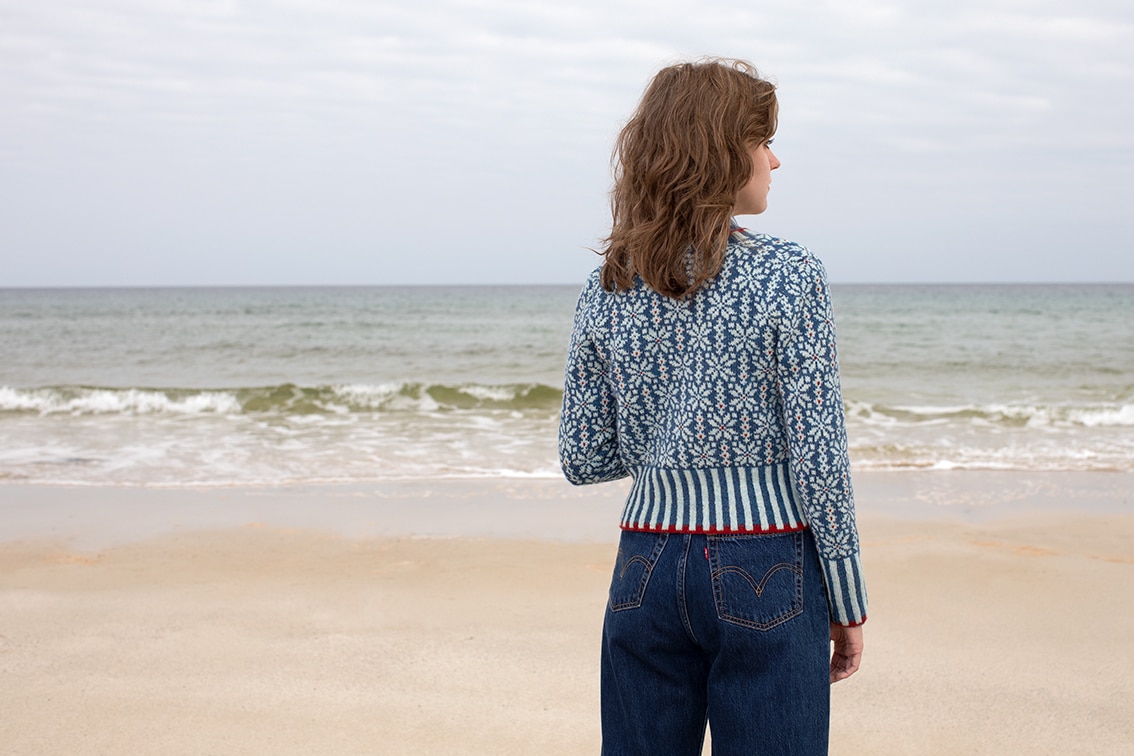
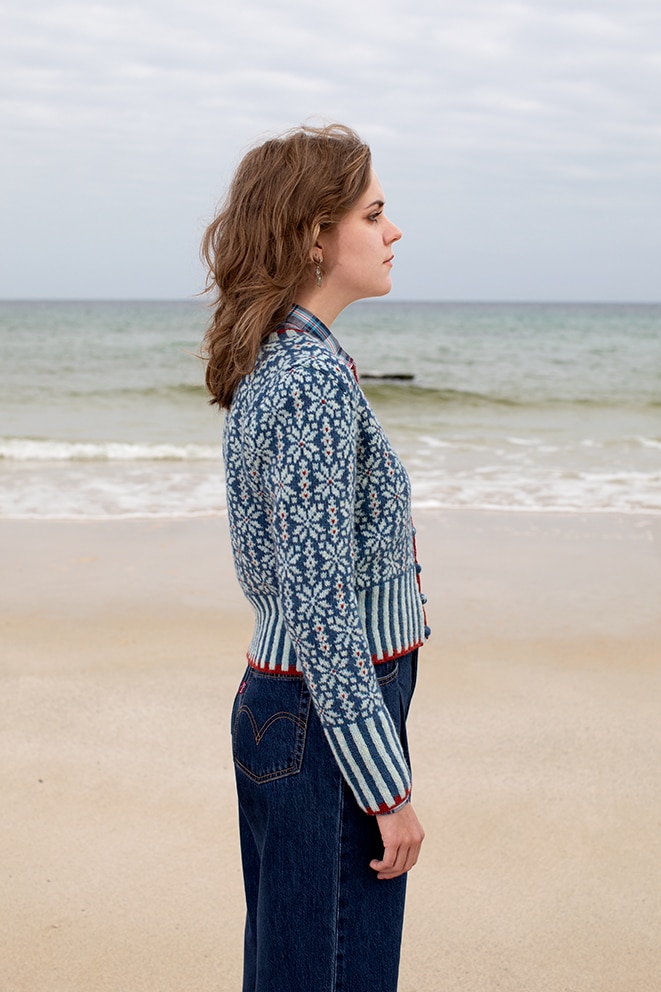
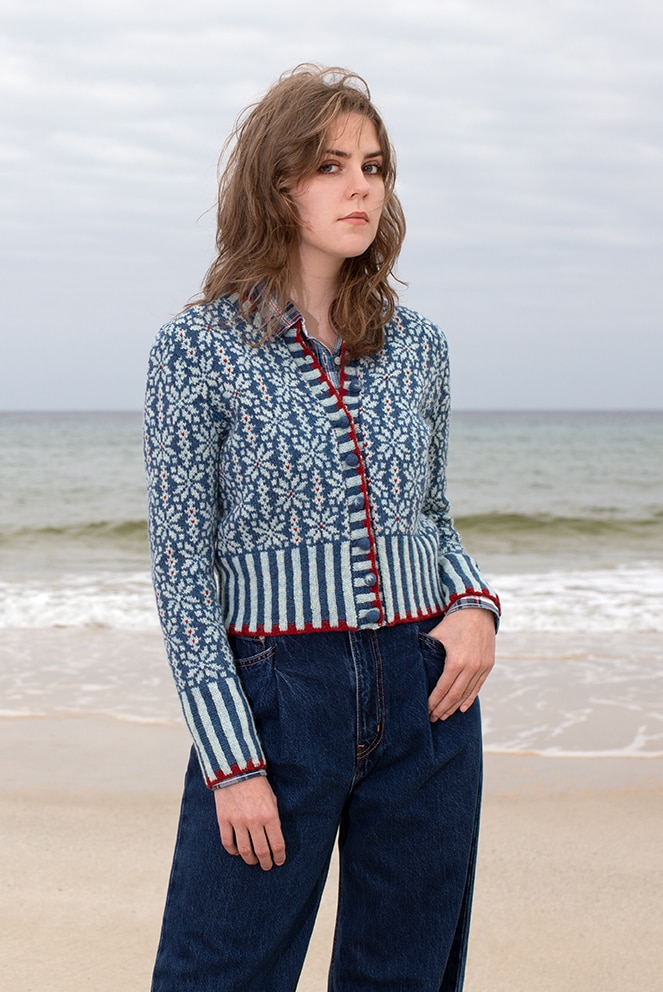
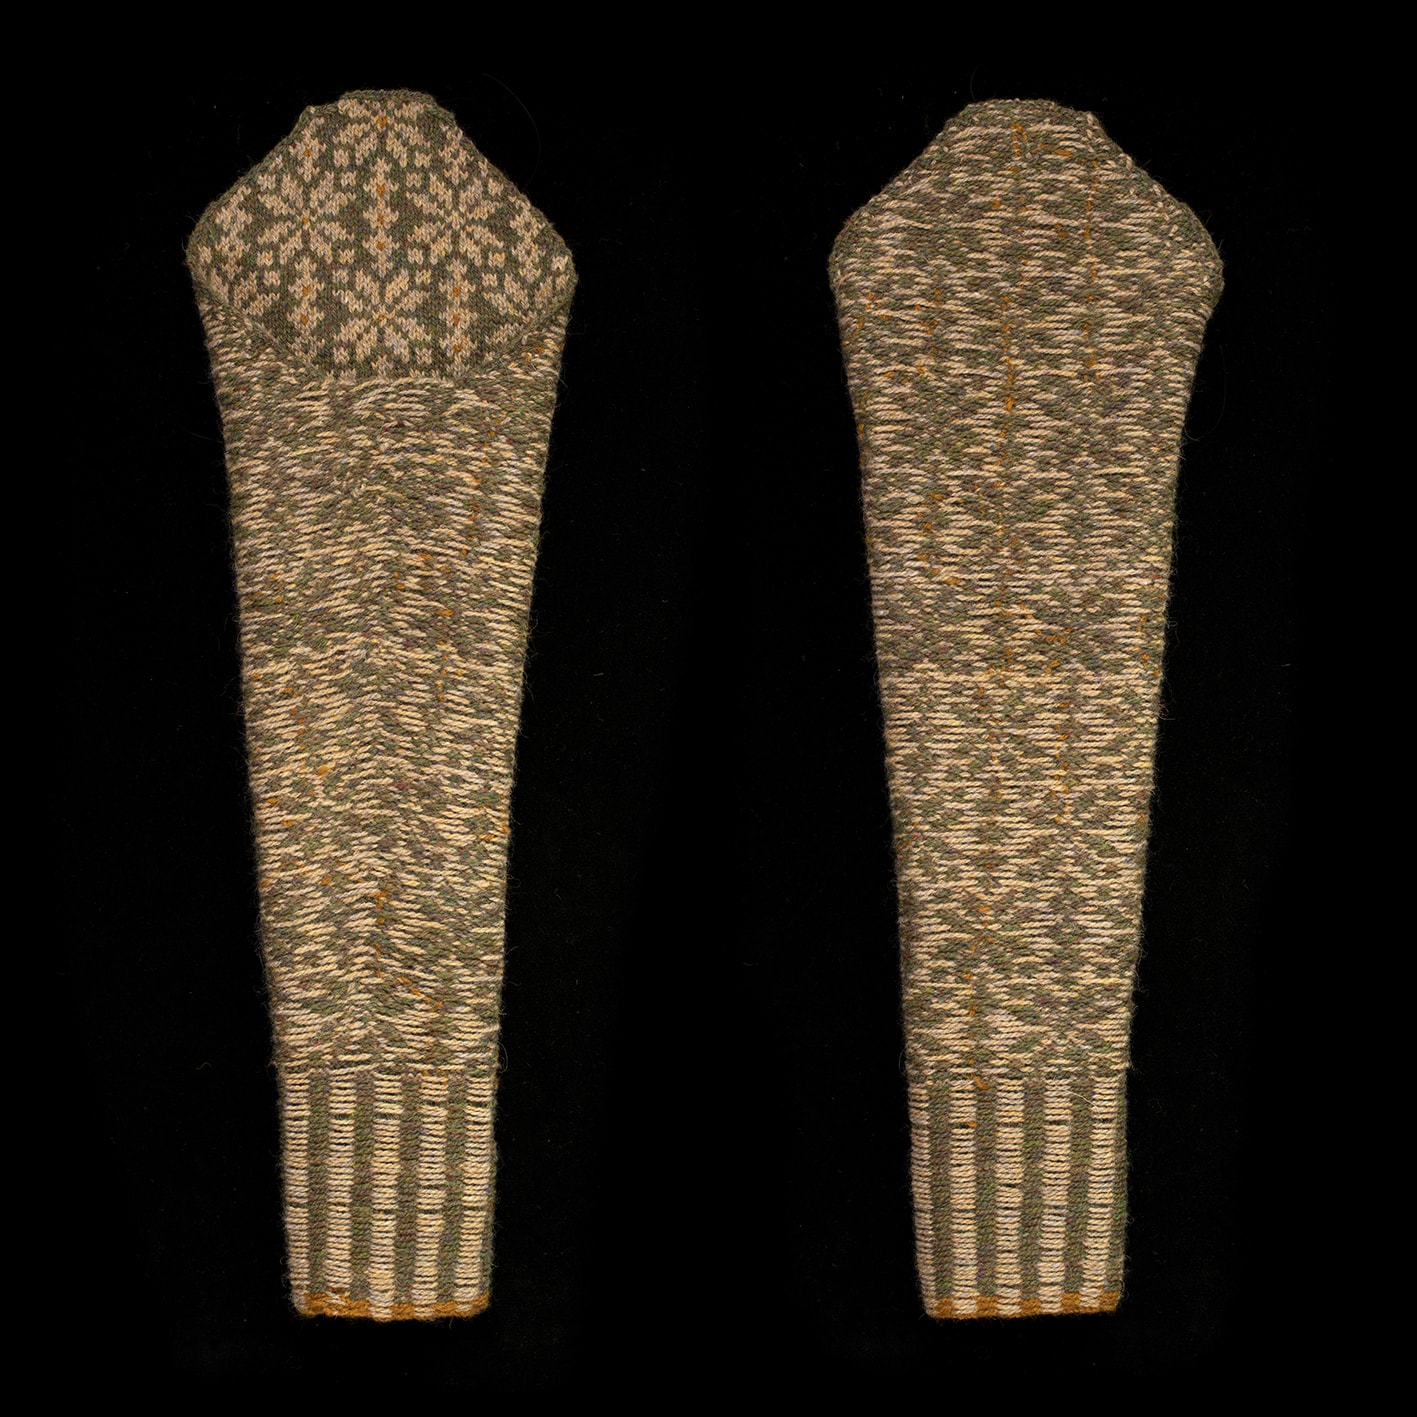
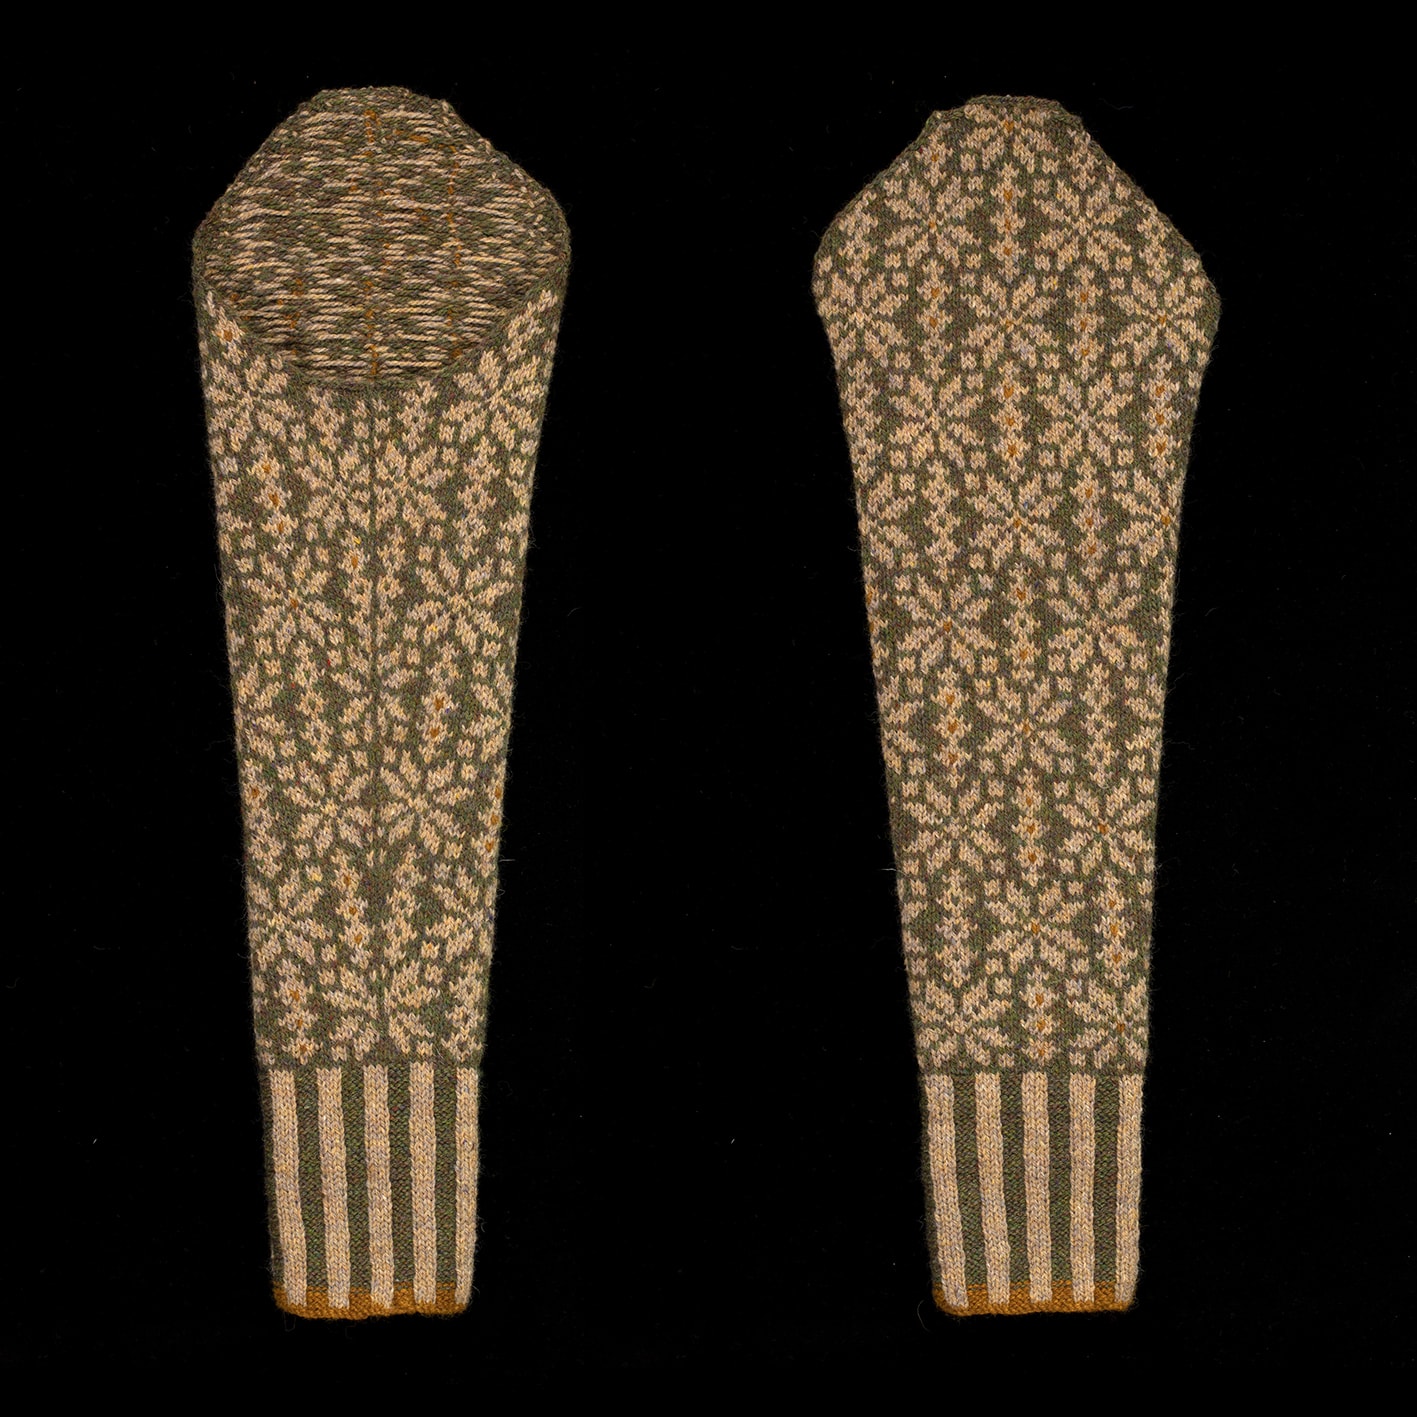
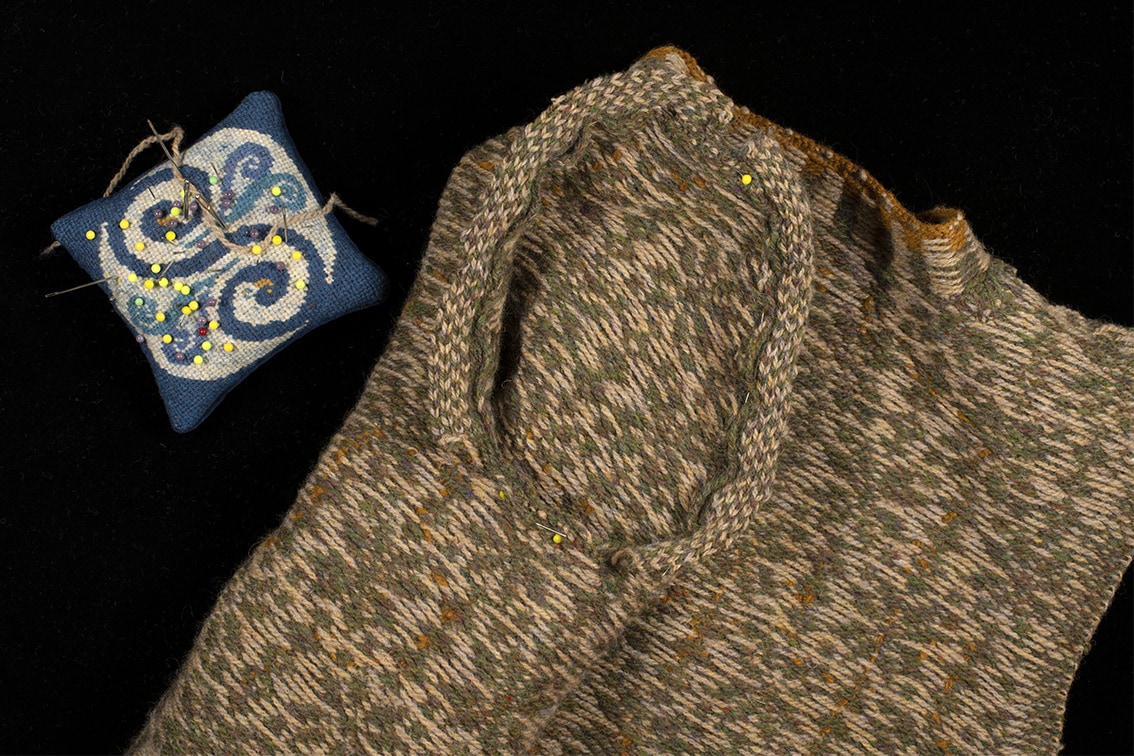
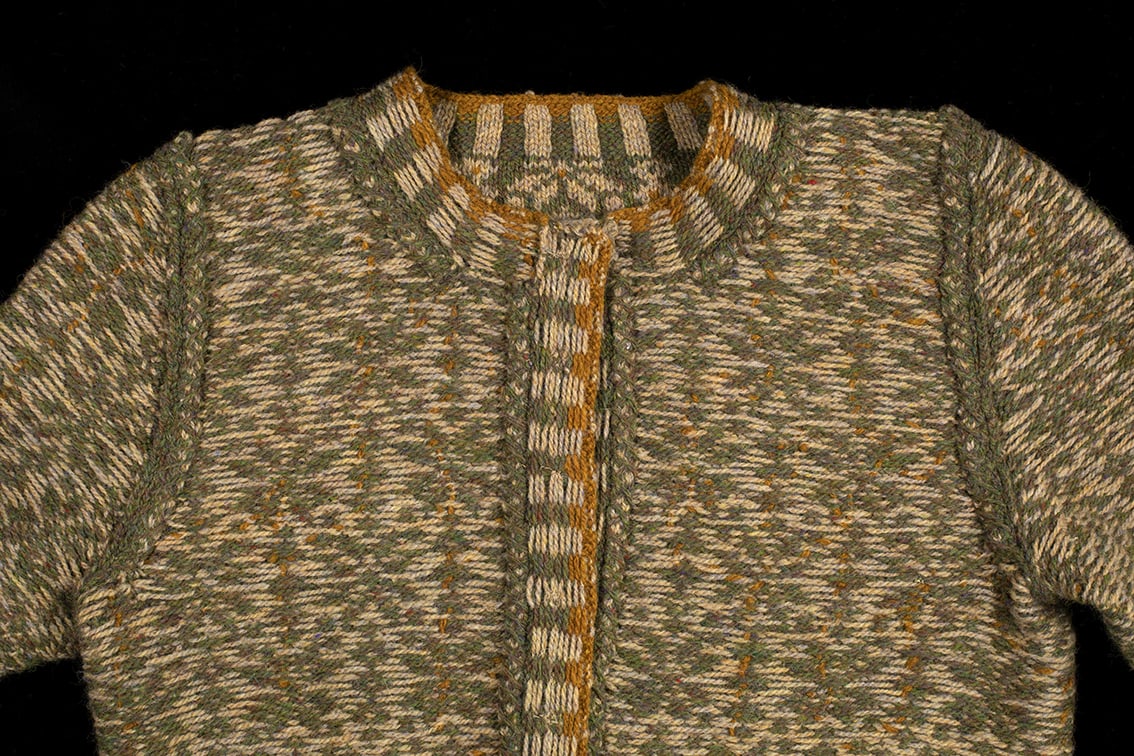
Here you can see another Polaris in a Machair, Spindrift and Golden Plover colourway. This garment is at the stage where the sleeves are about to be set in. Below you can see the right and wrong side of the sleeves. You can also see the sleeve pinned and ready for sewing, and the inside of the finished garment once the steeks have been trimmed and cross stitched.
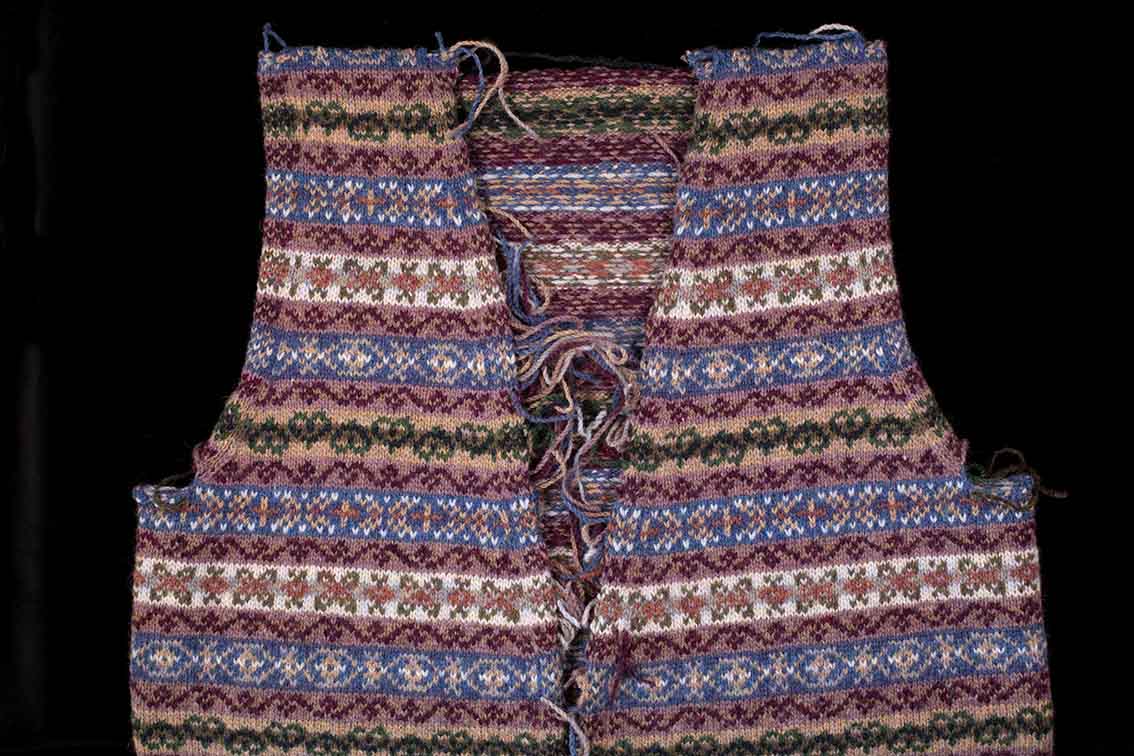
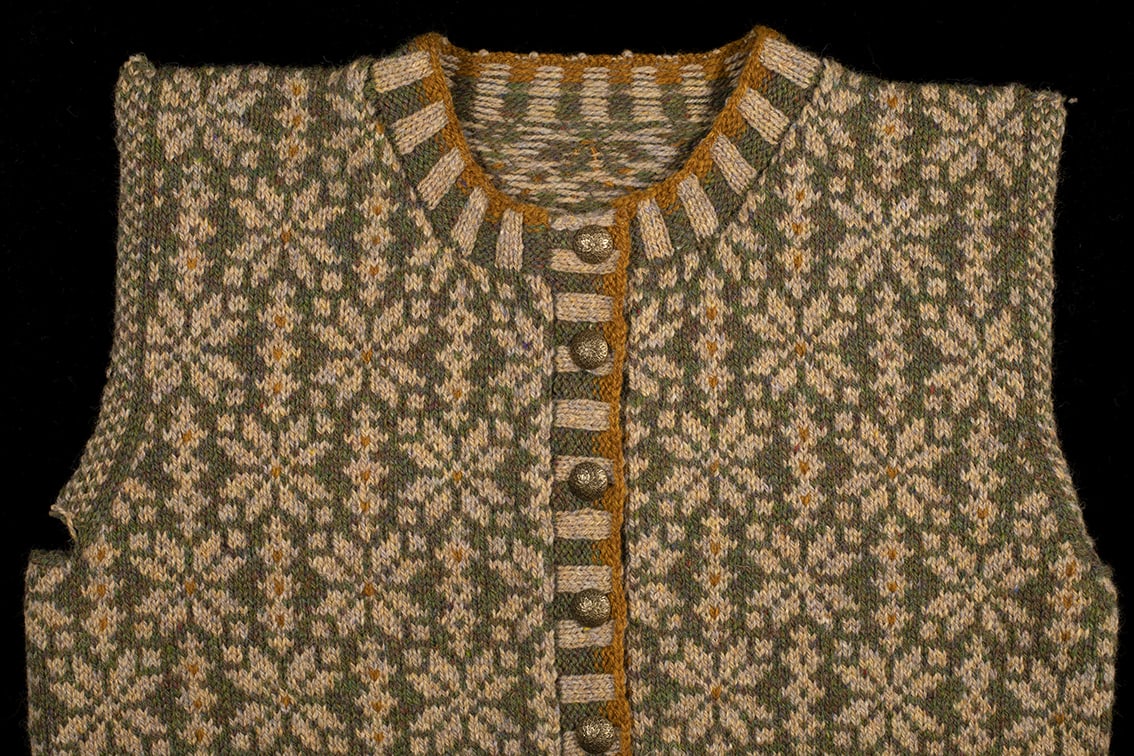
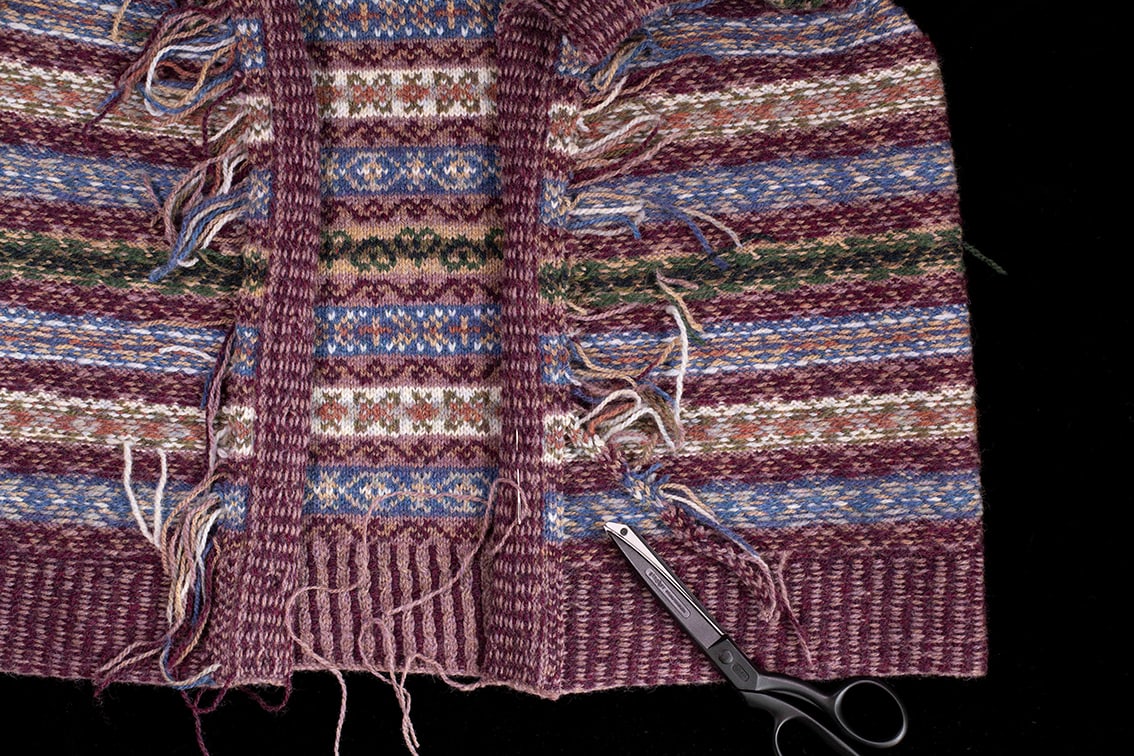
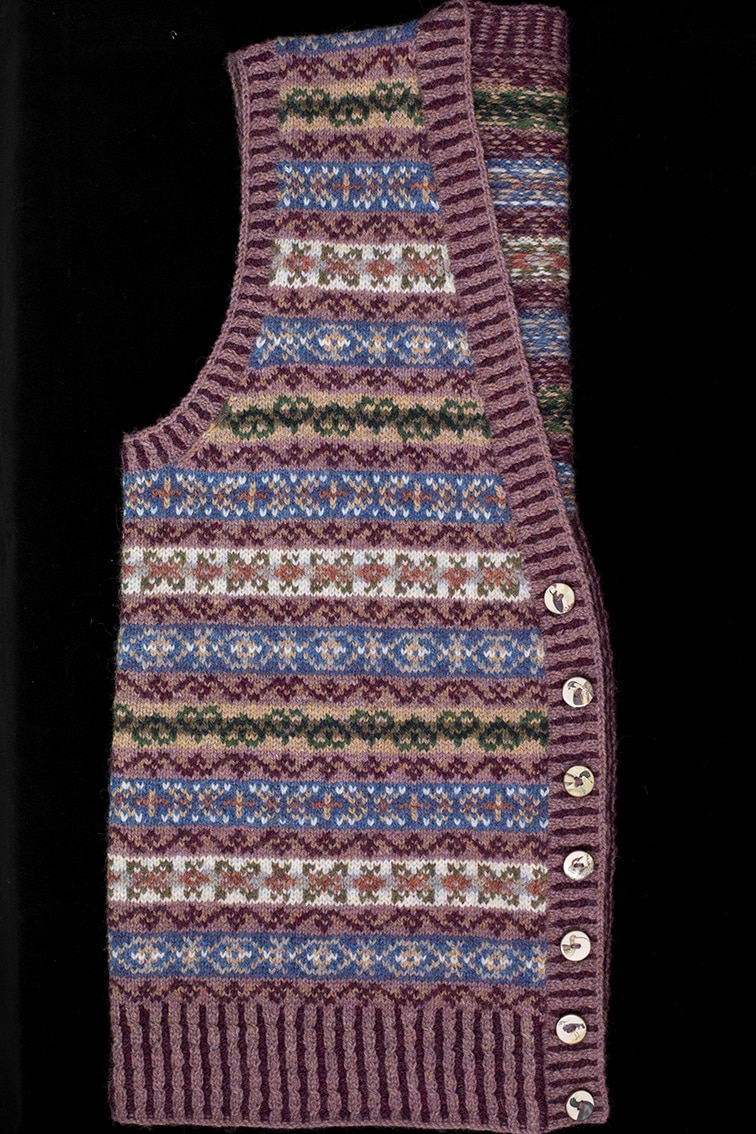
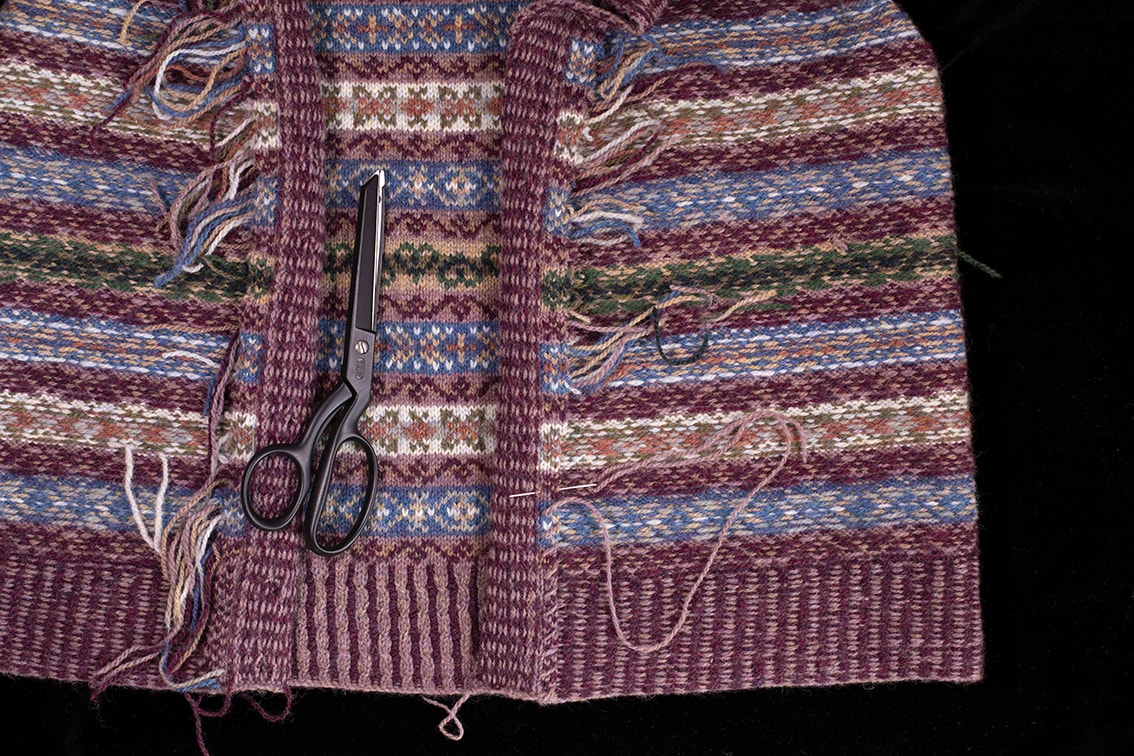
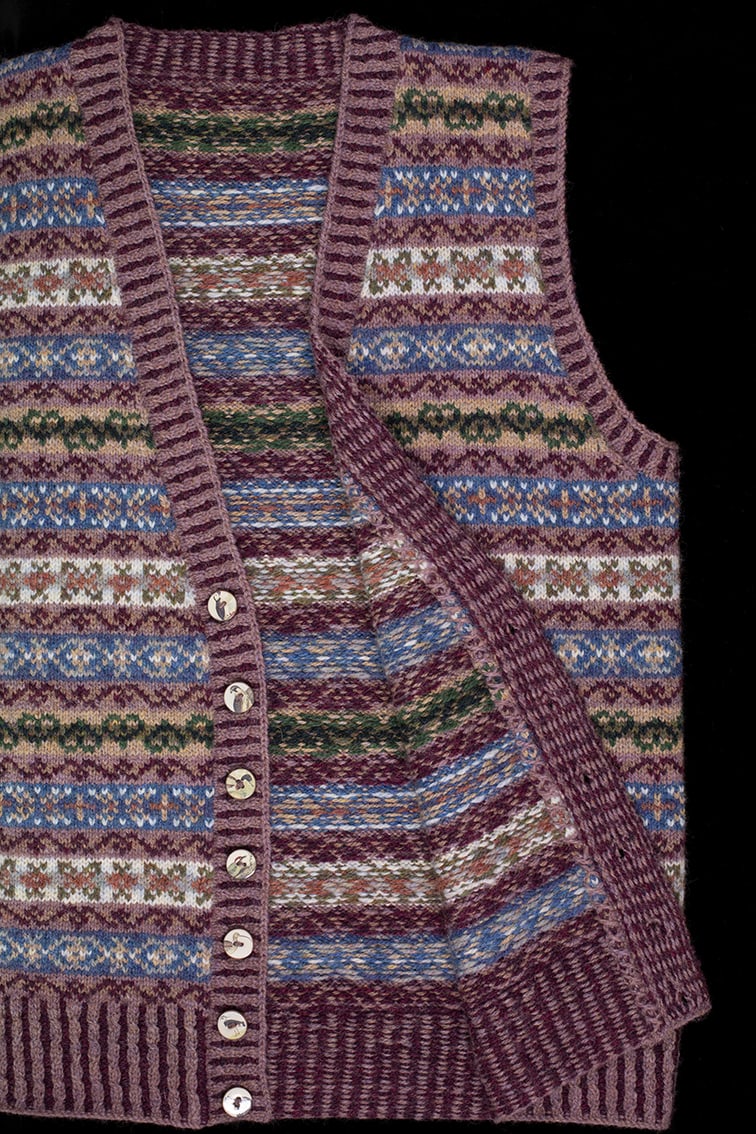
The Polaris Cardigan is made using only two main colours with a third as an accent, so the beginning of the round – at the centre of the front steek – only has ends when joining in a new ball of yarn. The Peigi Waistcoat, shown here, has a larger colour palette, so you will notice many more yarn ends where colours have been joined in and broken off at the centre of the front steek. Happily, these ends are completely removed when the steek is trimmed for finishing.
The Peigi Waistcoat is a V-neck, so when shaping the V at each side of the front steek, the body takes on a cone shape. Below you can see a video of me cutting the front and back neck steeks. You can also see photos of the steeks being trimmed and cross stitched, and the finished garment.
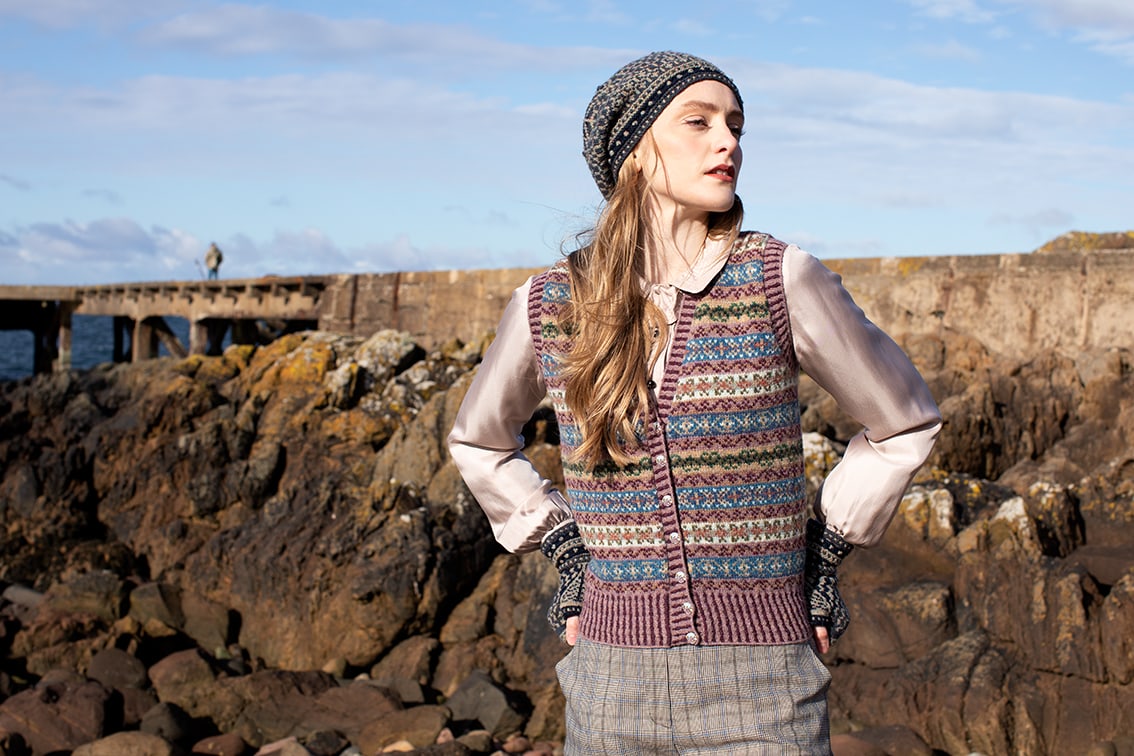
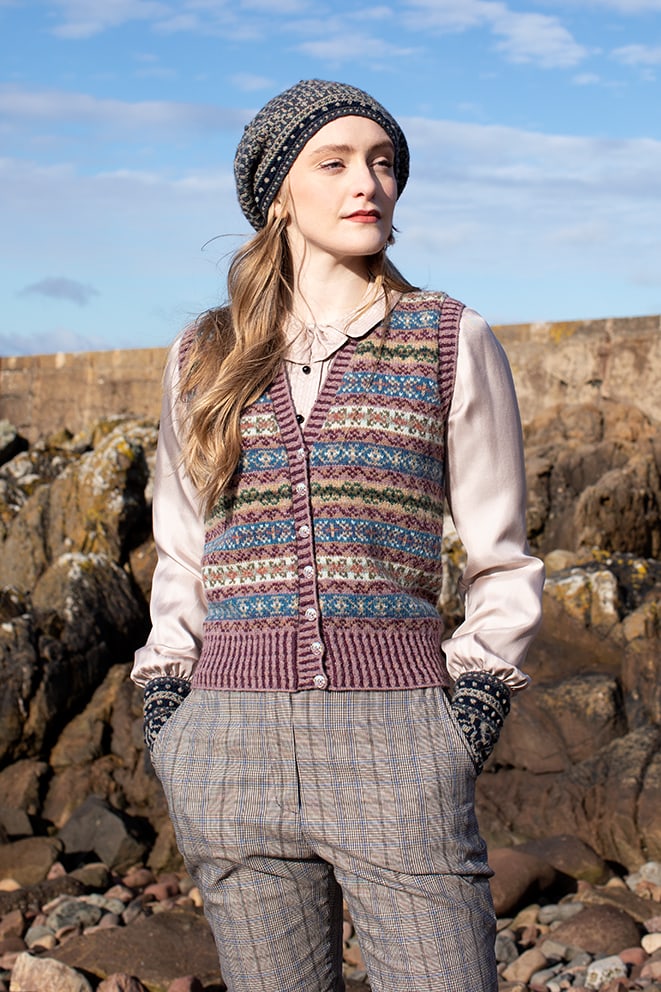
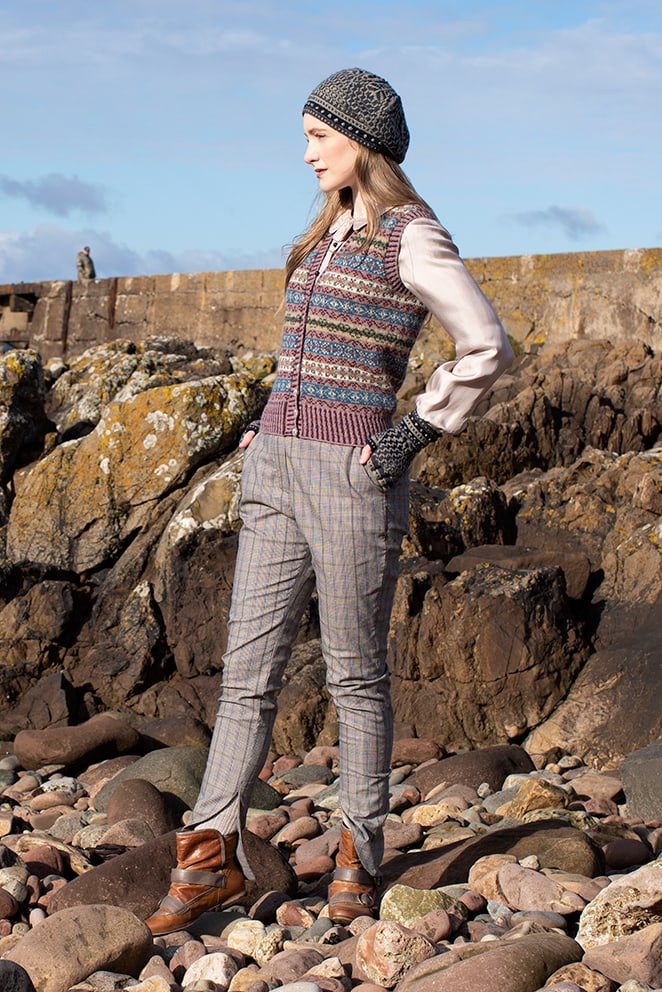
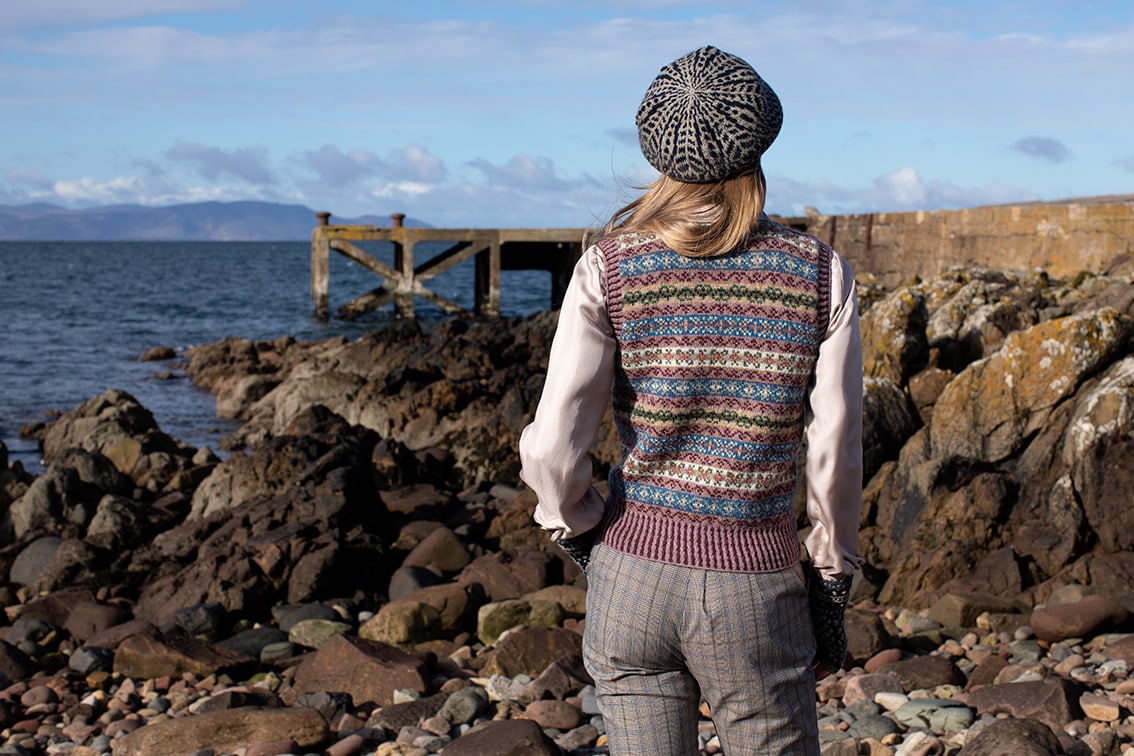
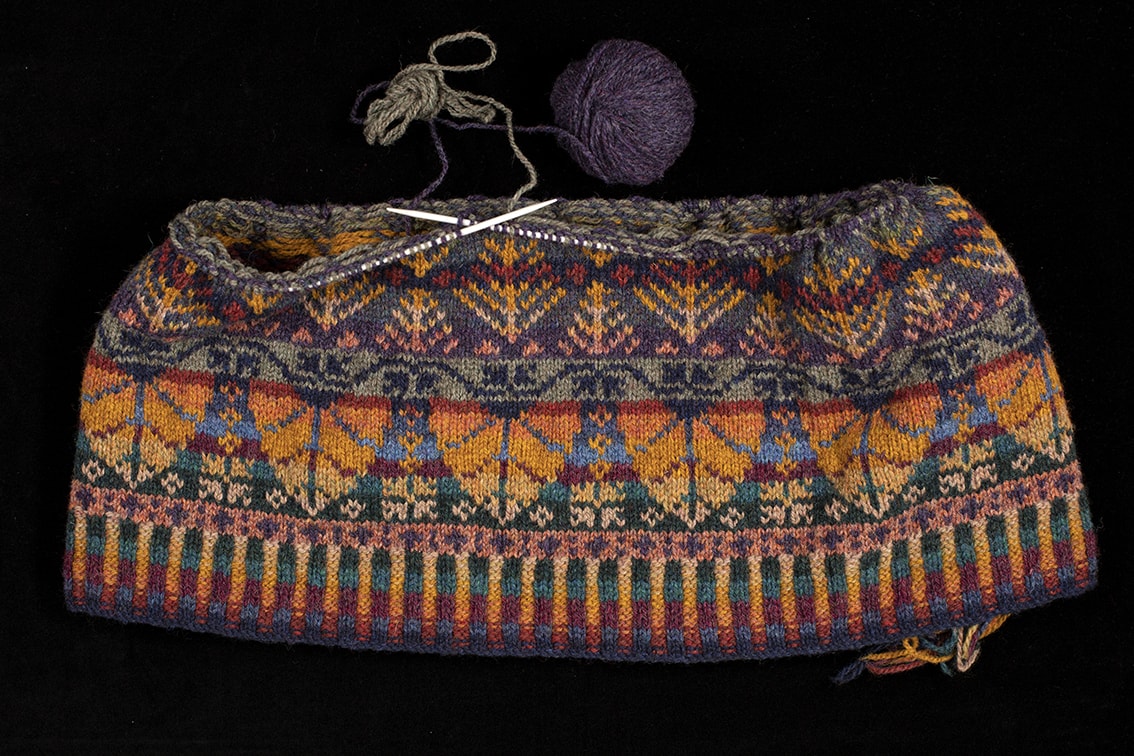
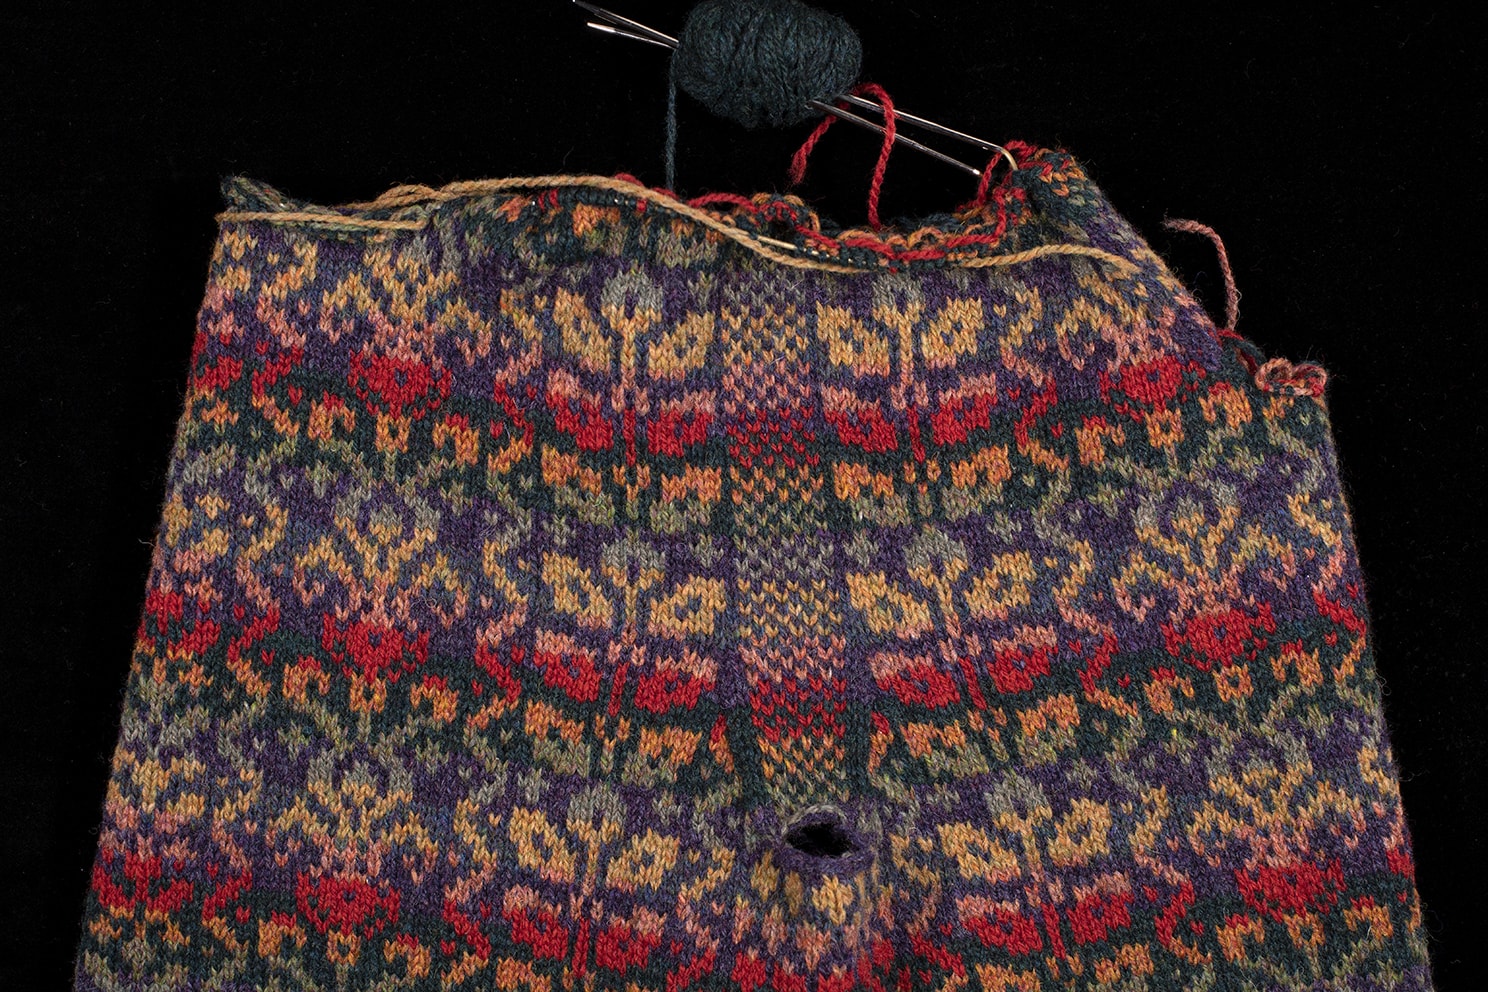
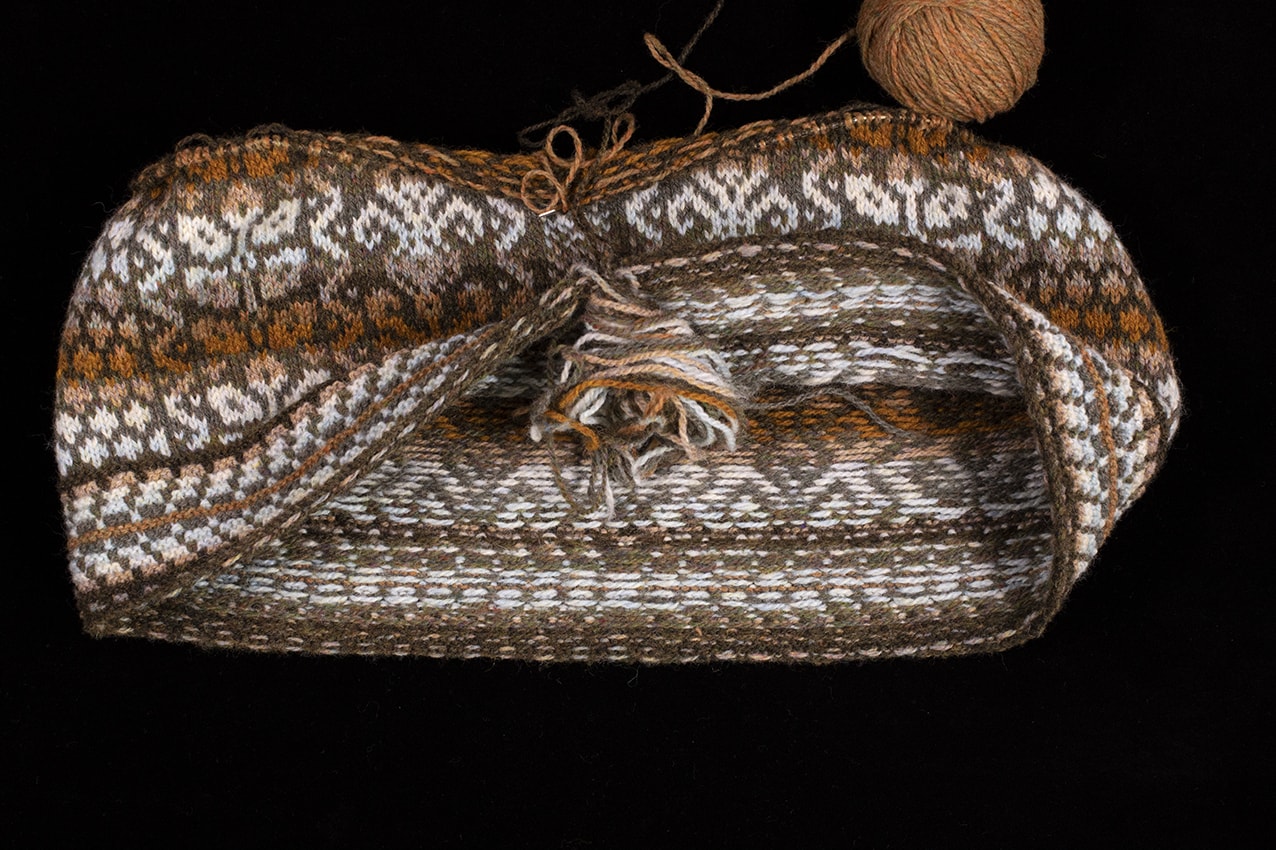
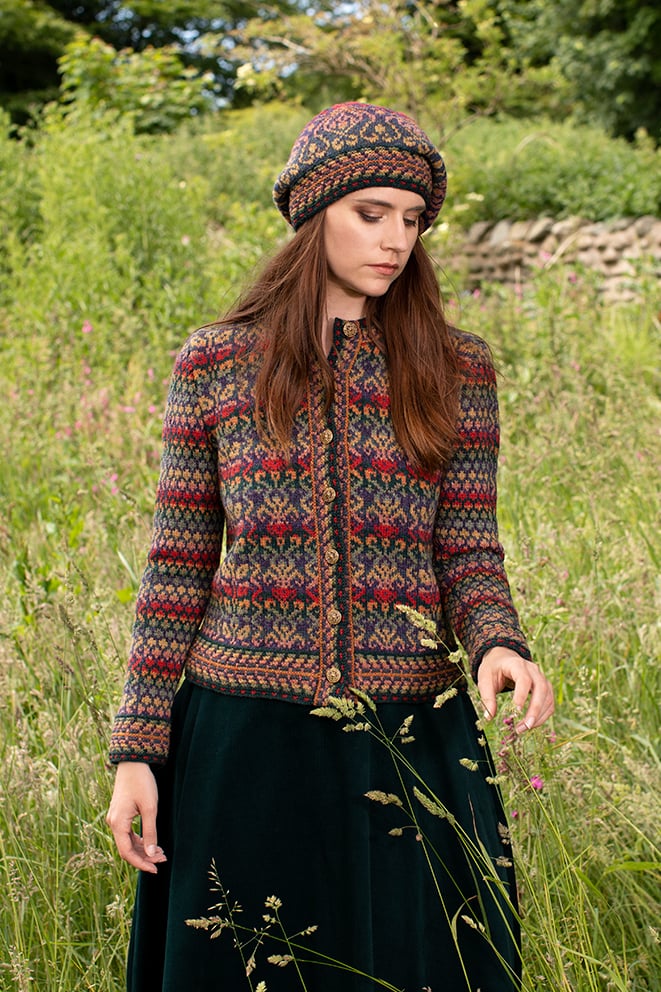
Once you have made one stranded garment in the round with steeks you can employ the same skills to make a whole wardrobe of differently coloured and patterned pieces, all using exactly the same techniques. Above you can see an Oregon Autumn Vest in progress. Below you can see two different colourways and lengths of the same Jacobite Rose design, both in progress and as completed garments, each worn with a matching hat set.
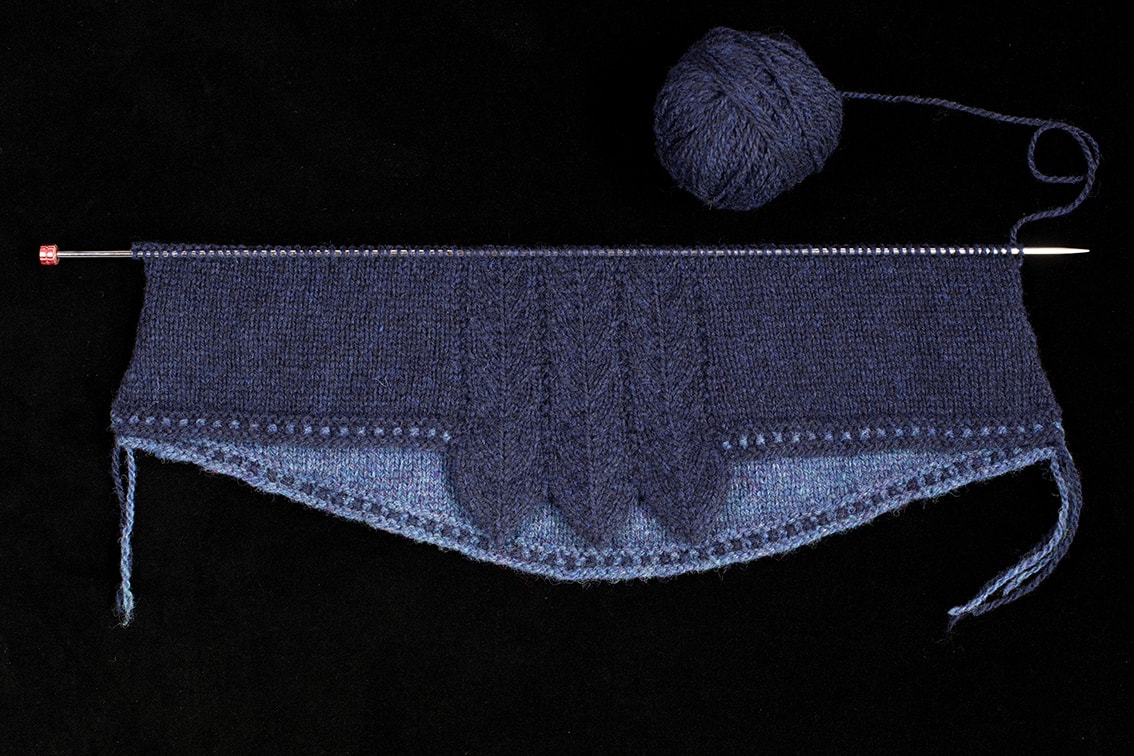
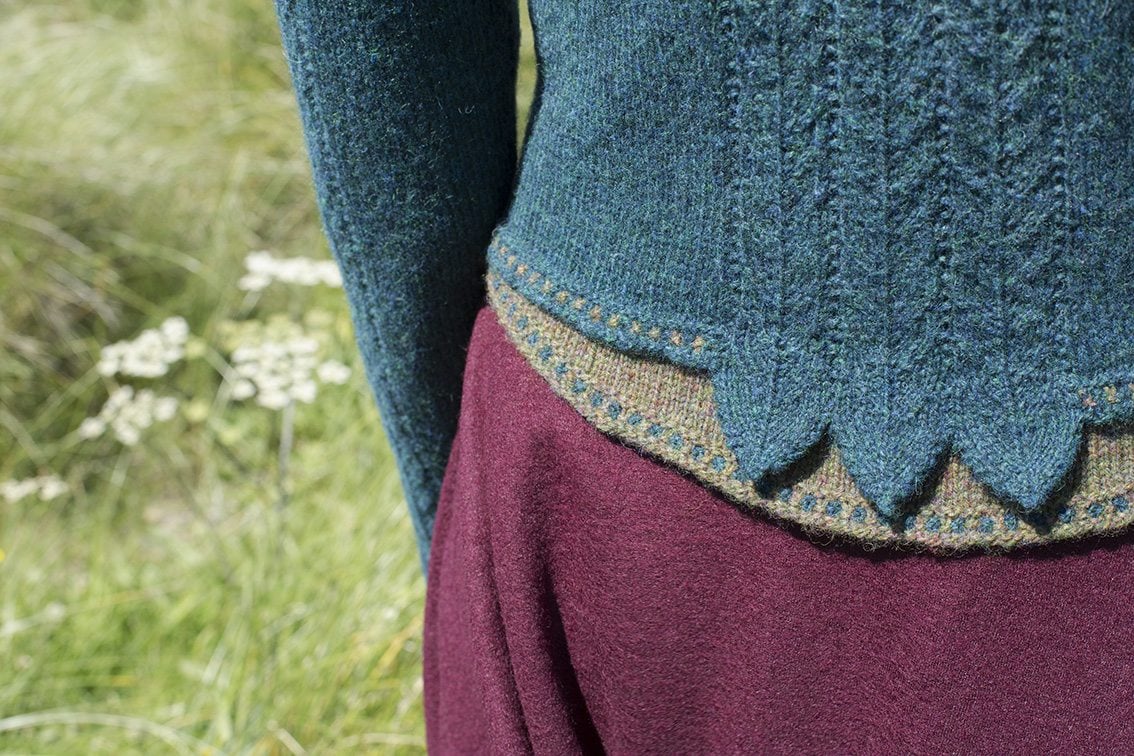
Fine textures and intricate shaping require a little more concentration, but are worth every minute of your time. Above you can see a Lapwing Pullover in Kelpie and Shearwater → I chose these colours in reference to the raven costume. Below you can see the finished version of the same pullover in the original colourway of Lapwing and Machair with touches of Clover, and the finished Kelpie and Shearwater version (worn alongside a Capillifolium Hat Set). These two versions show what a difference your colour choices will make.
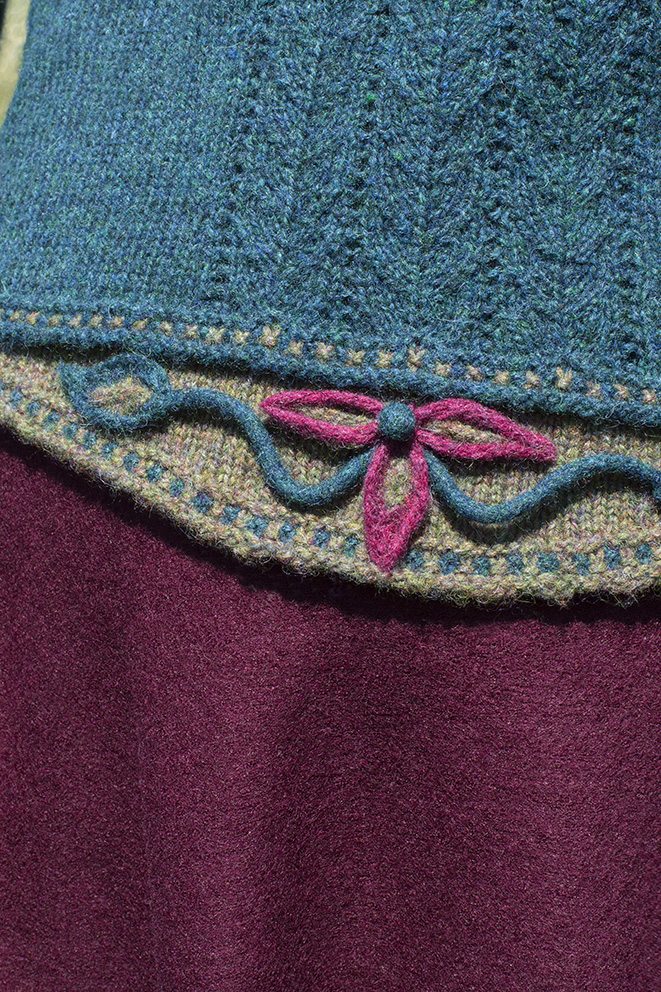
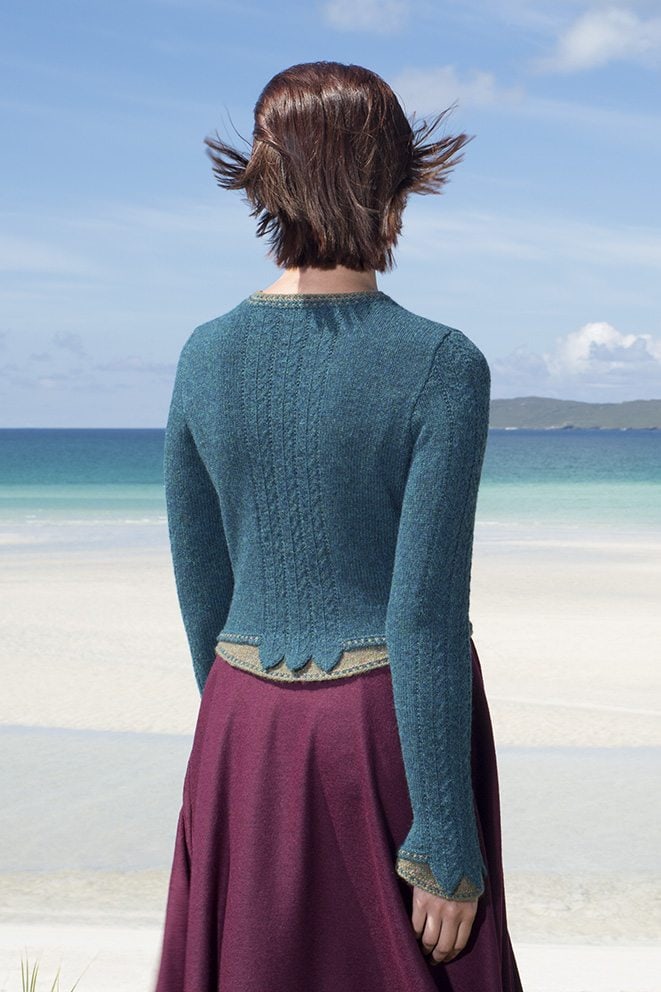
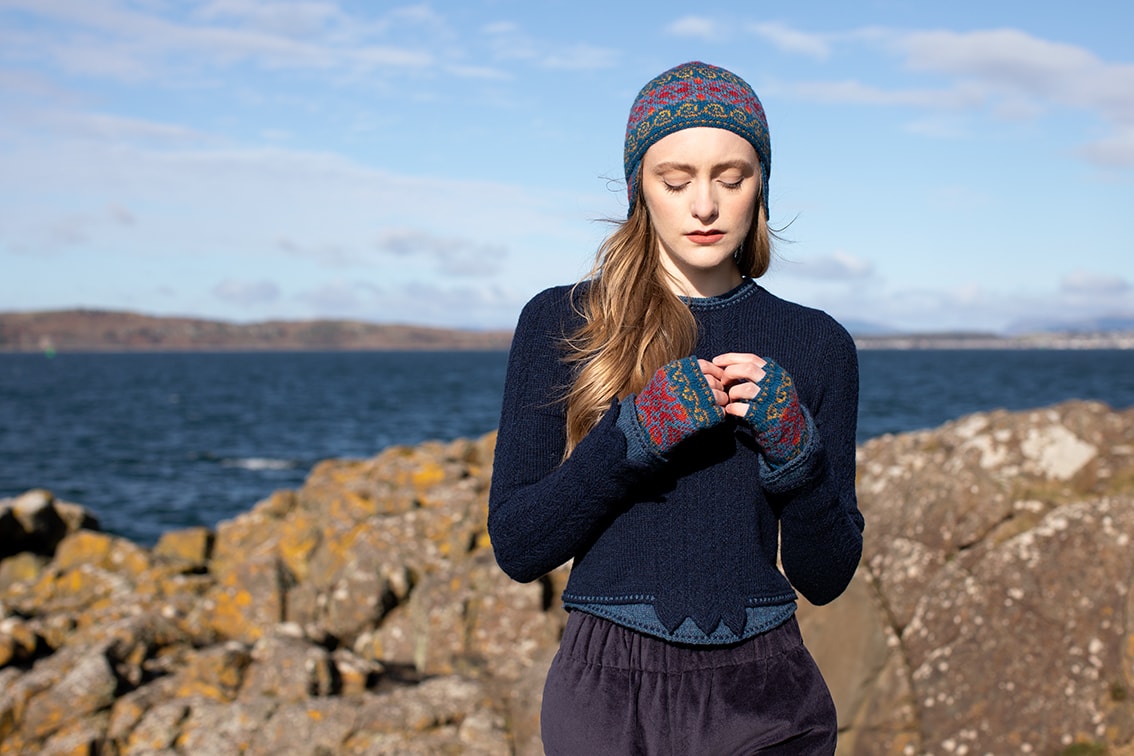
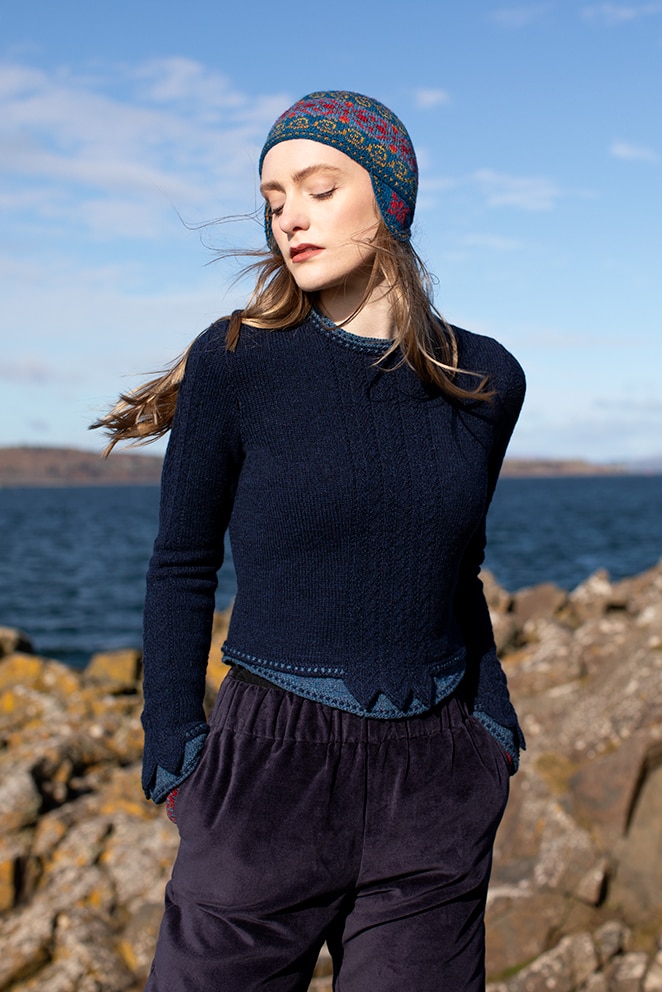
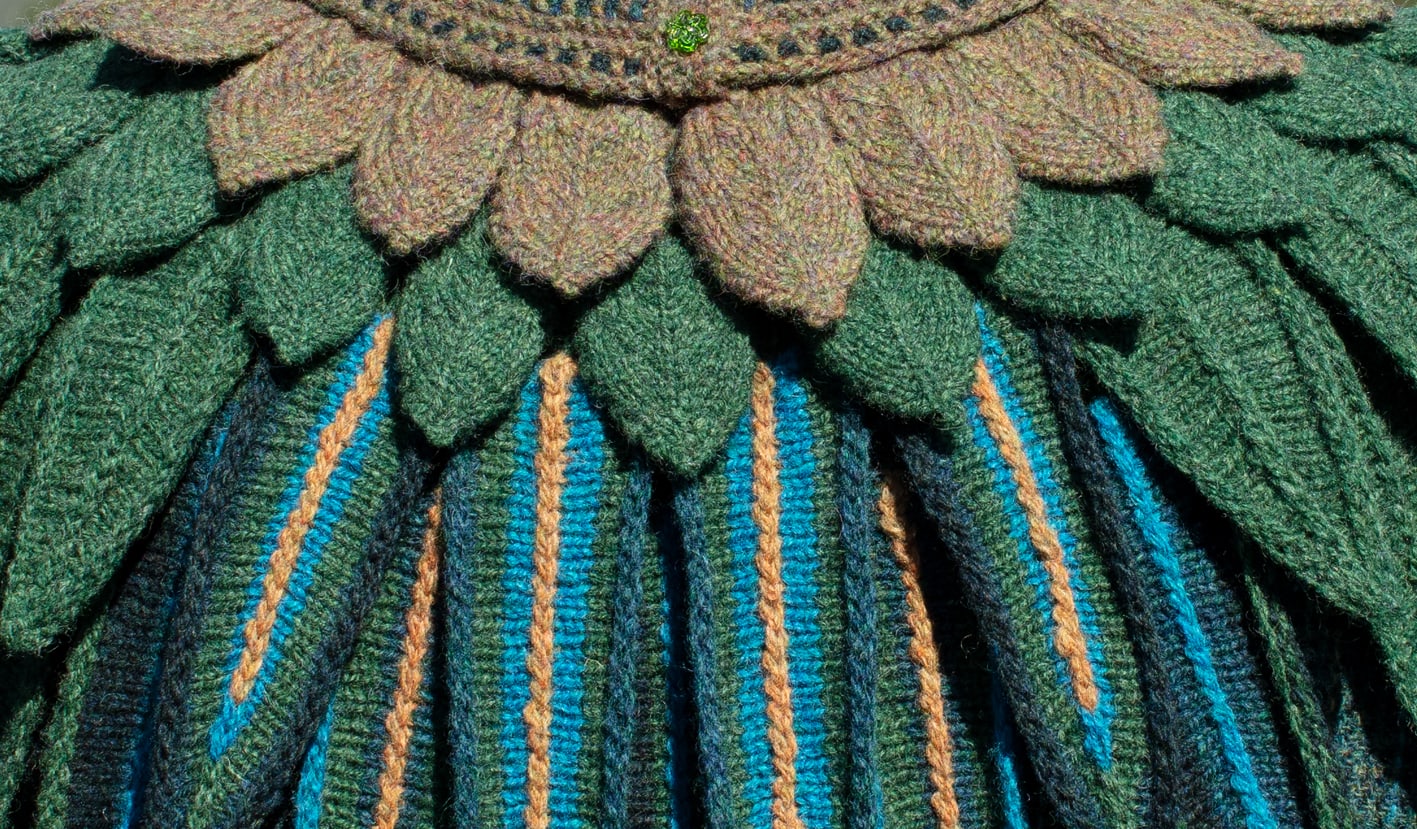
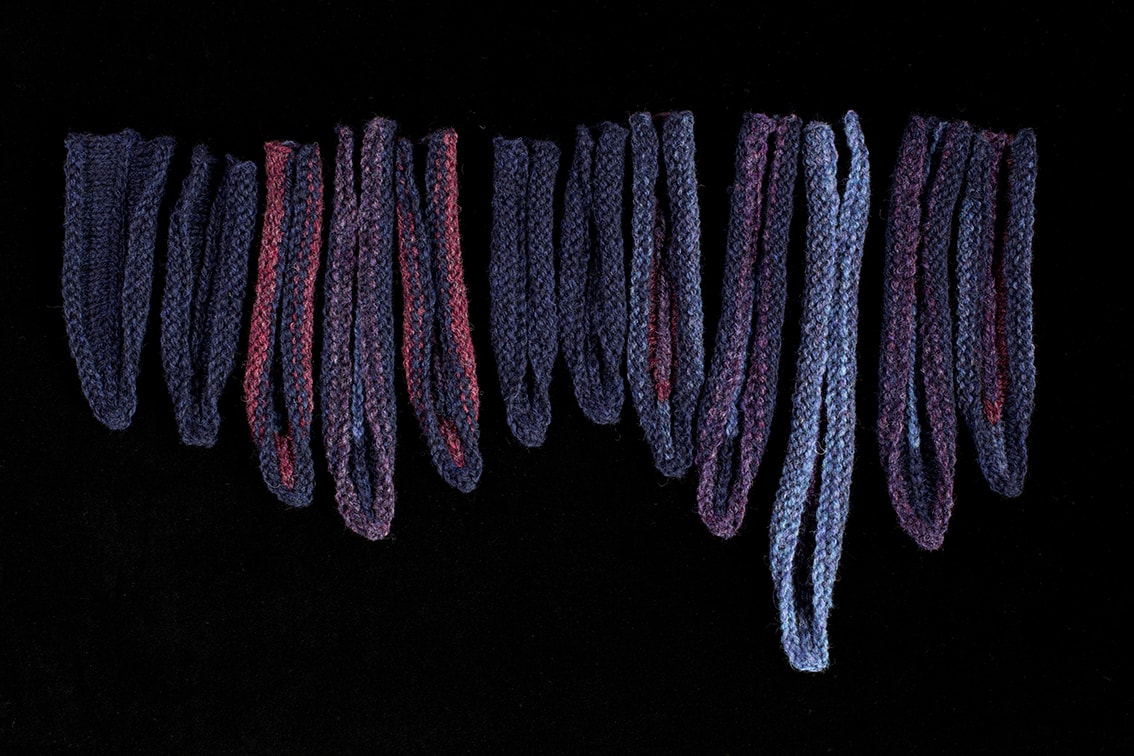
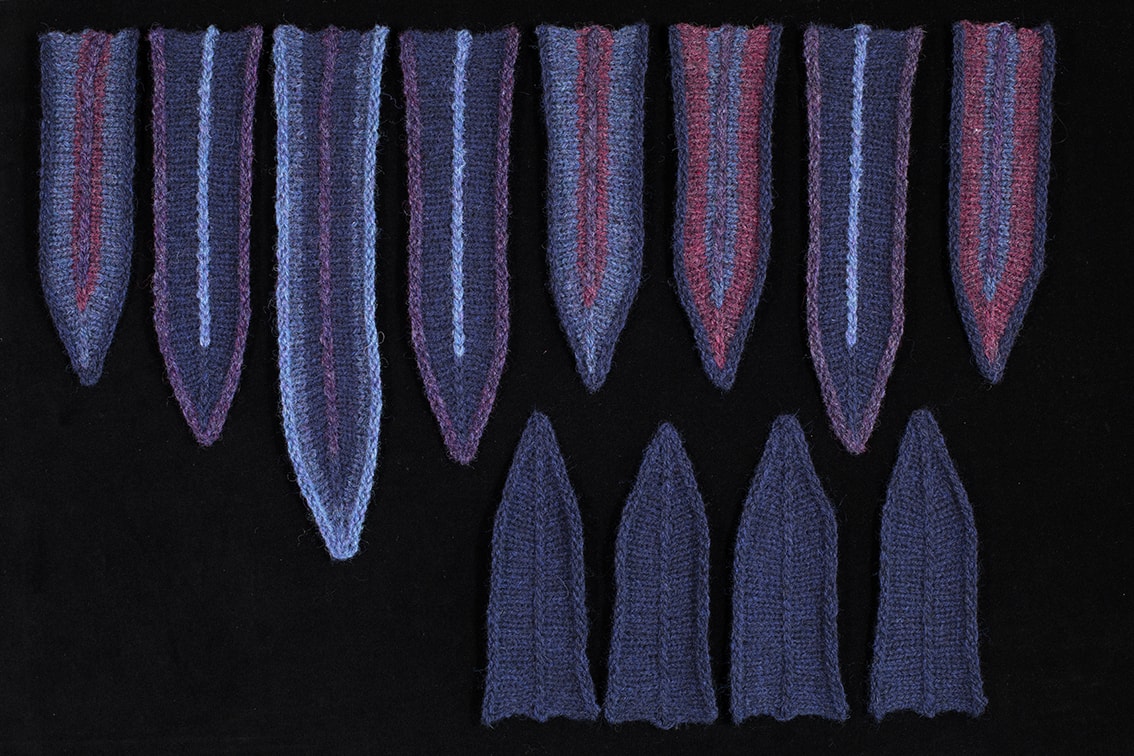
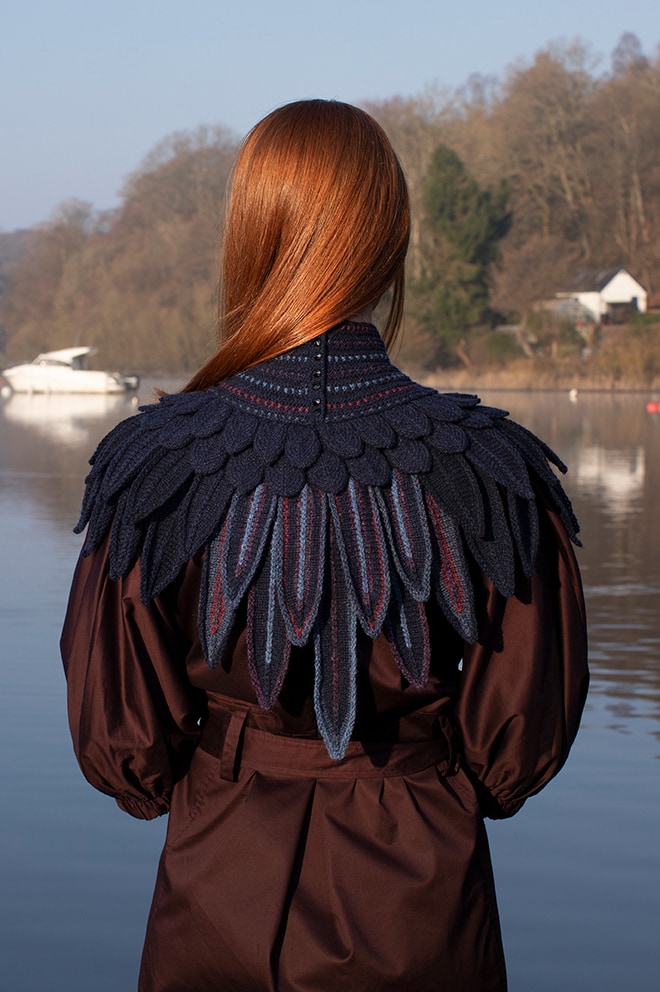
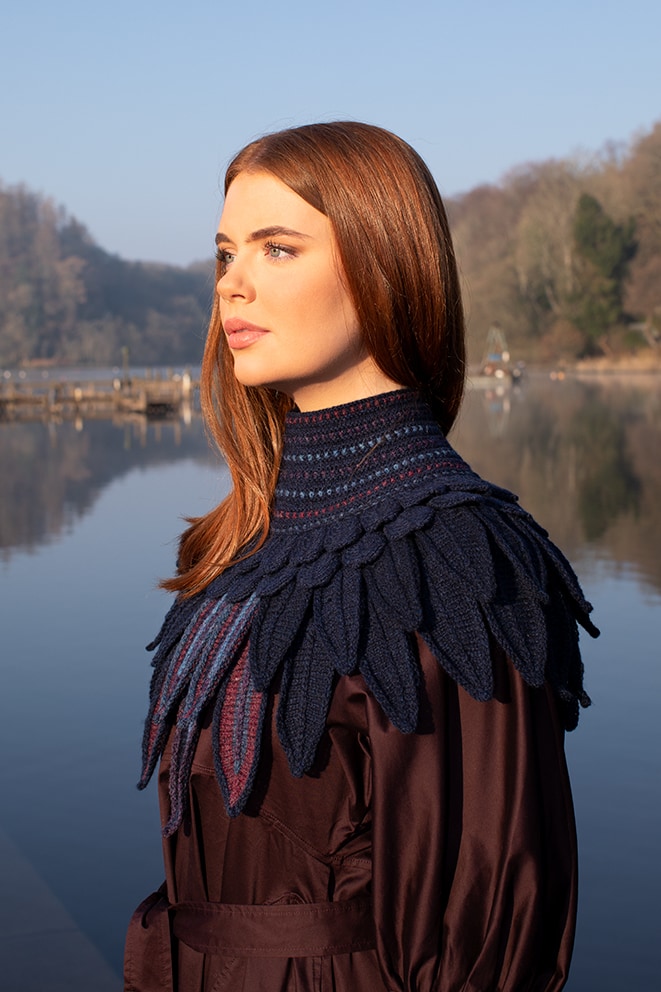
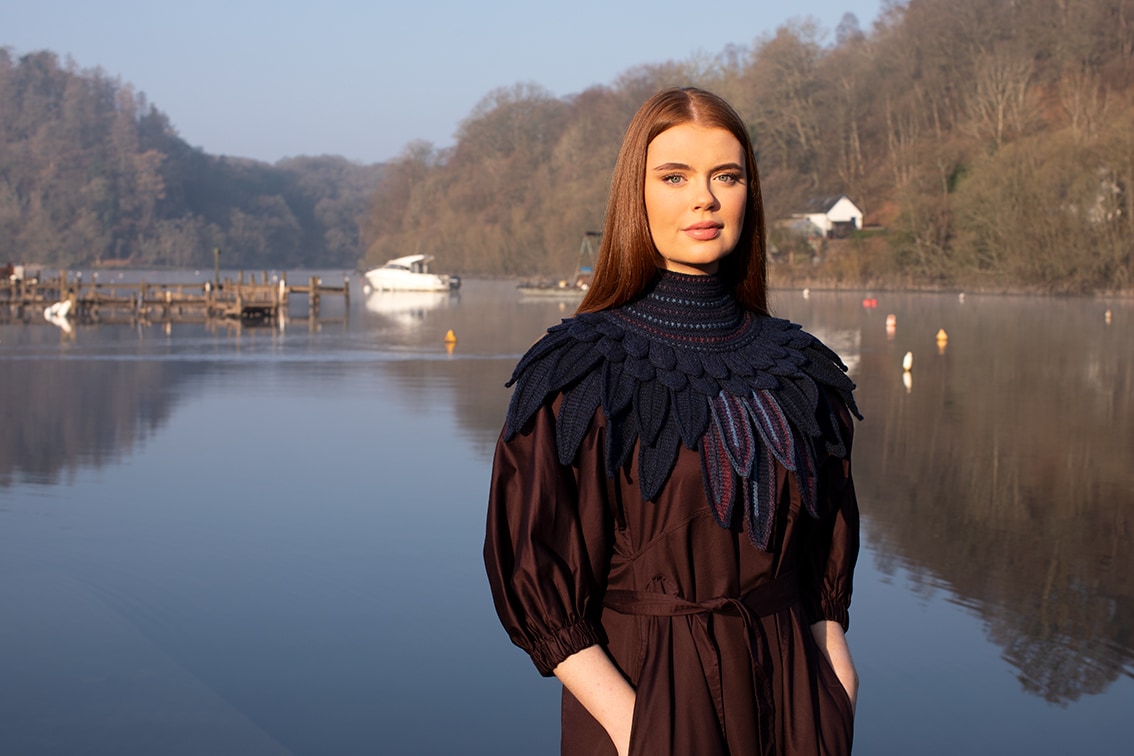
One of the most important parts of making a hand-knitted garment is careful finishing. The Lapwing Collar feathers are quite an extreme example. The feathers are designed to be stretched and flattened; the blocking process involves pinning them out to size (the longest feathers can be soaked before stretching and pinning) and then covering them with a thoroughly wet towel. You can see the transformation that occurs below, with feathers Jade has made for a raven-coloured Lapwing Collar. You can also see the finished collar.
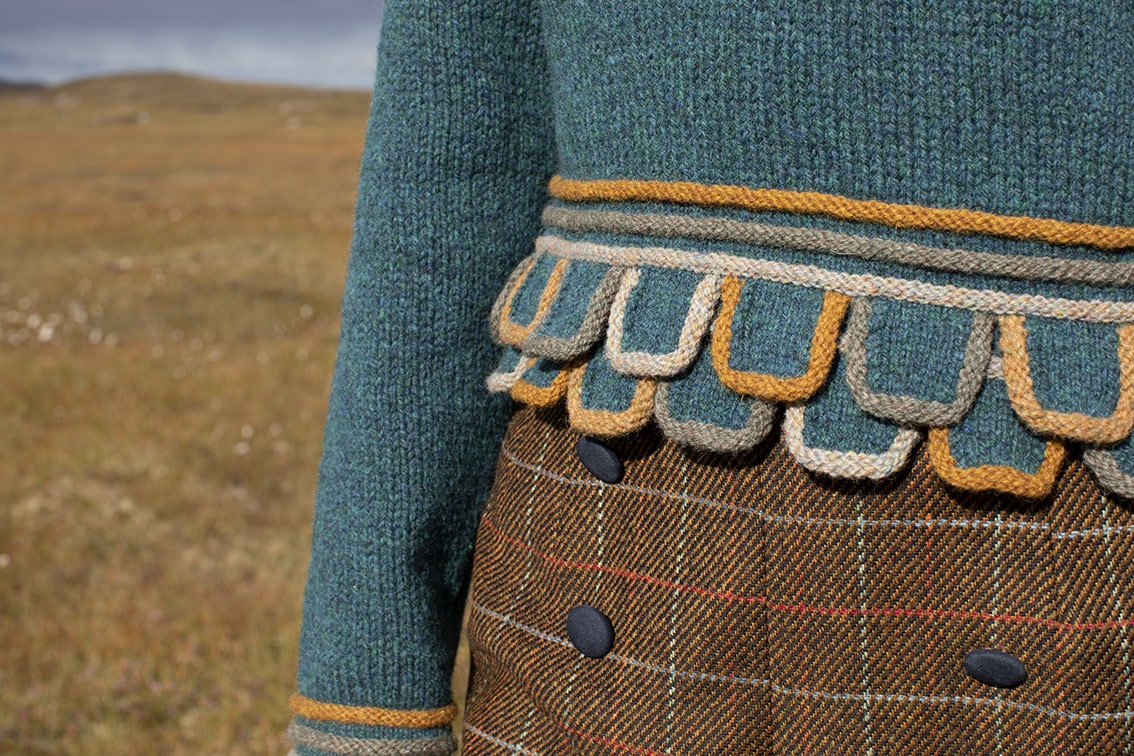
Darning in ends can sometimes be treated like a chore to be rushed, but careful finishing is crucial for a perfect result. You can see the Mol Eire in progress and in a finished state, with all the ends neatly darned away.
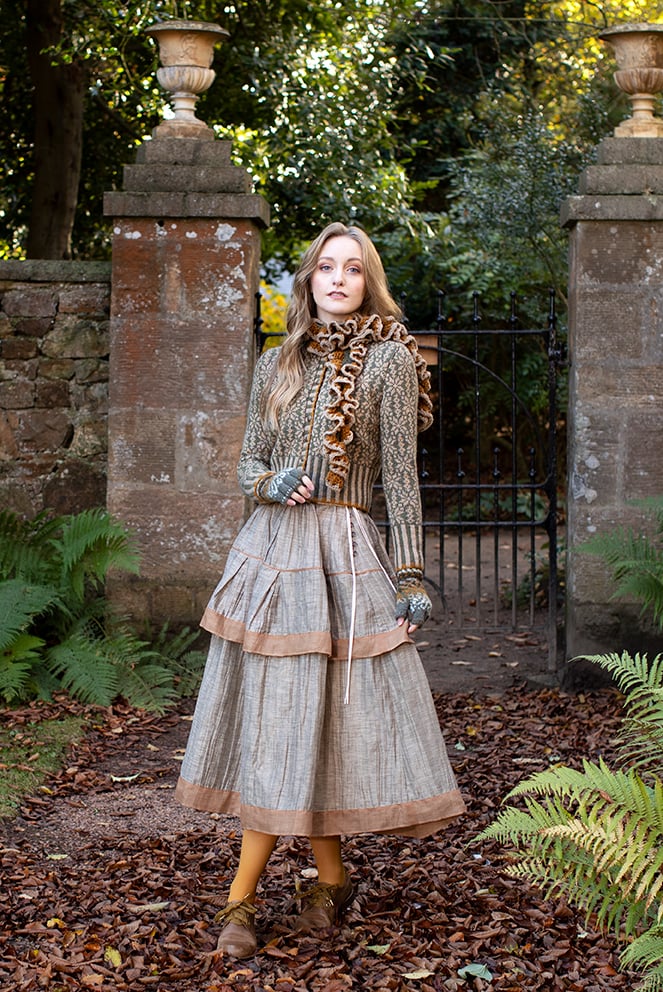
The Briodag Scarf is a quick and easy lesson in openwork, it is tempting to make one to go with everything! This one was made to go with the Polaris cardigan.
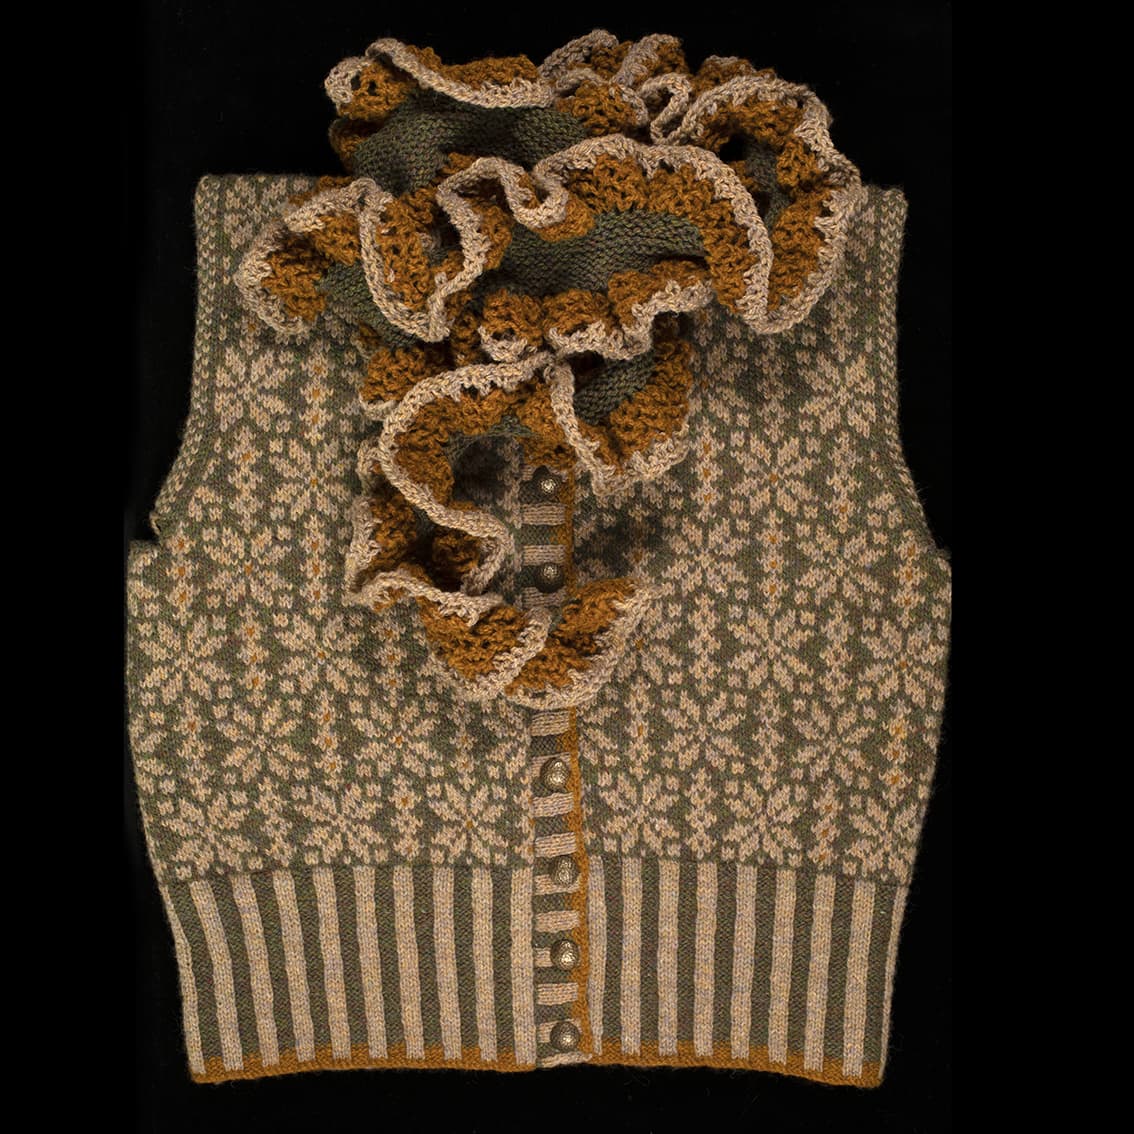
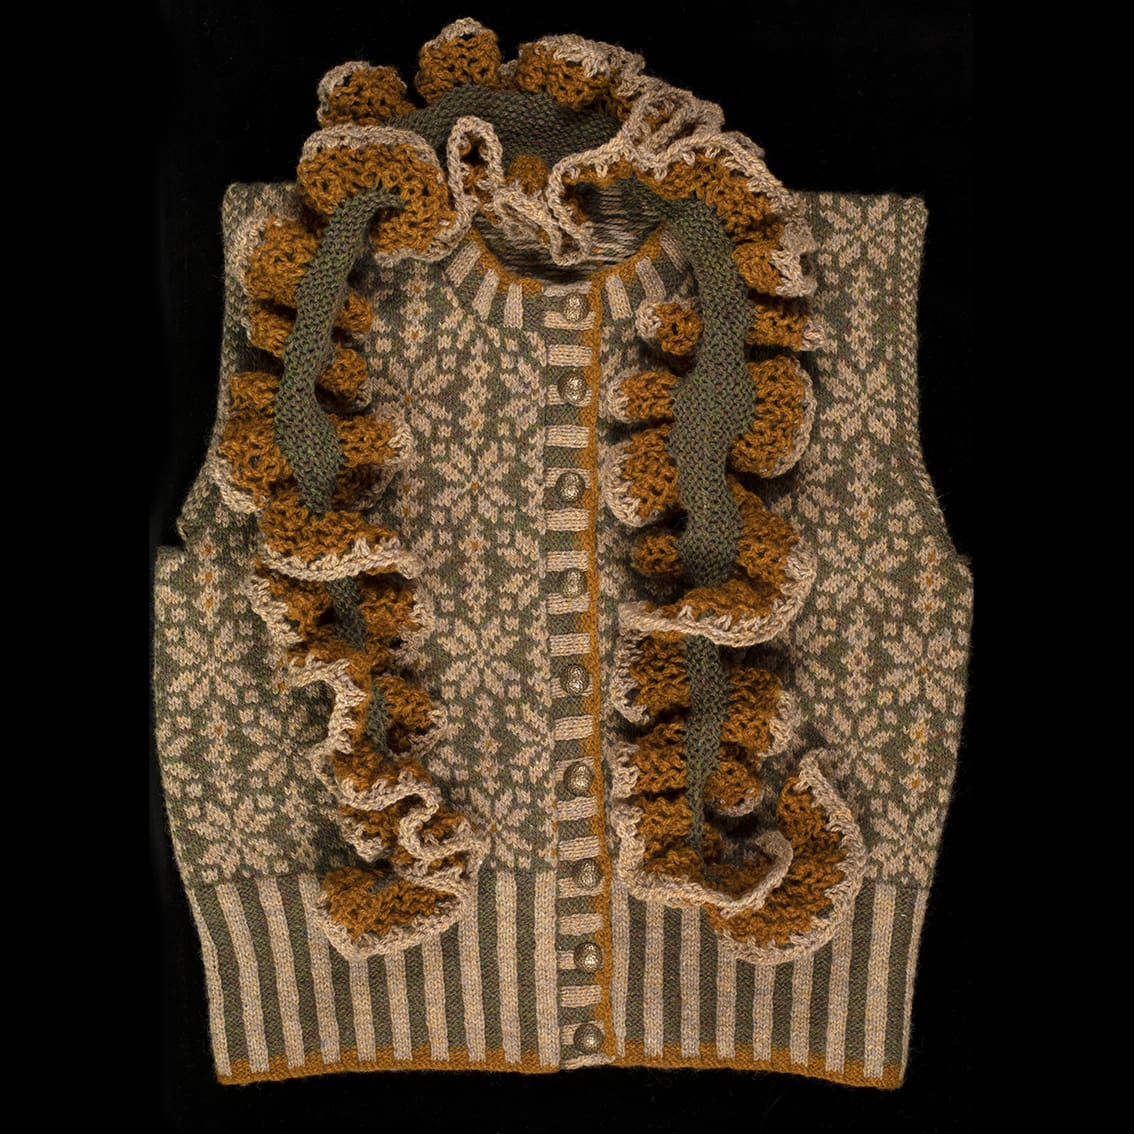
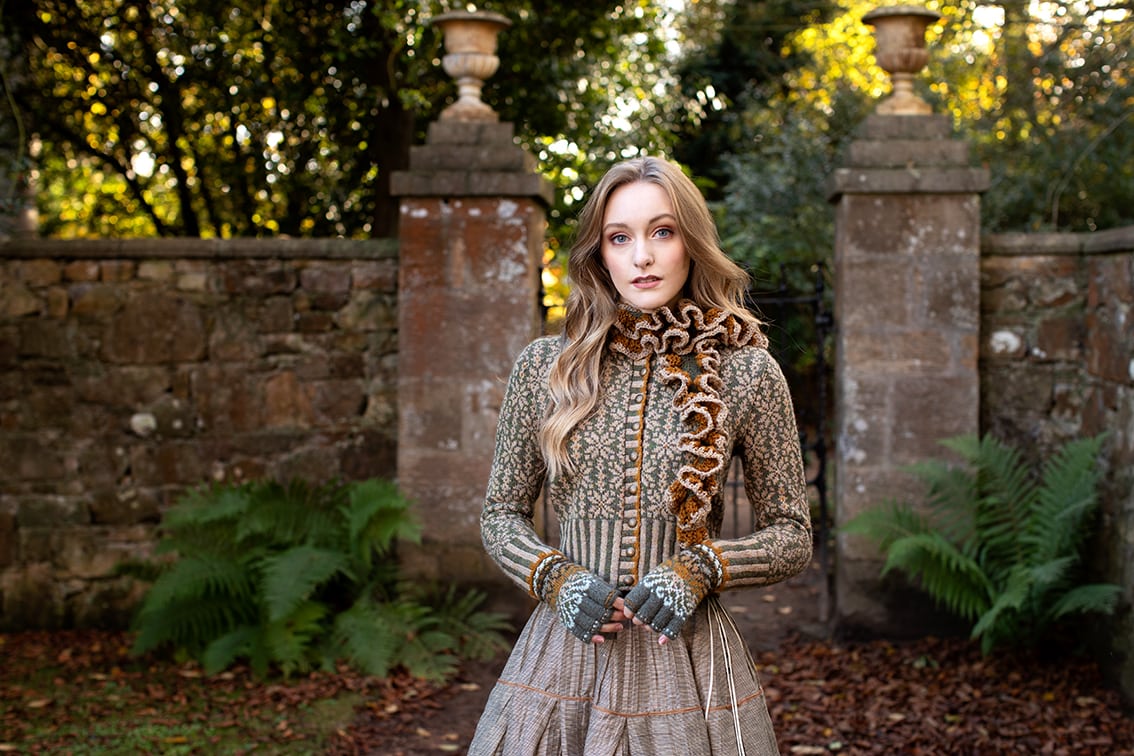
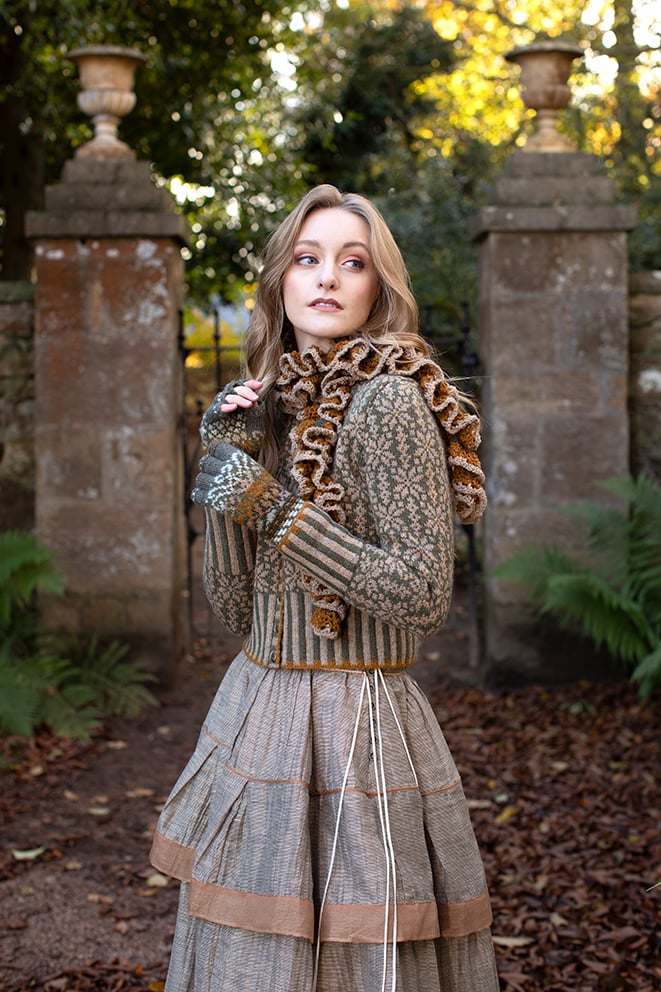
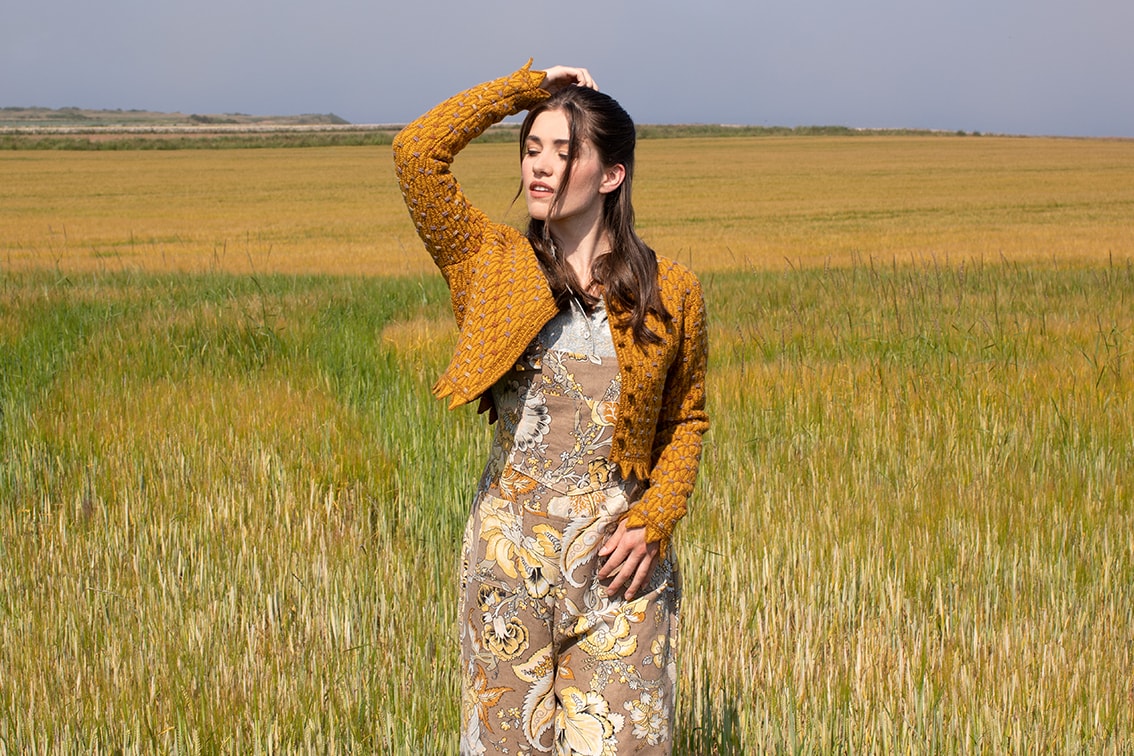
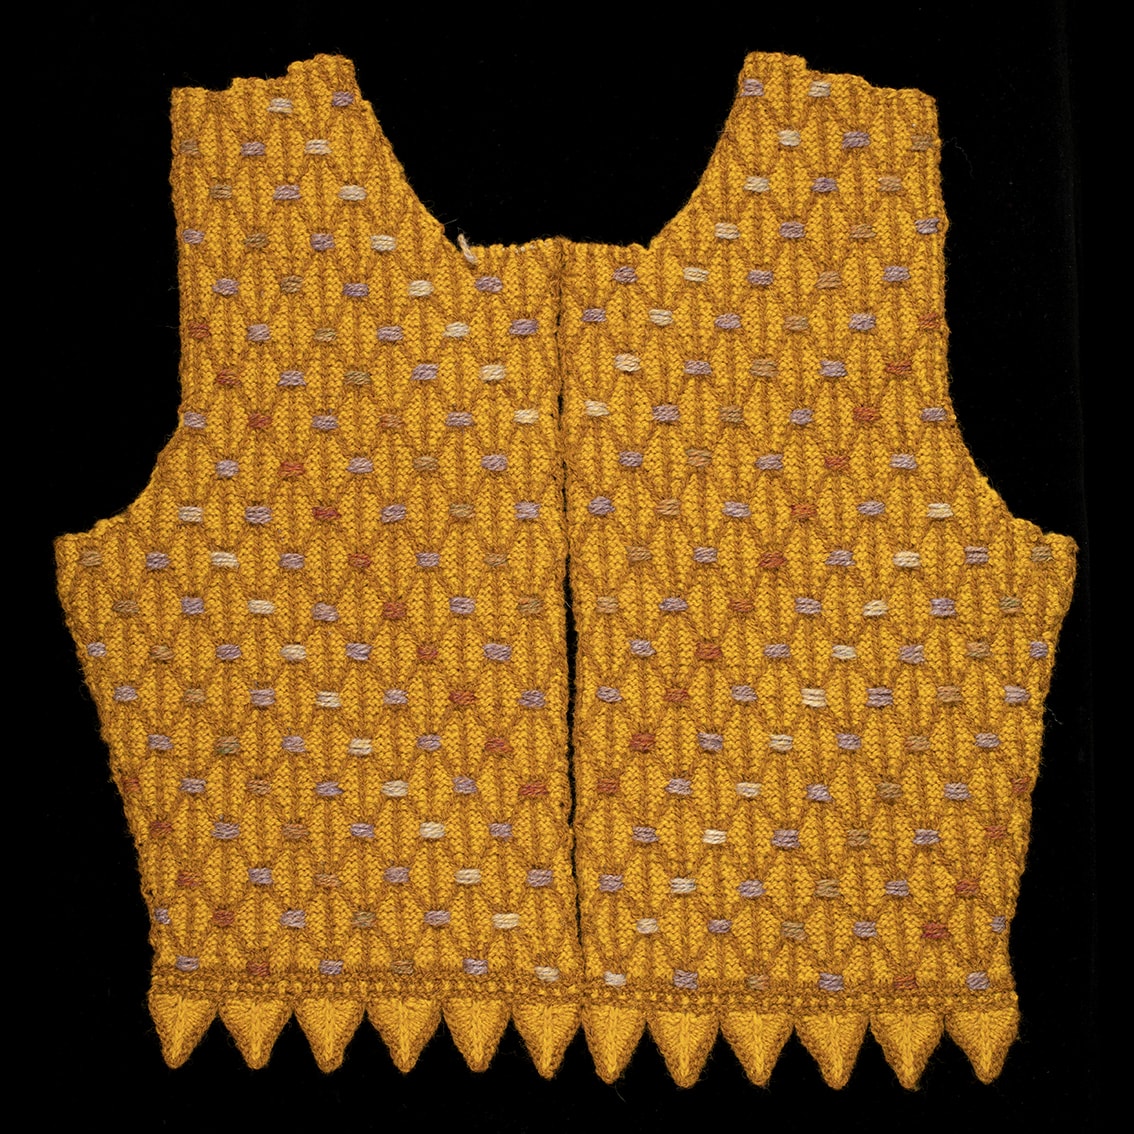
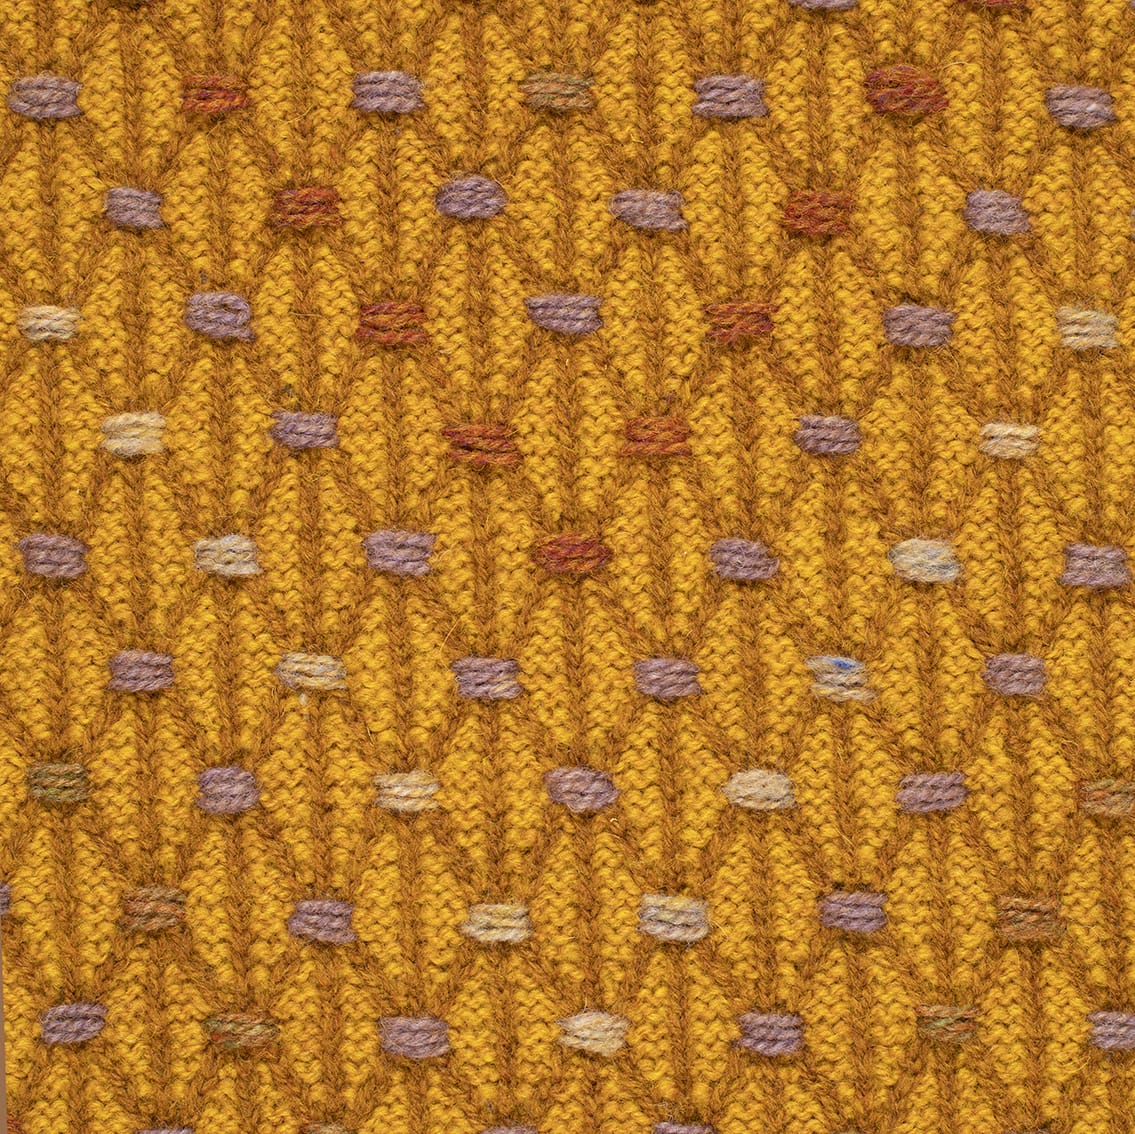
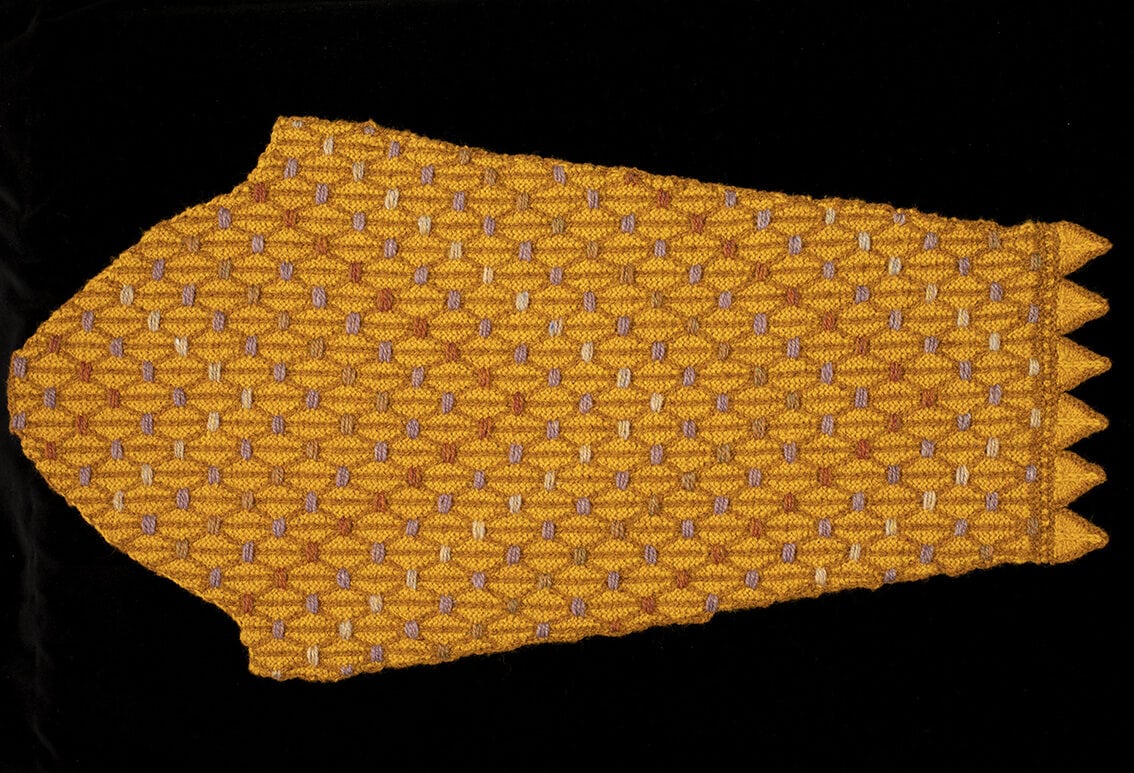
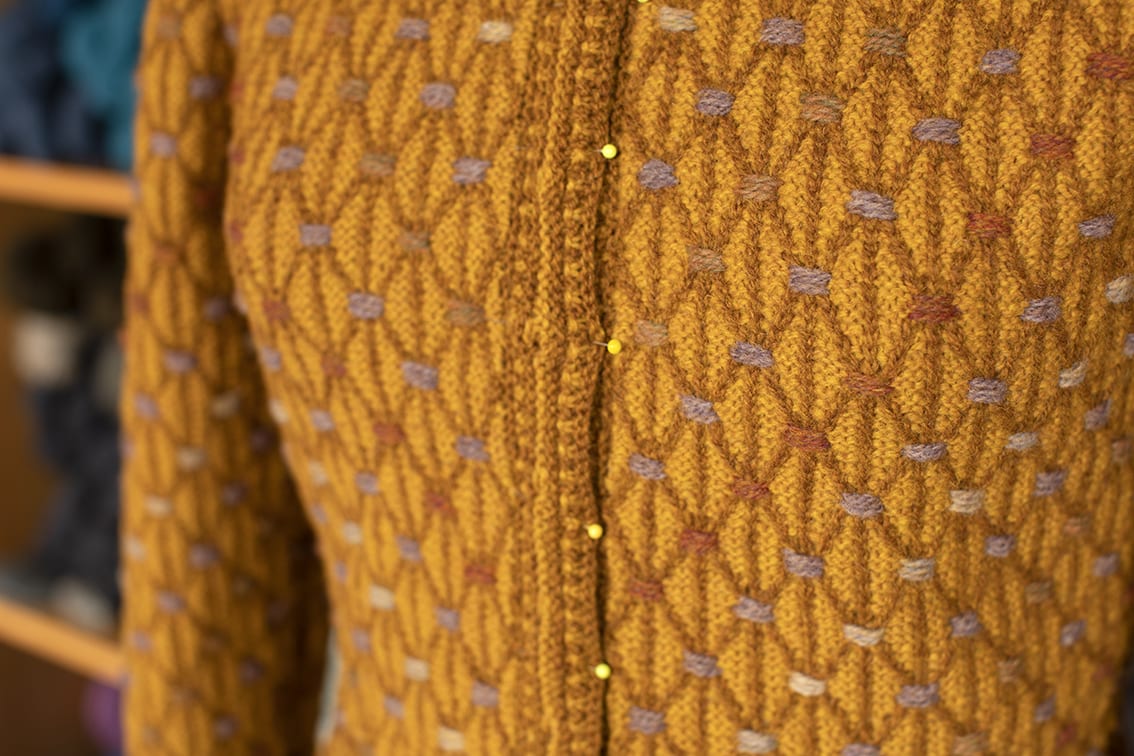
The Jane Seymour requires further finishing with embroidery. Here you can see a Whin and Golden Plover version with embroidery of Driftwood, Spindrift, Sundew and Mountain Hare during and after construction.
