Swatch Process
The first thing to decide when creating a swatch from inspiration imagery are the design parameters. What is the purpose of the exercise and what restrictions are you putting in place? You may be swatching with the intention of turning your ideas into a specific garment. Or you may simply be looking to use up some spare yarn and get your brain moving creatively.
I decided to make the pattern repeat quite small because I wanted to keep my swatch to a reasonable size. Remember that the swatch should include more than one repeat so that you can see how they look side by side. Thus, by limiting the number of stitches in the pattern repeat I can limit the size of the swatch.
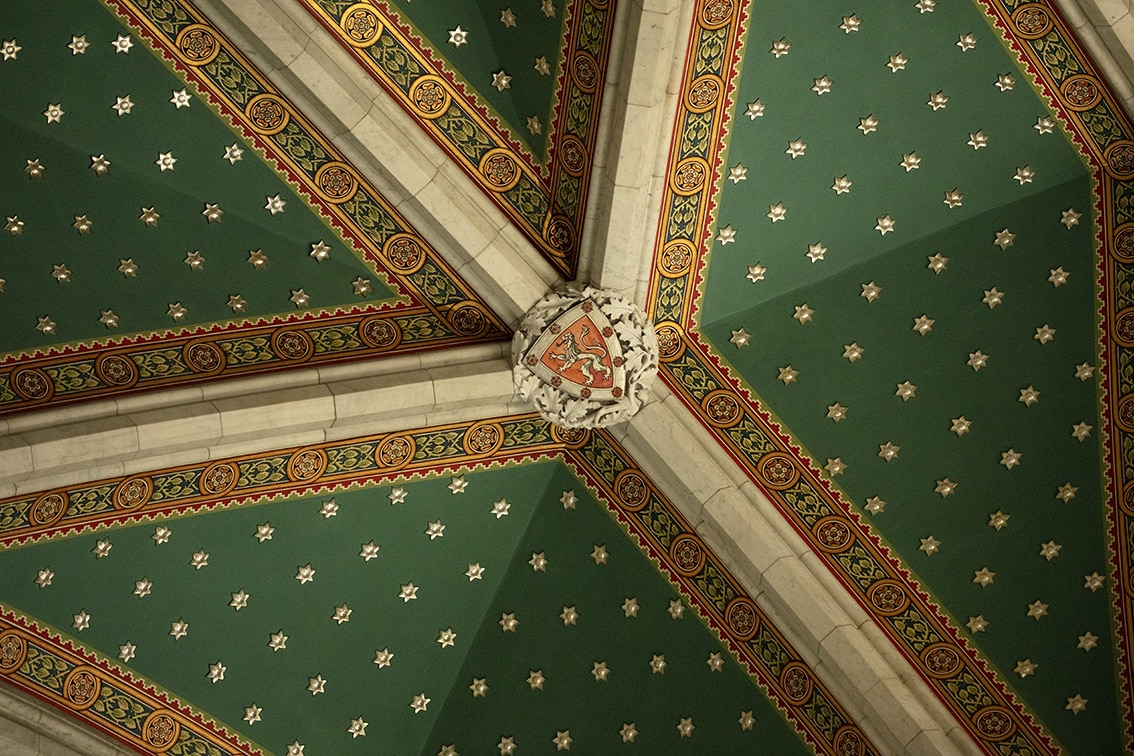
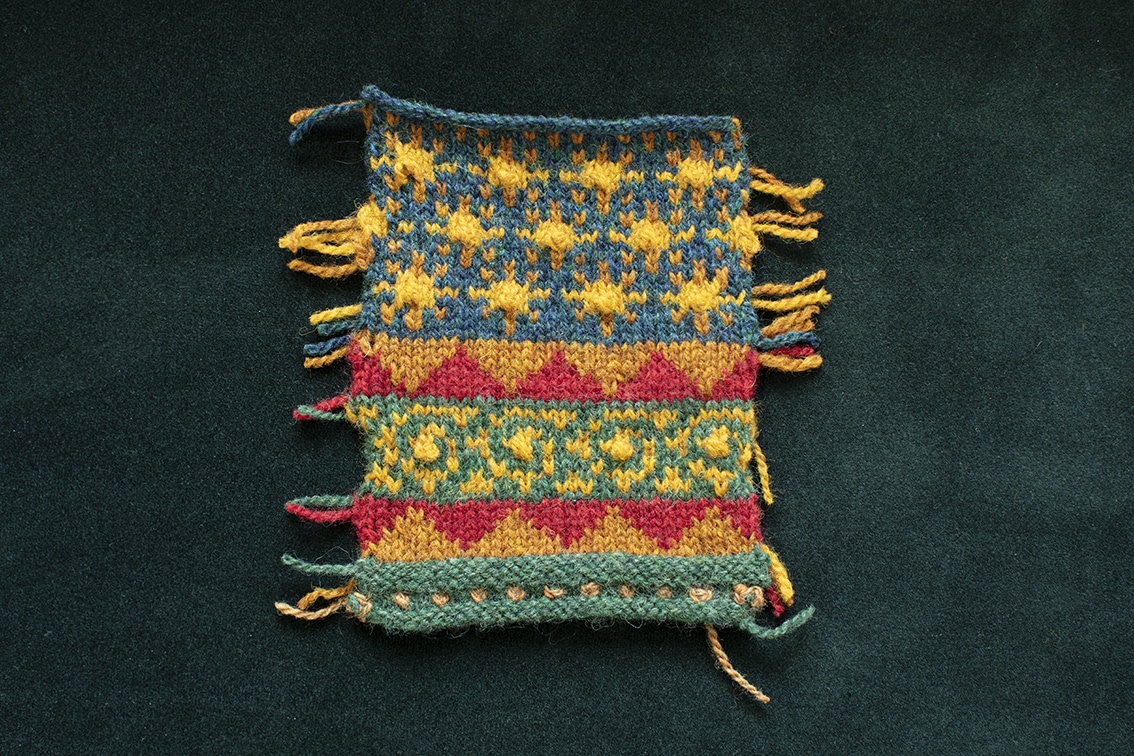
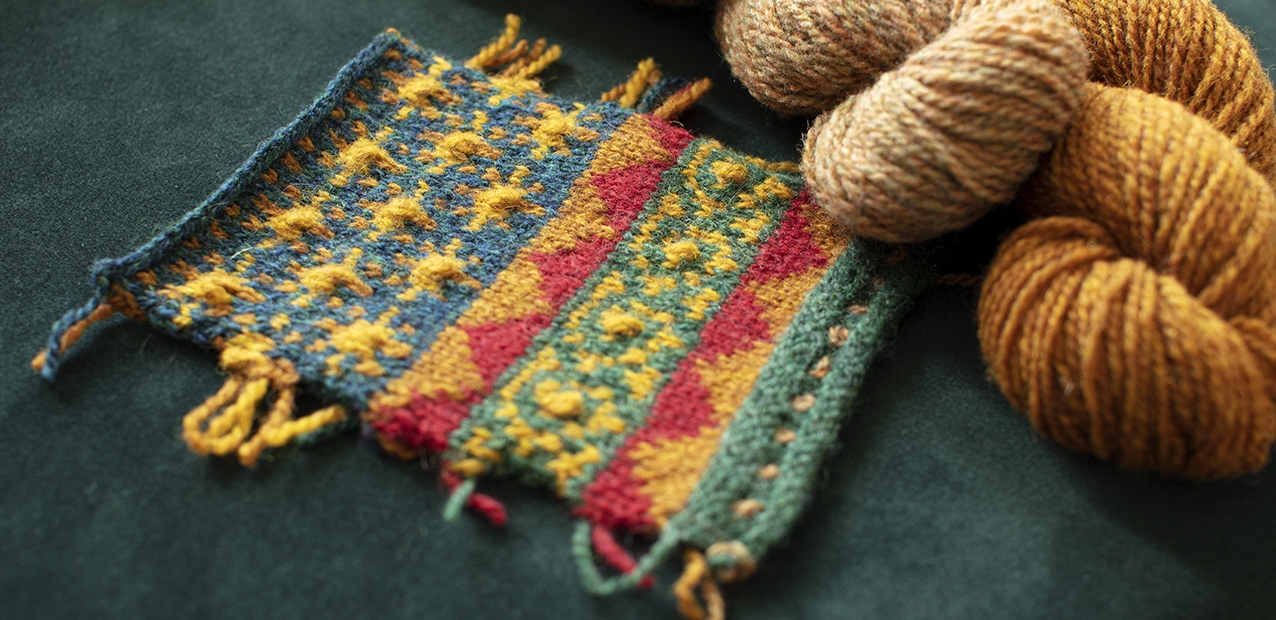
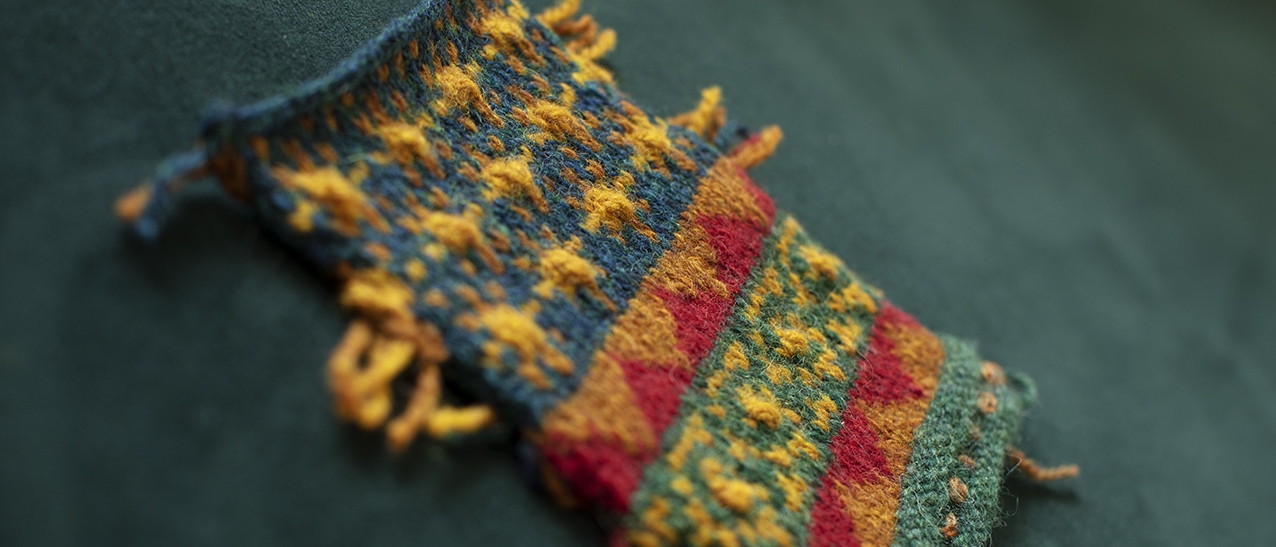
For this swatch I took inspiration from the star-covered ceiling and distinctive borders in the main hall of Mount Stuart. I decided to keep to an 8 stitch repeat for all bands of the swatch so that the patterns would line up perfectly with each other. The ceiling stars are quite chunky and I wanted to keep that aesthetic, so I made my stars quite robust in the centre and added a knot in the middle. I also brought everything in much closer together so that there would be no need to weave in at any point in the swatch. You can strand without weaving in for up to 8 stitches, but over that length you will need to weave in once in the middle. I wanted this swatch to be colourful, fun and easy to knit, so I plotted the repeat and pattern with that in mind.
If you are making a swatch to gauge your tension then you should work with the right side facing at all times and break off the yarns on every row. This will give you a more accurate representation of your tension when knitting in the round. Because these swatches are for design purposes only I have worked back and forth in rows, so you can see I have far fewer ends.
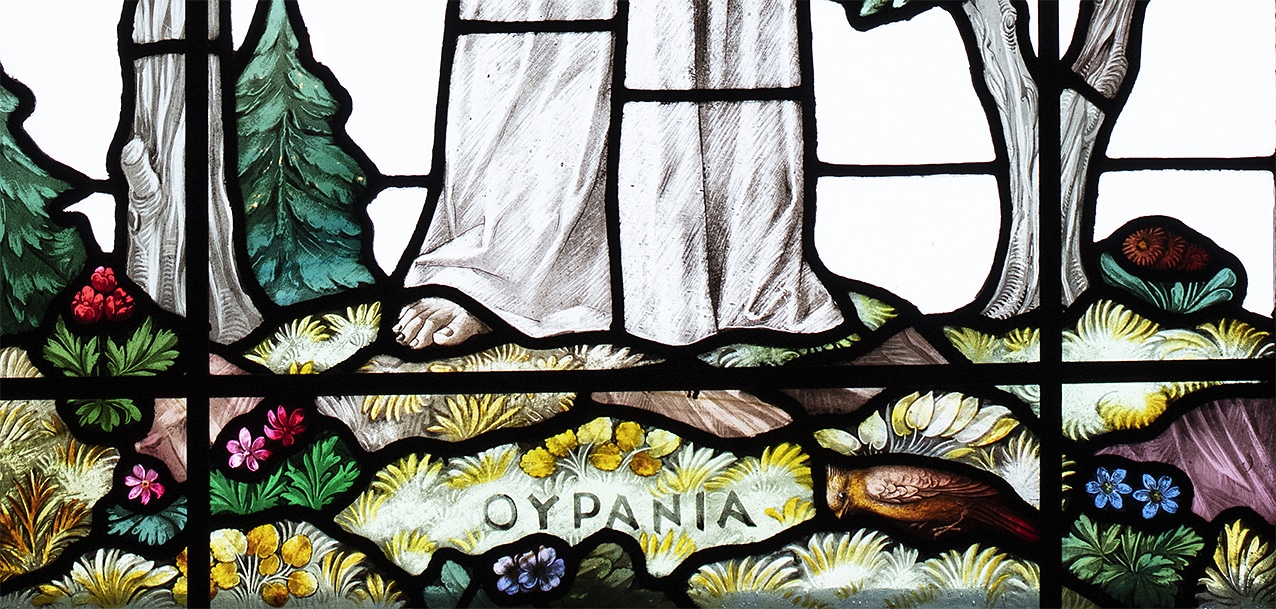
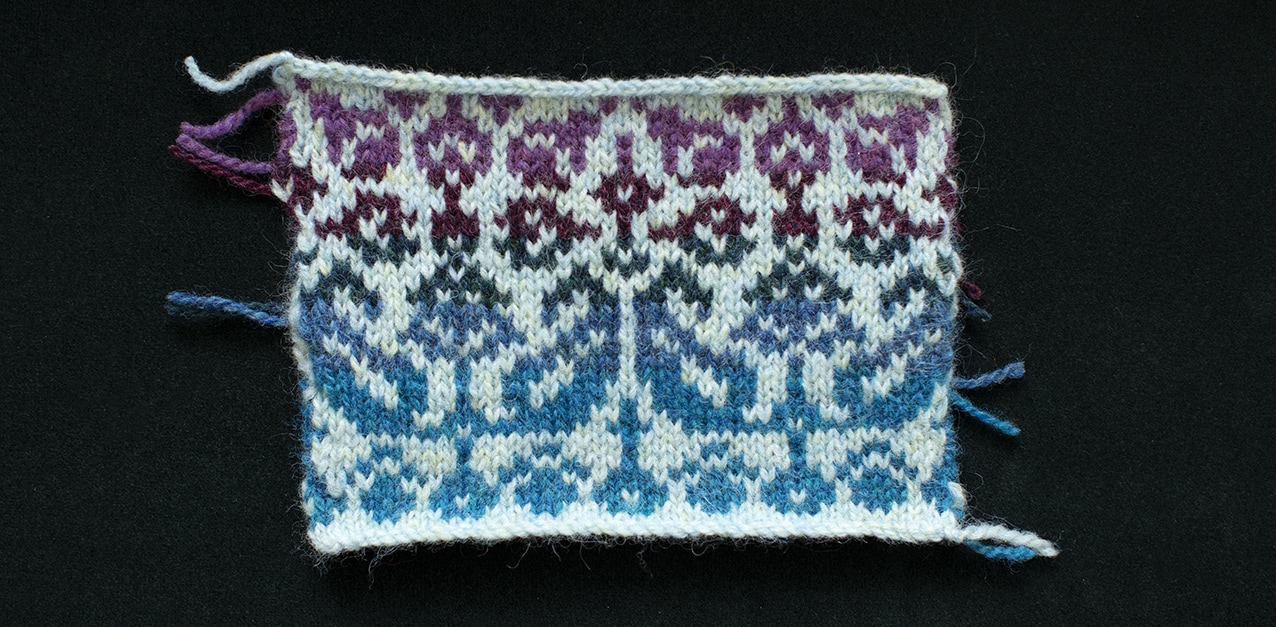
This swatch was inspired by the small flowers at the foot of a stained glass panel. I allowed a slightly wider repeat for this swatch as I wanted the flowers to reflect. I did keep to my colour restrictions, and used one colour choice of Kittiwake for the background. The pattern is worked in Strabhann, Summertide, Lapwing, Erica and Wild Orchid. I wanted this to be quite a calm and cool-toned swatch, so I stayed away from the brighter tones of Clover, Whin and Red Rattle. You do not have to follow your source inspiration to the letter – you can be as abstract as you like, so allow yourself the freedom to try out ideas that stray from the original piece.
To finish your swatch pin it lightly face-down on an ironing board and give it a very gentle press. You can then cut your ends to a length of about 2cm. You don't need to spend time finishing them off.
